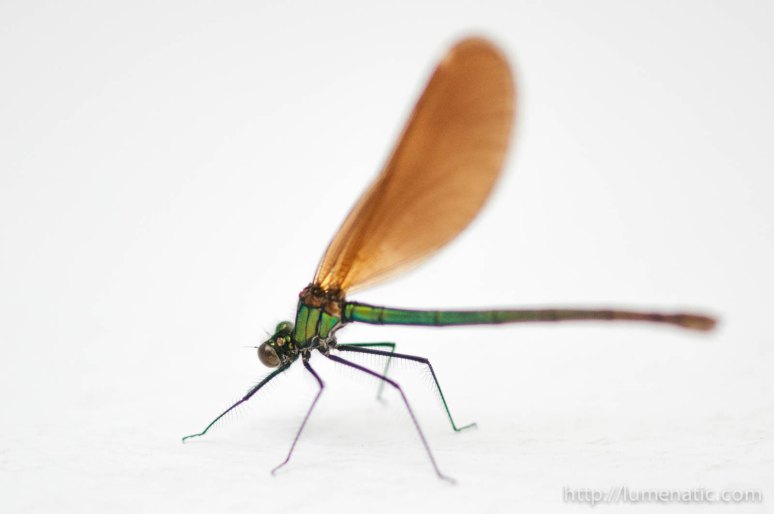
After I posted the dragonfly image in the last article I went back to Lightroom and had a look at the raw file. And I was astonished to see how different it looked. I forgot how much retouching and modifying I did. “How much” is in terms of “achieving dramatic changes” and not as in “how much time and skill is necessary to achieve this look”.
Therefore I decided to show you the evolution of that image. With only a few tweaks in Lightroom I changed an image which was close to “dump it” after shooting to a nice macro image. Here it goes:
 That is the original. Dark, white balance off, the insect is not parallel to the image border. It is the only shot I could make because after this one it flew away. The first step I did in Lightroom was to set the correct white balance by selecting the white balance tool and clicking on a random spot on the wall. This is the result:
Tadaa, white is white. Next step: Rotate and crop. I tried different crops and chose to transform the image from portrait to landscape format because it fits the orientation of the dragonfly in the image.
 The dragonfly’s body is too dark, therefore I used the “Depths”-slider in Lightroom to enhance the dark areas (it is called “Tiefen” in German; I am not sure whether the slider is really called “Depths” in English, my apologies).
 Much better, now you can see a lot more detail on the insect’s body. The next step was minuscule – I used the repair tool for removing the small dark spot (dust on the sensor I reckon) in the bottom left corner.
Nearly there. The image was still too dark for my taste, so I knocked up the exposure a notch.
Last step. I wanted the background to be really white, so I raised the white levels.
And there we are. I really like that image, because it went from a snapshot to a fine-looking macro image (pixel peepers beware: Yes, I noticed the chromatic abberation around the legs and the body). And I learned three lessons here:
- Don’t give up on an image too early. After I took the shot I nearly deleted it because too many factors were off (exposure, framing etc.). But then I took the time to see what Lightroom can do. And I was rewarded.
- Shooting RAW is the way to go. I learned that lesson years ago, and this experience demonstrates very well that it is the right decision not to shoot JPG only.
- You don’t need to be a Photoshop guru (which I am not !) to transform a “solala”-image to something which will attract the attention of the viewer.


