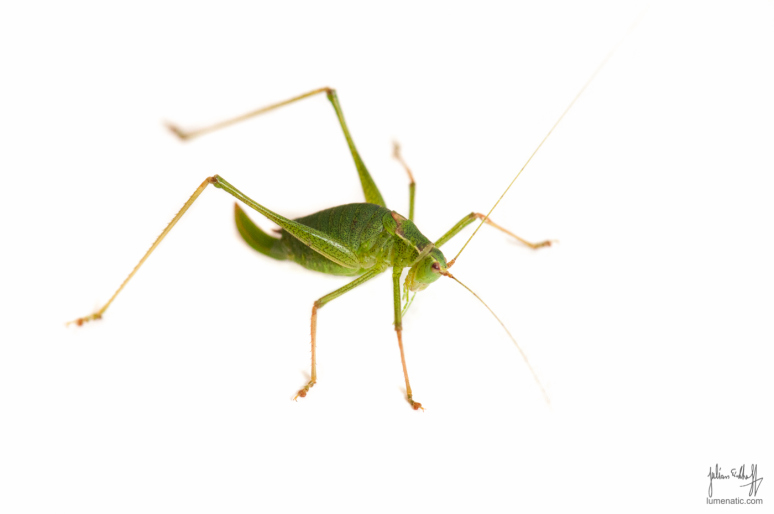
One day it happened that a grasshopper appeared in our bathroom. Before gently complimenting the insect out into freedom again I mounted the macro lens on my D300s (still had it at that time), mounted a flash and took some images. In this post I want to share the evolution of that image. What started as a boring, underexposed snapshot ended as an interesting insect portrait. The message I want to convey is not to give up on an image too quickly. Learn to see the potential of the image and to get a feeling for what a few simple steps in post can do (click here to see a similar post about the evolution of a dragonfly).
First to show you the end result:
 The result is very appealing as I find (if one can find a grasshopper appealing, my wife doesn’t like the picture for example). Let’s see how I got there. All retouching work was done in Lightroom, Photoshop was only used to shift the grasshopper around in the frame, something which can not be done with Lightroom. The image started here:
 Too dark, textured background of out white bathroom wallpaper. To isolate the insect from the background the texture of the wallpaper had to vanish. Since the grasshopper is darker than its surroundings this can be done without too much of a hassle. So the first step included increasing the exposure, boosting the lights and shifting the whitepoint to the right.
 Better. The grashopper is now brighter (in terms of visibility ;-), but in order to remove the background completely more work has to be done. So I used the brush tool to paint only the areas with background. The brush was set to increase the exposure and boost the lights. So I started painting:
 I started with a large brush with a soft edge to paint the large empty areas. When it came to the details I shrank the brush and worked more carefully. After a while it gets hard to determine whether an area is entirely white or not. To aid one in this moment you can use a feature which highlights areas with no information(=an area which is totally over- or underexposed). In Lightroom hit “J” to toggle the highlight mode. Overexposed image areas are shown red, underexposed ones would be blue. “Totally overexposed” means in this case, the are is entirely white and white only. No other shades or colors. Now you can easily determine which part of the image needs some further attention.
 I continued painting. In the image below the area below the body needed some more attention. Using a small brush with a soft edge, zooming in, painting and, if necessary removing the brush strokes by holding alt and clicking, the grey parts could be whitened
 Nearly there. What I did not like about this version is that the grasshopper is too low and too much on the right side of the picture. I wanted to move him towards the upper left corner a bit. Unfortunately such an editing step is not possible in Lightroom (as far as I know – if you know better please comment).
 Opening the image in Photoshop I used the square selection tool and created a selection around the grasshopper. Then I switched to the free hand tool and moved the selection a bit towards the upper left corner of the image. Since I chose a white canvas background in Photoshop the movement left no marks, because everything surrounding the grasshopper is white, too.
 Now the composition looked much better. After I saved the image and quit Photoshop all that remained was to export the image from Lightroom, thereby adding the watermark.
 And here we are. The retouching took around five to ten minutes. Working on the details requires a steady hand and some practice, but it gets better with every picture you retouch in that way.


