

After photographing the ADAC curve training I had some thoughts about the basics of bike photography. Today I would like to share some of the insights and provide tips which -hopefully- might help you in improving your photography.
As stated in Pirates of the Carribean – these are not fixed rules but mere guidelines. Other things work, too, and I urge you to break the rules.
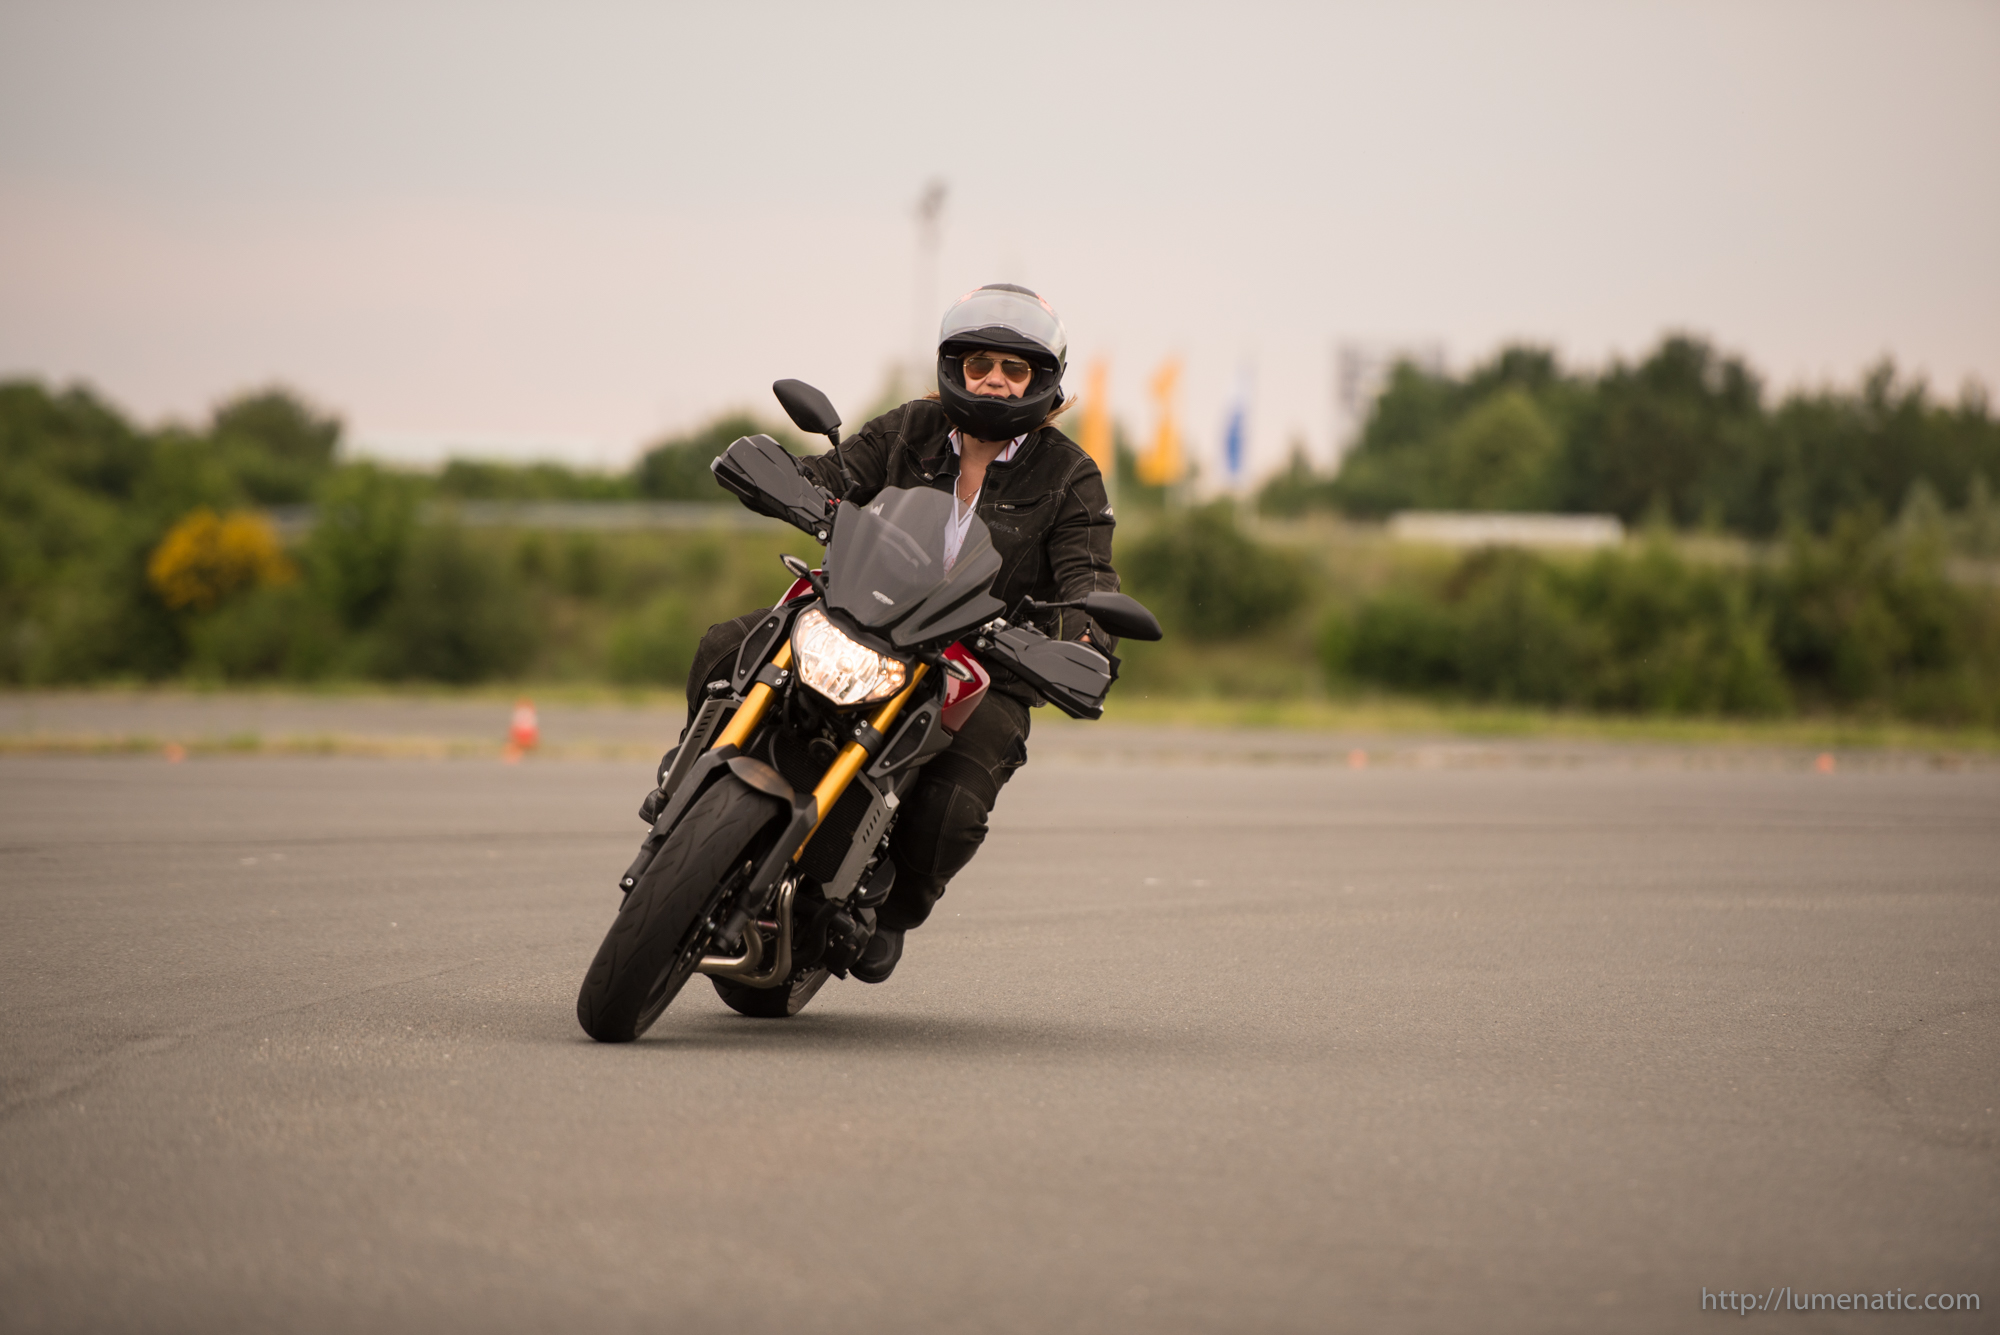
1.) Get down low
Photograph from at least the level of the fuel tank, if possible get lower. Photographing from a low position gives a special perspective and makes the image look more interesting. Not convinced ? Switch positions in your mind – if you take an image while standing you will get the same perspective that everybody has who is looking at a bike with his own eyes. Getting down low will provide a special touch.
Most of the time I sat, kneeled or even lay on the ground while photographing the bikes.
2.) Take only what you need
Work with light gear. Photographing moving bikes means you have to be agile, move to another location more often. I only carried my camera and a spare battery. I left the backpack with all other stuff (second camera, filters etc.) at a safe place behind the course barrier and it was a good decision. It enabled me to move quickly and change my position as the training griuo moved to another seciton of the parcours.
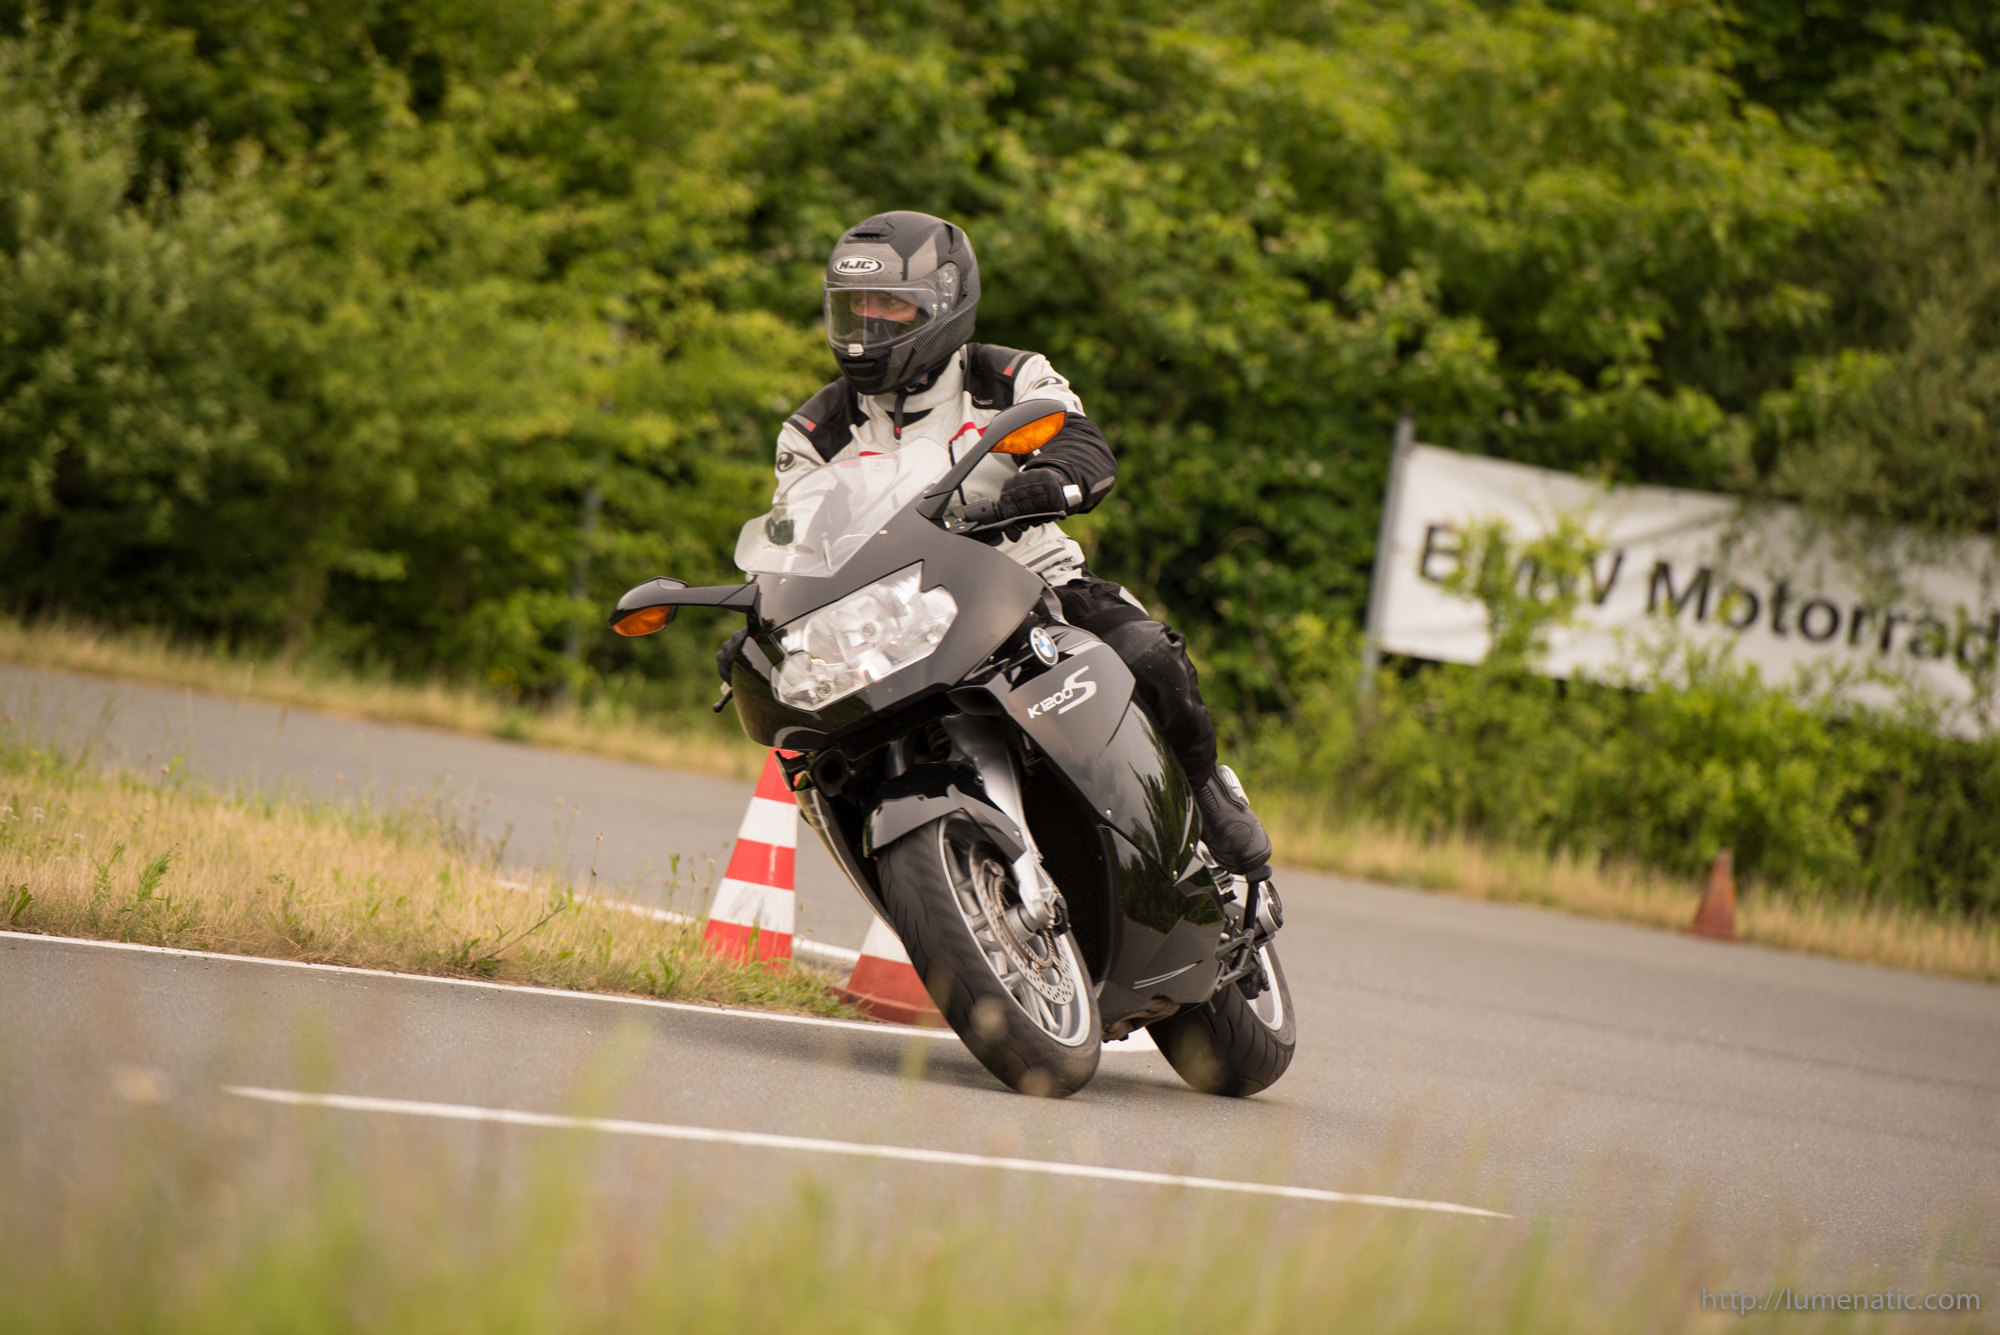
3.) Use a telezoom lens if possible
I used my Nikon D750 with the 70-200 f2.8 telephoto lens. The tele lens will enable you to get closeup shots of the riders without getting to close to them physically. This would a.) bring you in danger as a photographer and b.) could break concentration of the riders. The zoom lens helps in becoming insivible (as far as one can become invisivle wearing a screaming yellow warning vest, but that’s another story…).
4.) Tilt the camera
As a photographer one is trained not to shoot a tilted horizon. It is painful for a photographer’s eye to even have the image off a single degree or less. Anyone who ever shot the ocean will know what I mean.
But in bike action photography different rules apply. Tilting the camera with full intent will make the action look more dynamic and dramatic.
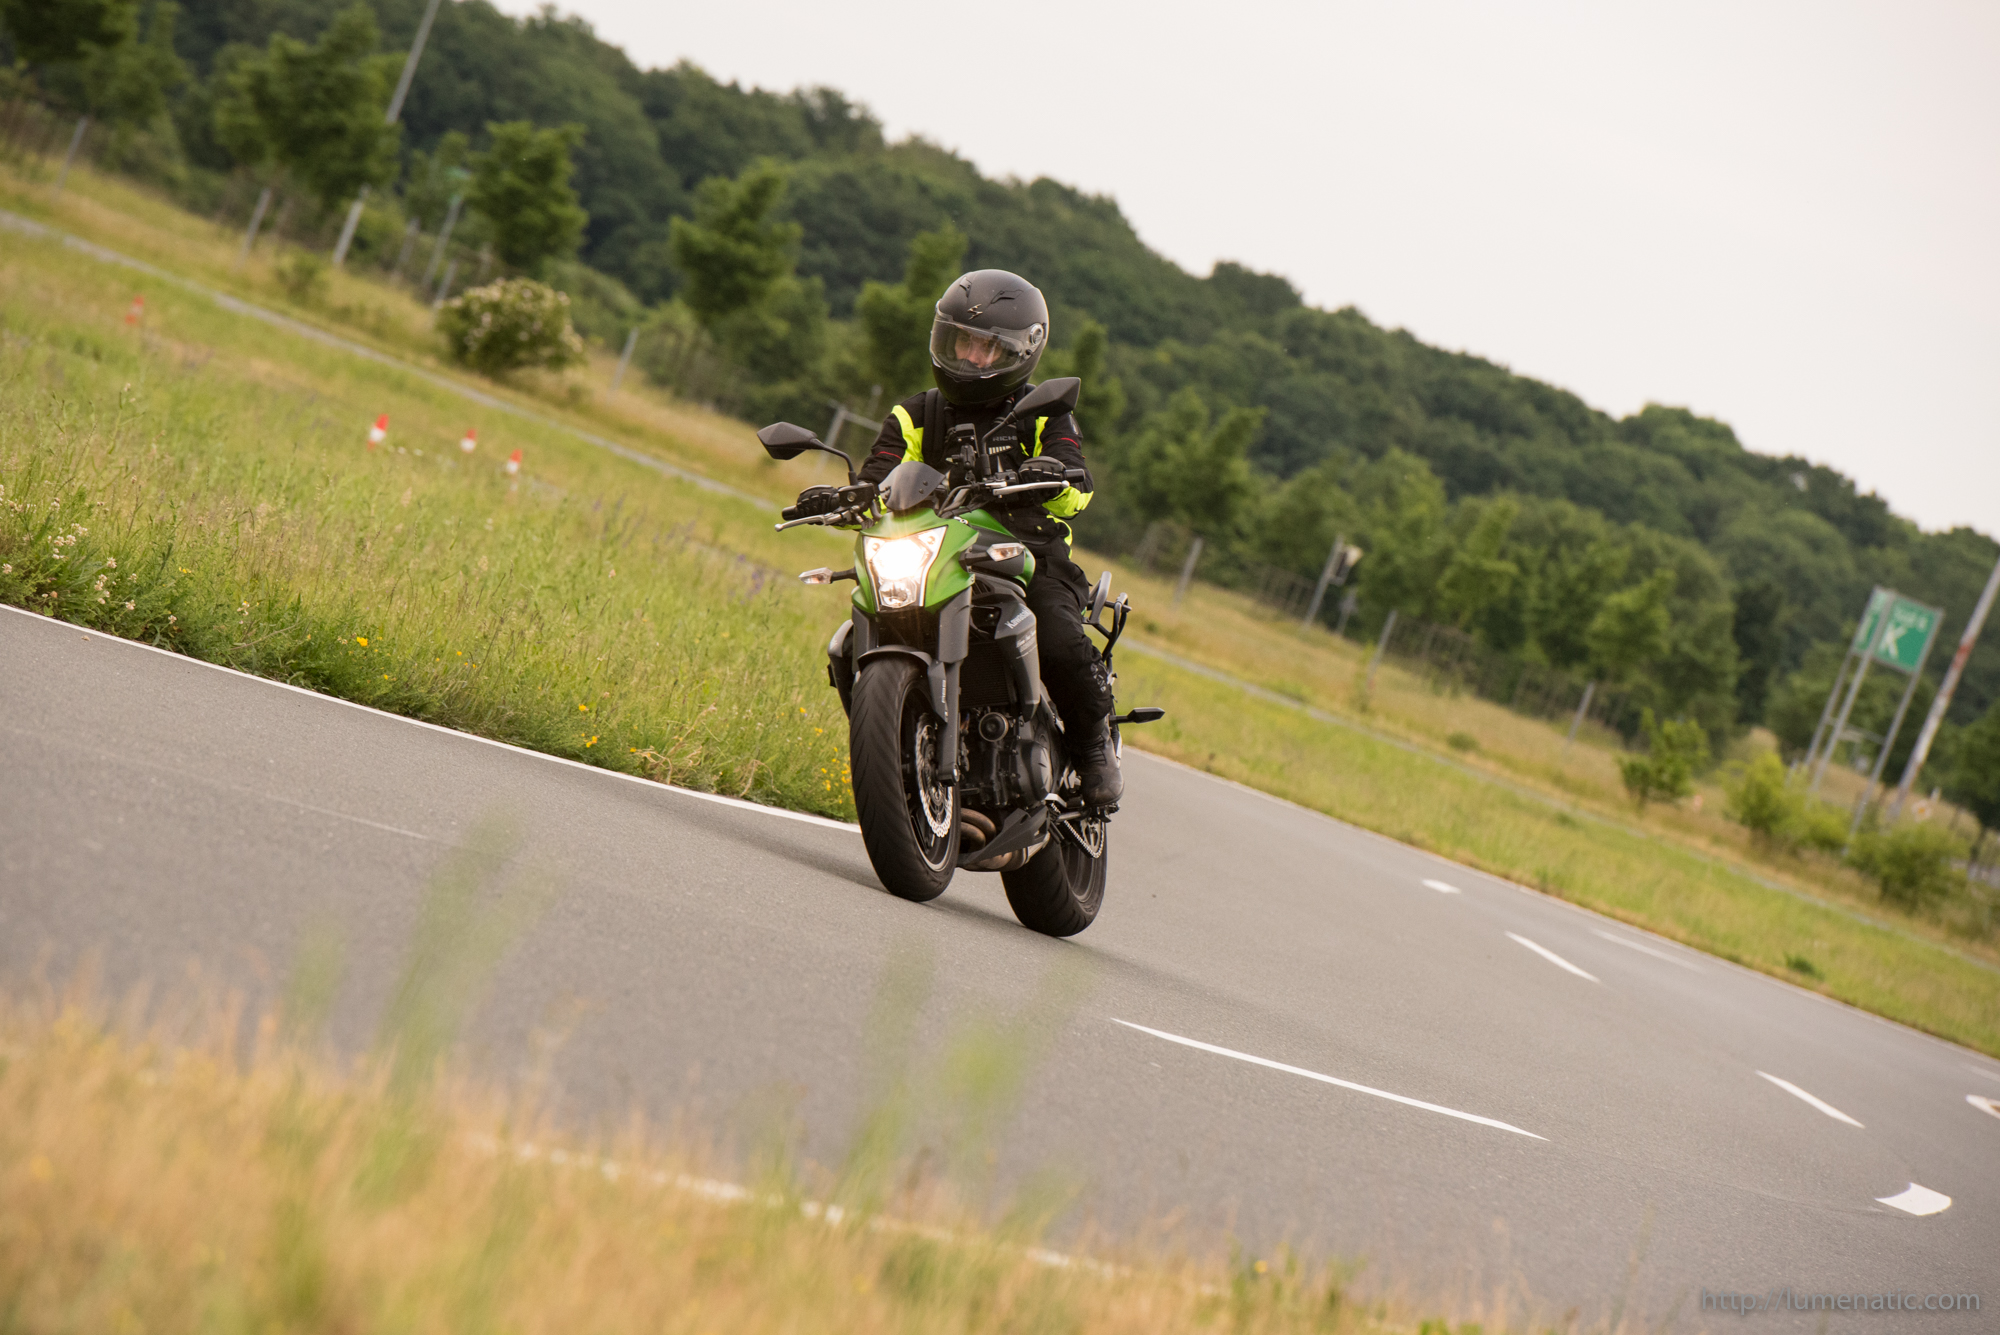
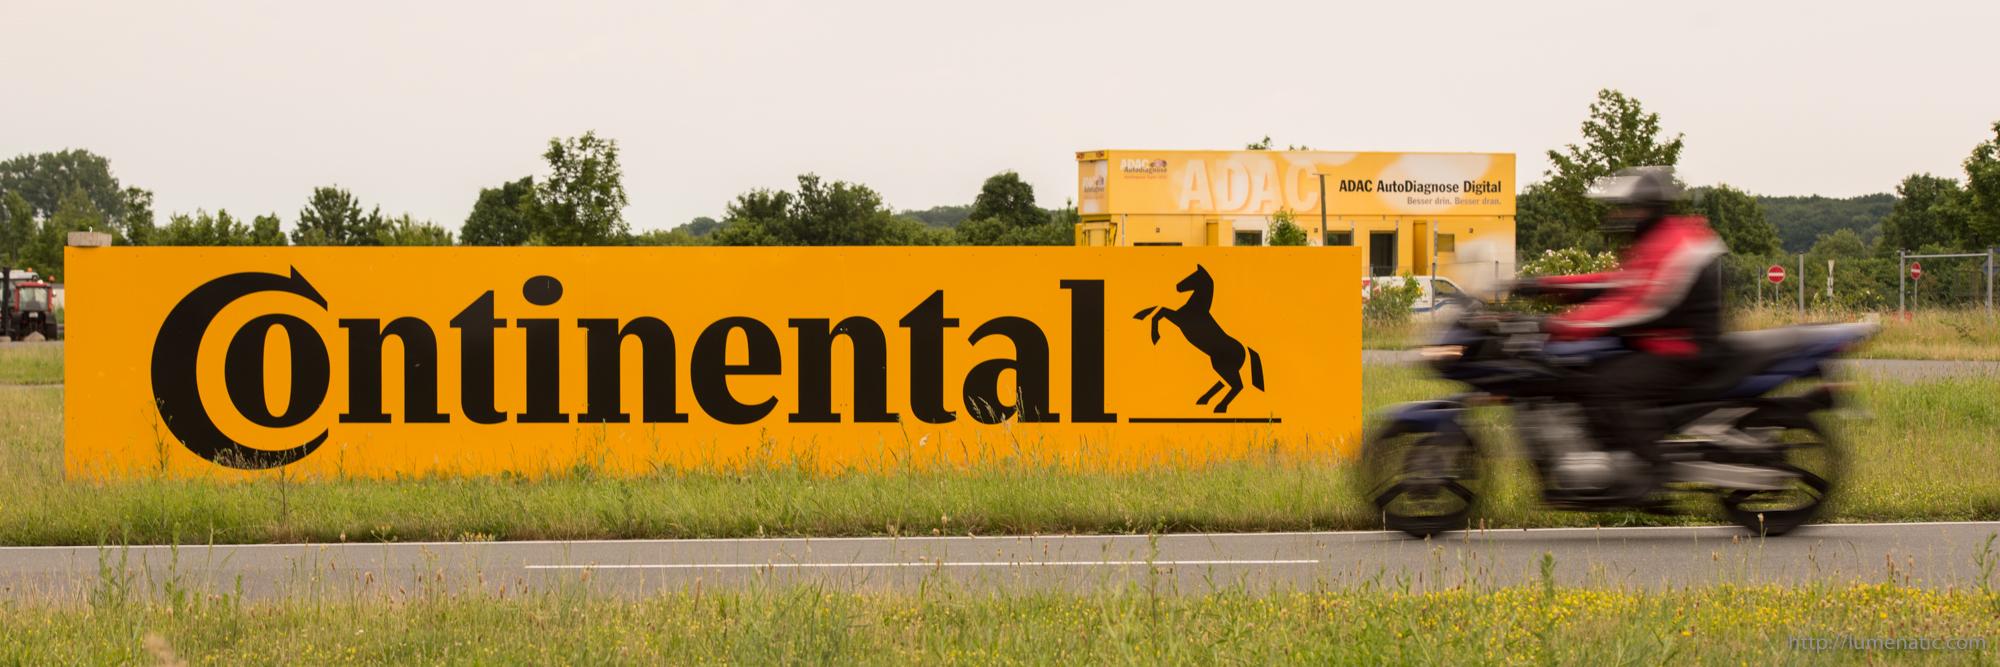
5.) Take panning shots
A panning shot is a shot taken at a slow shutter speed, e.g. 1/80 or slower. The idea is to focus on a bike and move the camera horizontally to keep the bike at the same position in the frame. If you have a steady hand (and/or a stabilizer in the lens 🙂 ) you will receive a sharp bike in front of a blurry background.
Good positions for panning shots are either a part of the road where the bike is moving straight forward or the apex of a curve. A tele lens at a healthy distance to the bike is a good choice, since the long focal length will allow tracking of the bike with only a small movement of the camera.

6.) Don’t pan
Wait, didn’t I tell you in the last paragraph to… yes I did. But good photography also lives from a mixture of this and that. It would be boring if you’d take only one kind of image. So reverse the technique I described above. Still use a slow shutter speed, but hold the camera steady while the bike moves. This will give you a sharp background and a blurred bike. Just like this.
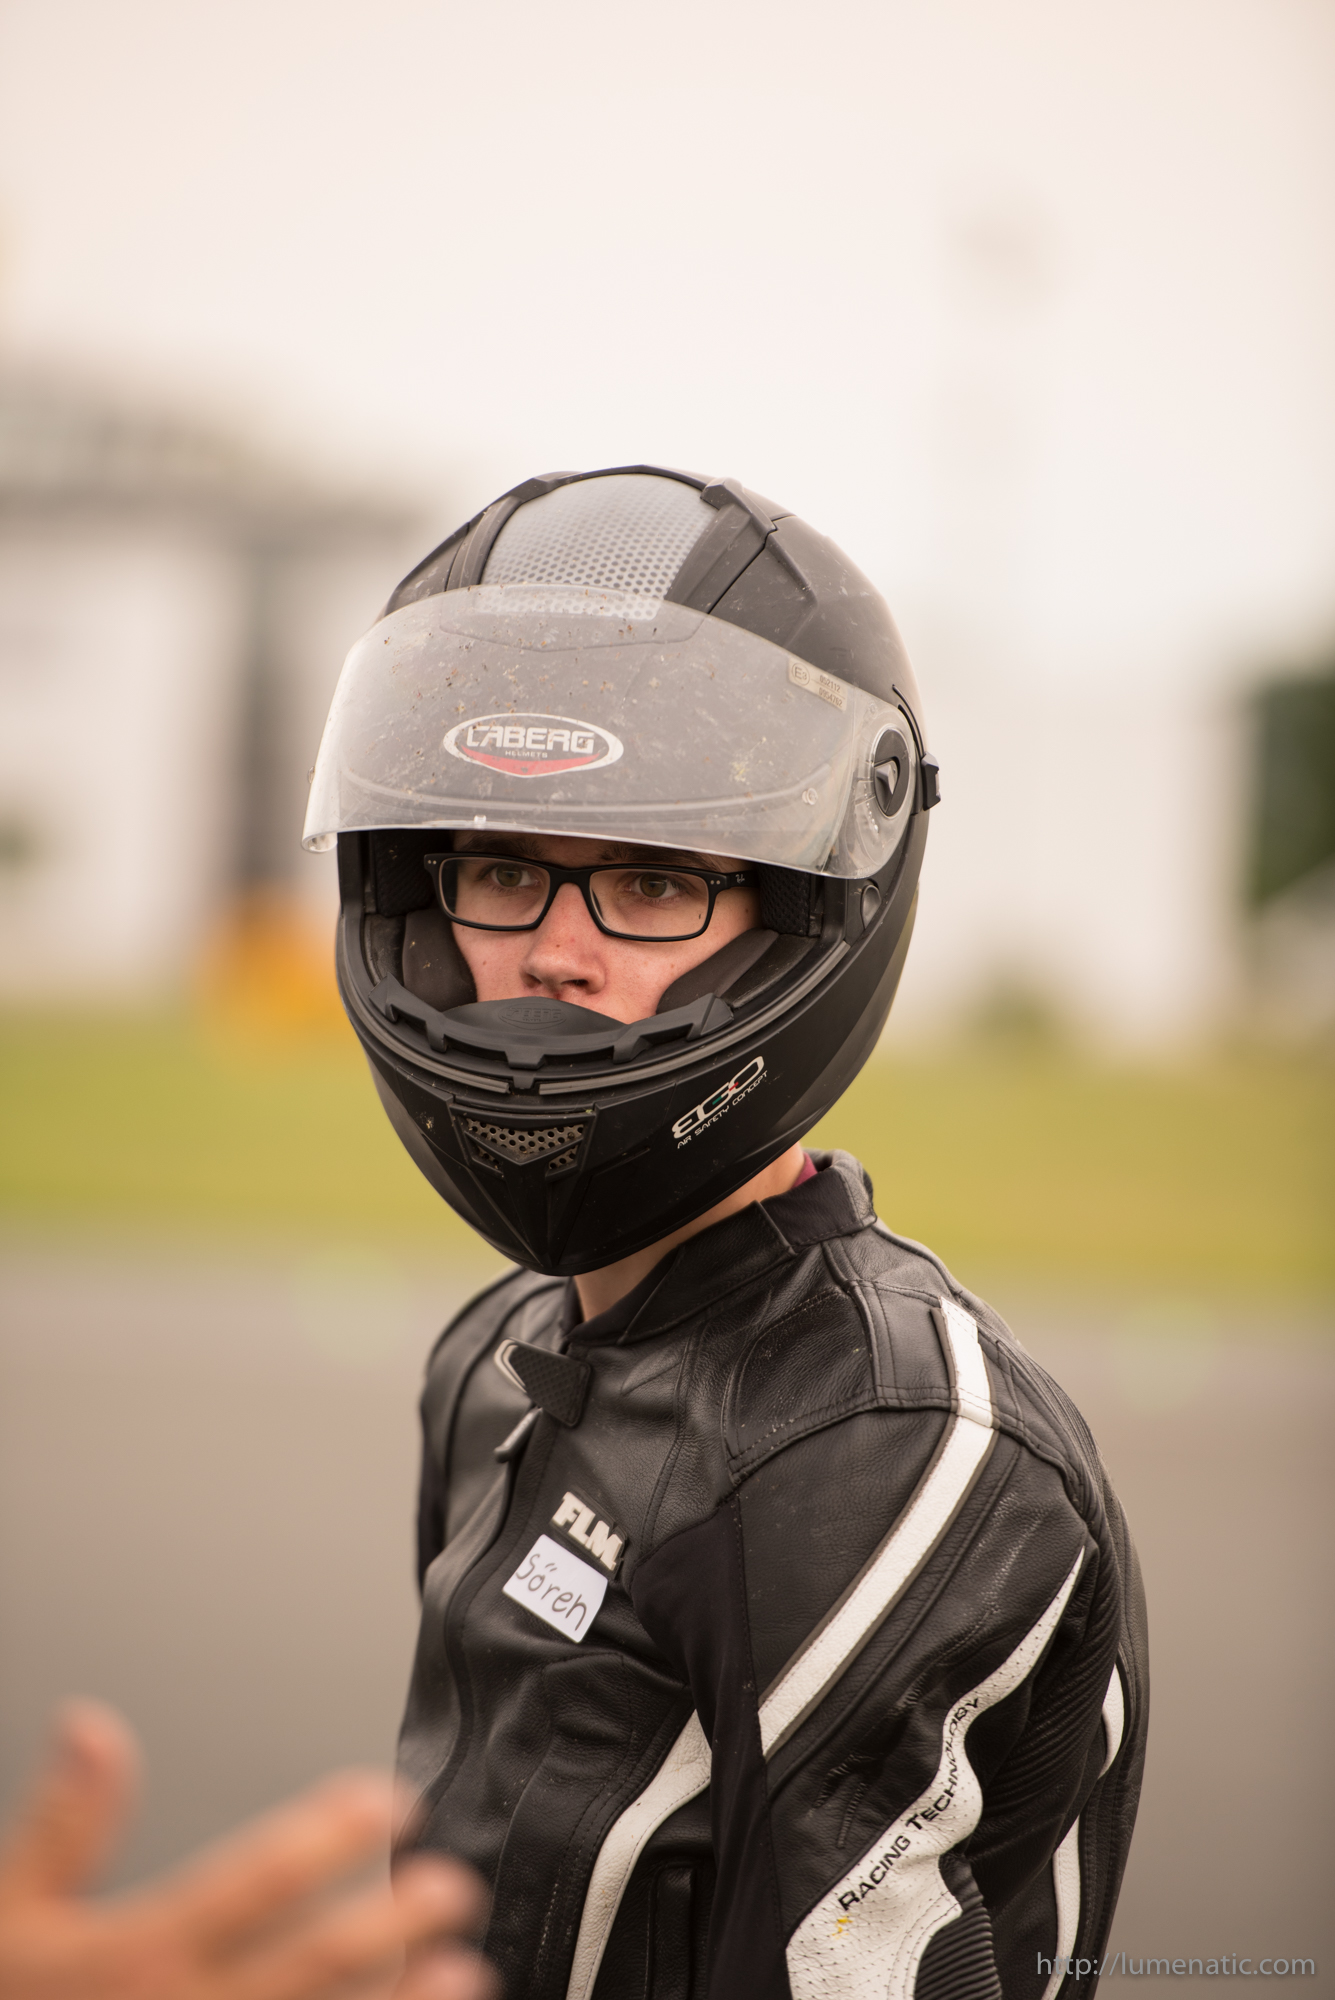
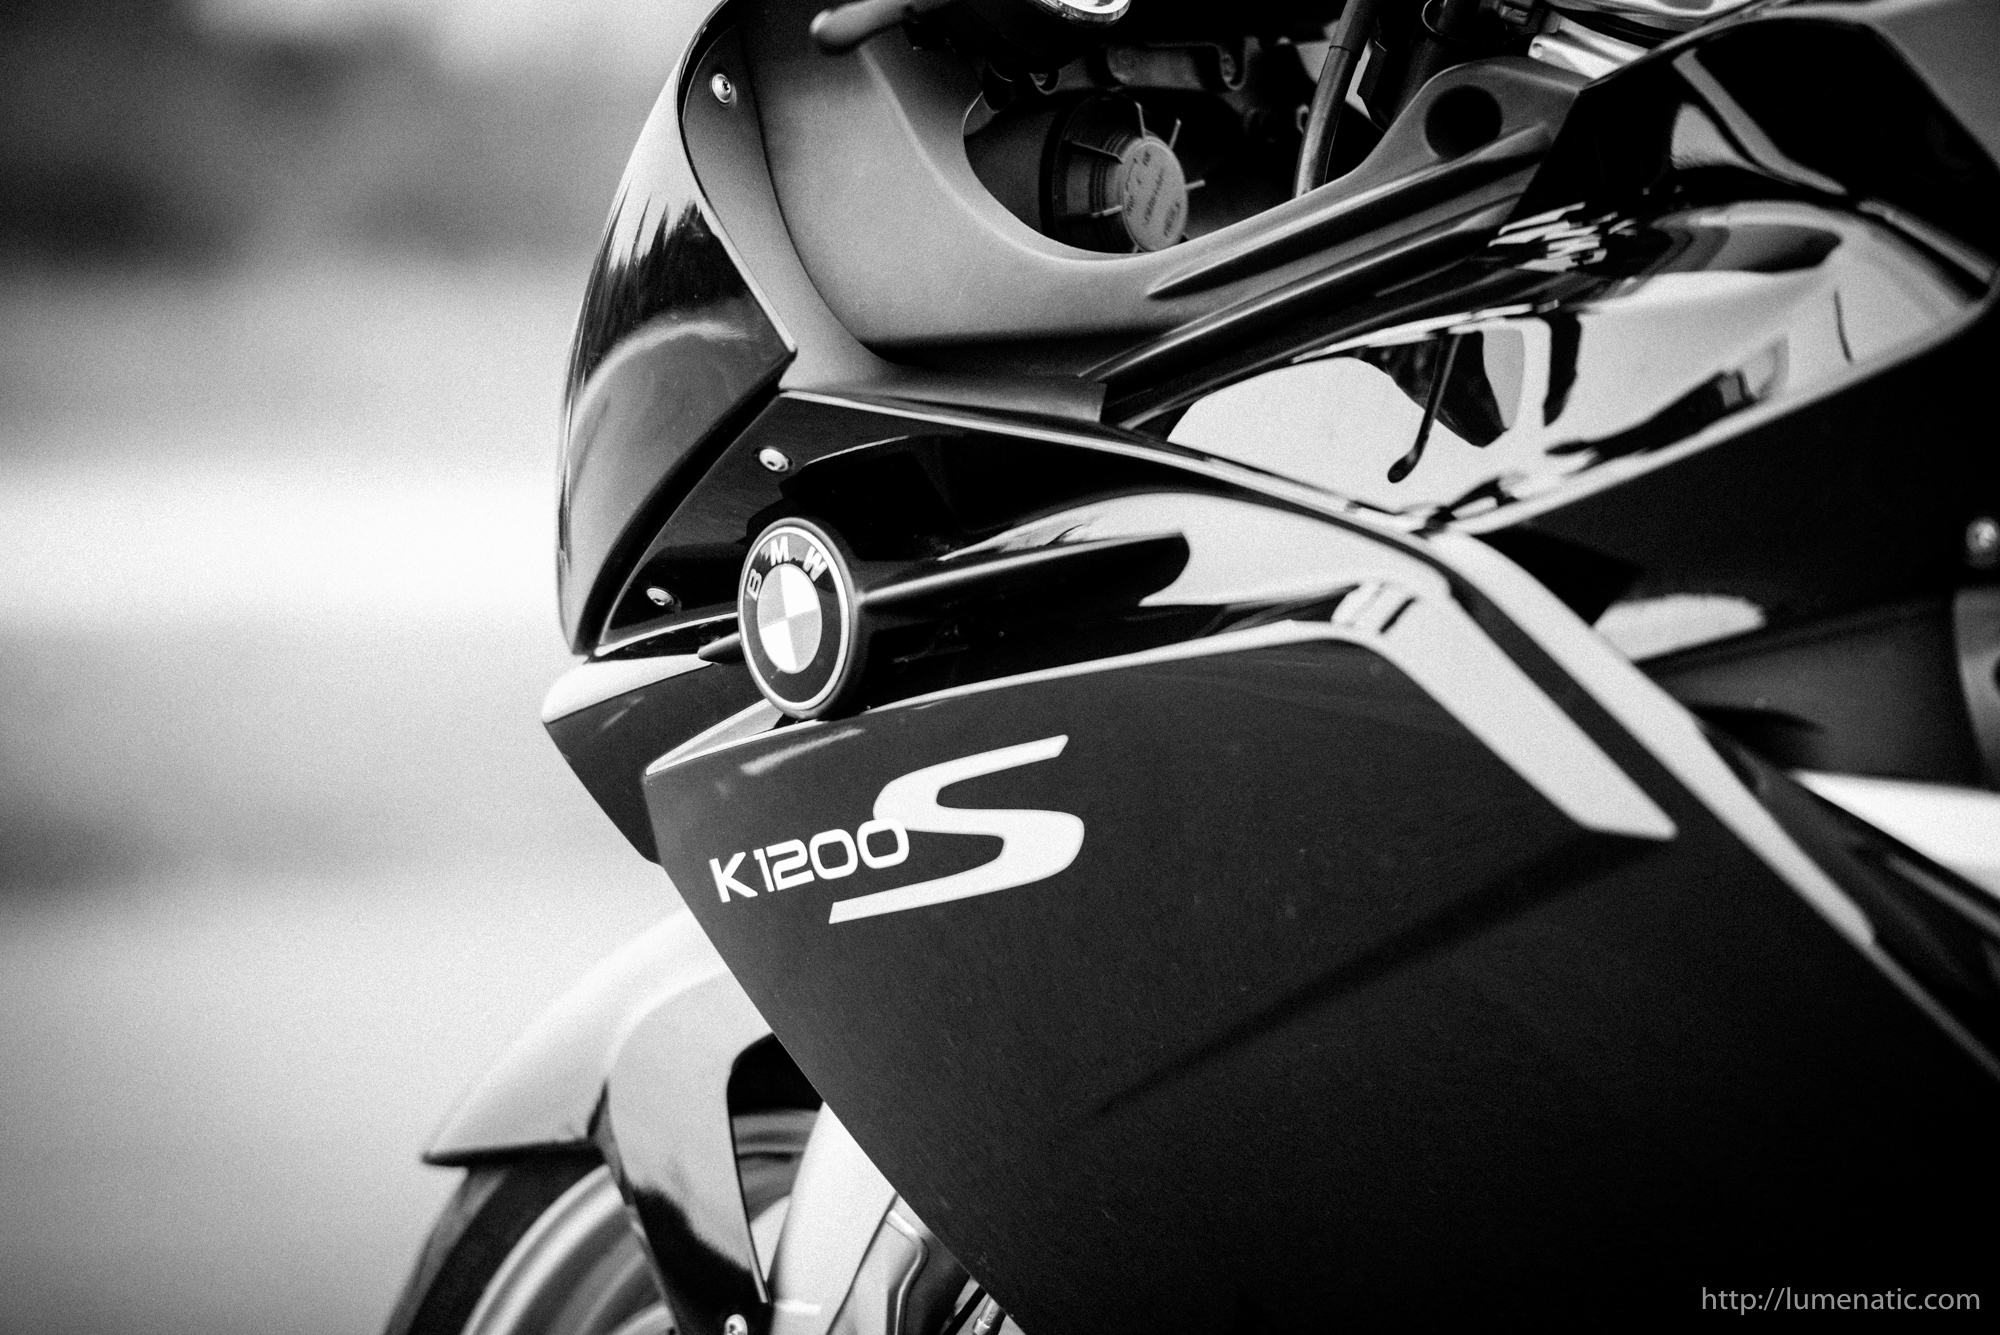
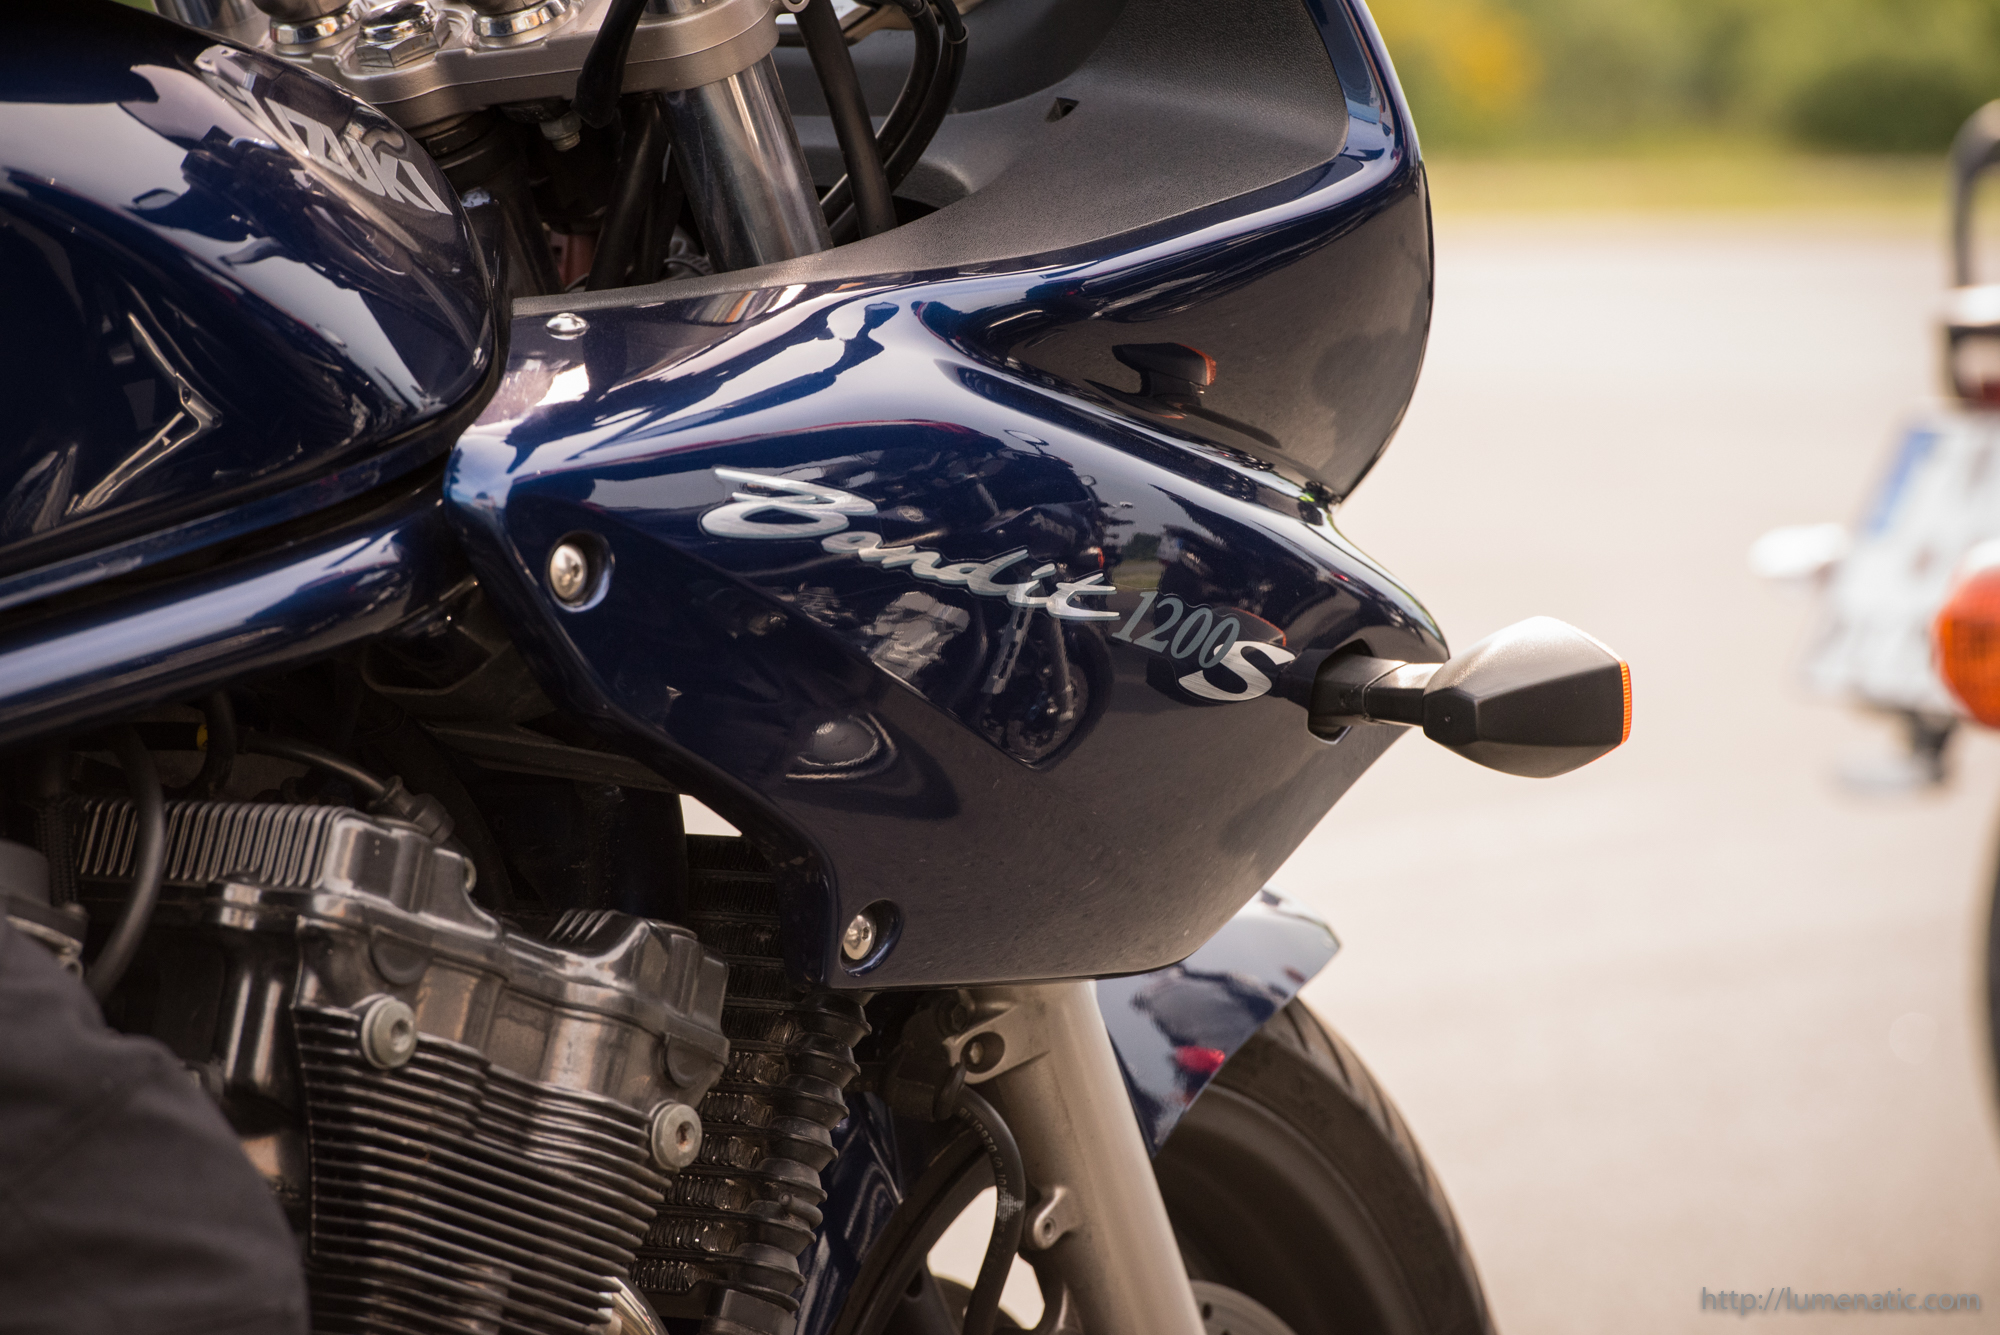
7.) Don’t forget the details
Bikes in action are beautiful. But as described above, the mixture is also important. So don’t forget that there are beautiful bikes in front of you and that they also offer various opportunities for interesting images.

The one above needs explanation for all non-Germans: It reads “cold, dirty, loud” and is a fan sticker of the local ice hockey team, the Hanover Indians.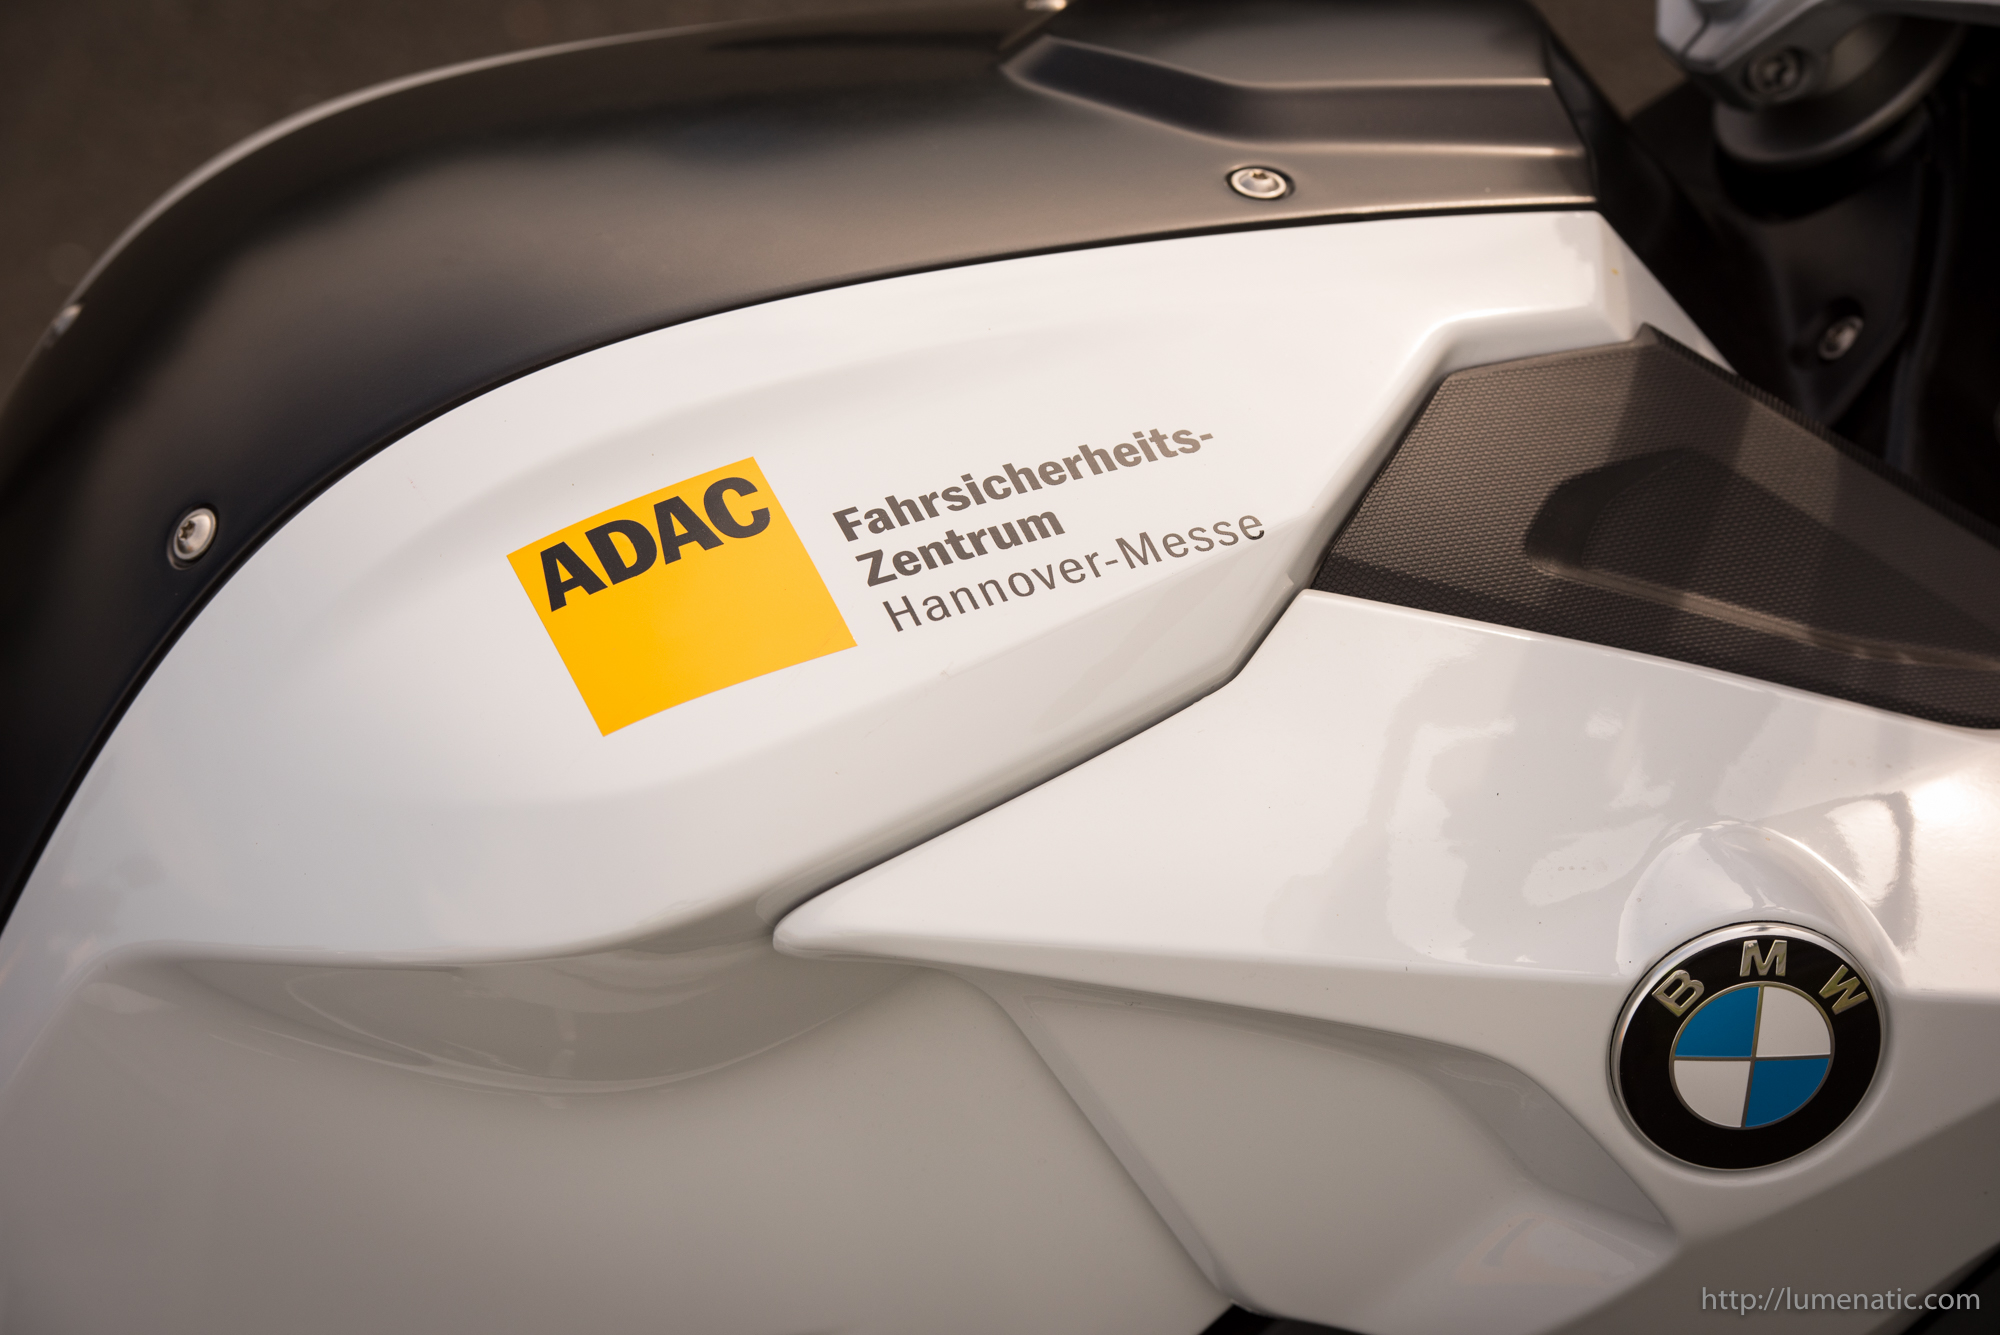
8.) Don’t be too keen on the shutter
Burst mode is a wonderful thing when you want to capture a good shot of something moving fast. But it will also produce a ton of images. I came home with 1.393 images from a three hour shoot. Don’t want to think about what would have happened on a full day which I targeted at first when I planned the shoot. I personally found that the “Cl” mode (“Continuous low” – slow burst mode on a Nikon) comes in handy. It is a good compromise between storage space and capturing the best moment.

Spot on with these guidelines, bravo…!!!