In my daytime job I work in an office, meaning I sit a lot. But as a photographer I also spend a lot of time before the computer at home. That’s too much sitting and so I decided to get an electrically actuated desk which enables one to work while standing. After some research I chose the “Masterlift 2” from the german manufacturer Inwerk. I purchased only the table framework because I wanted to keep my IKEA beech table top. The installation also called for a for a subsequent clean-up of my cabling. Too many power adaptors, USB cables and whatnot that formed a twisted mess of copper-and-rubber-spaghetti. The video below shows a timelapse of the desk assembly and the recabling operation.
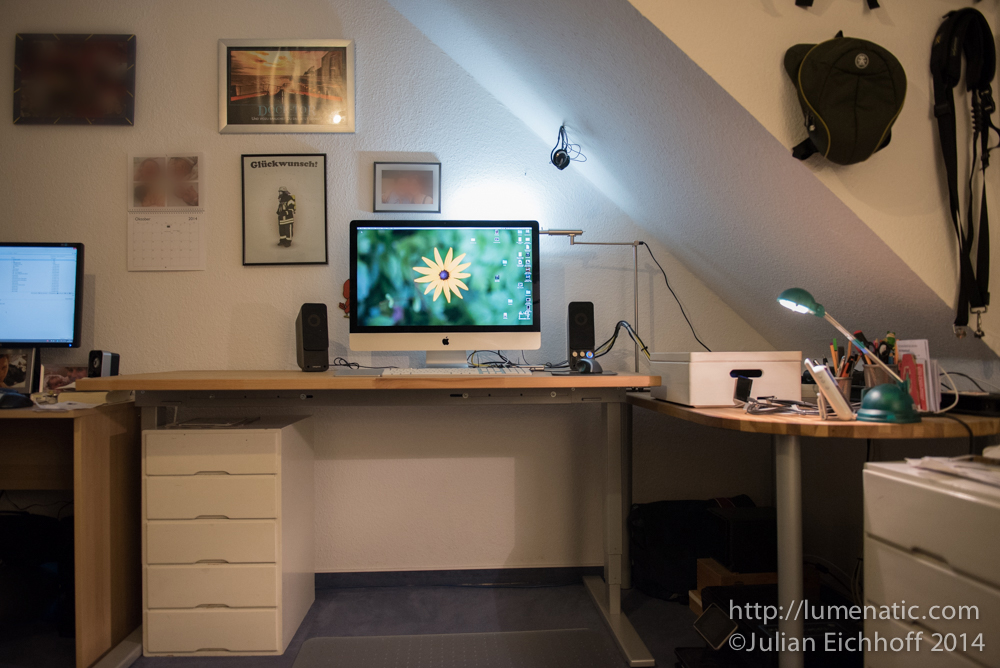
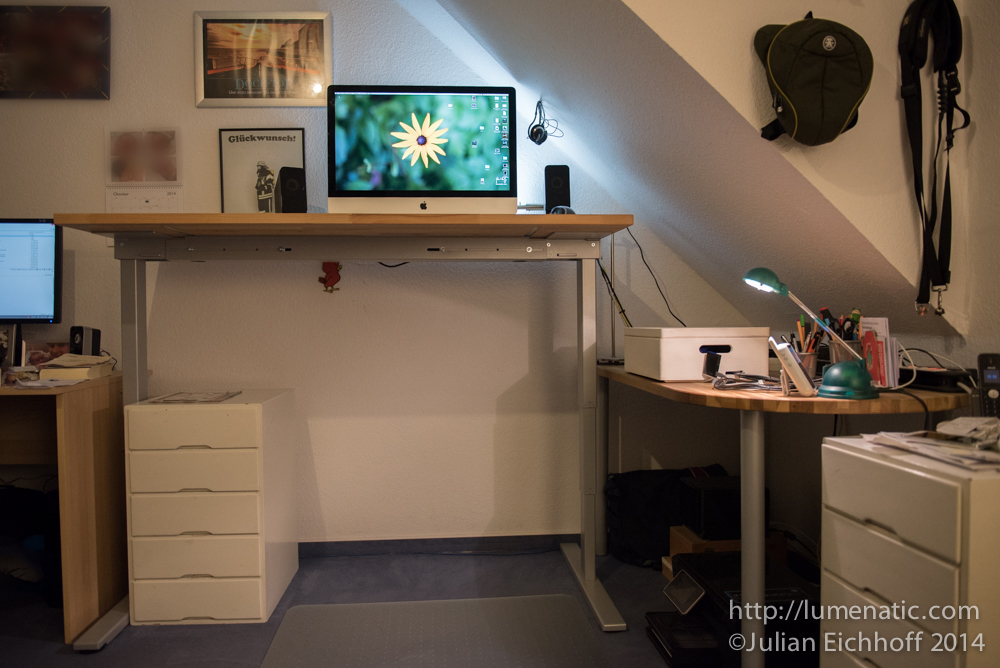
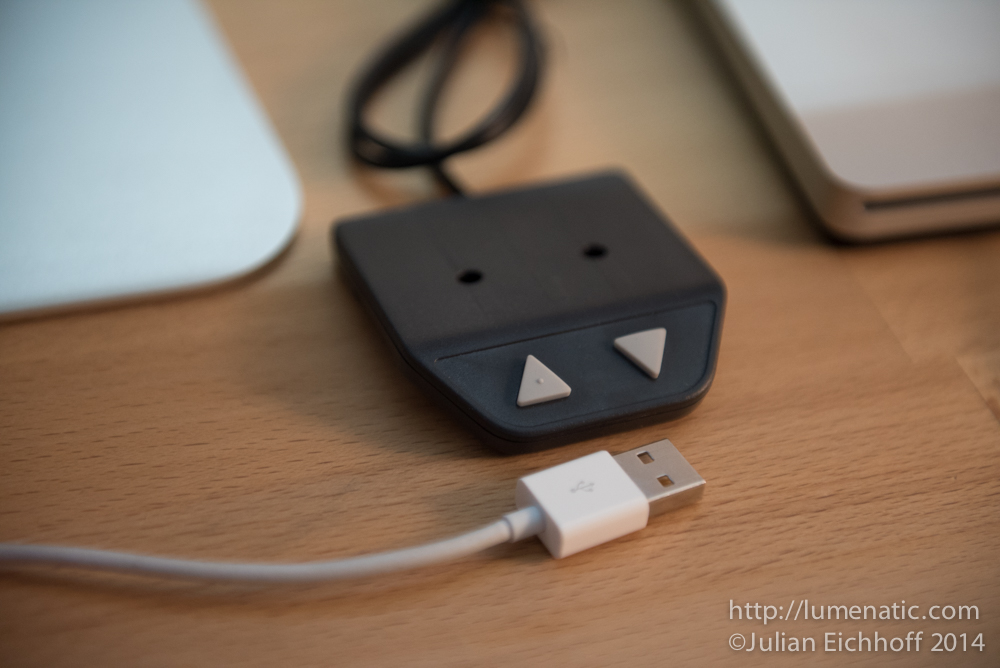
At first let’s take a look at the electrically actuated desk. The motors are integrated in the two legs, the main control unit is housed in the cable tray between both legs. Due to the motors the table is ultra heavy. The motors run (very smoothly and quiet) with a speed of around 40 mm/sec. Movement is controlled with a simple up/down control pad. The USB plug in the image is for scale. I decided not to fasten the control pad underneath the table since I have two little kids running around – they would play elevator with that thing. The manufacturer Inwerk also offers different control units. More sophisticated ones have a memory function, another option is to control the table from your PC or Mac. But that was too costly for my taste so I skipped that and stuck to the siple up/down button solution. What I bought on the other hand is a collision sensor. That is a small dongle which is plugged into the power unit. The collision sensor detects, well, whenever the table collides with something, immediately stops the motors and drives the table around 25 mm in the opposite direction. Remember one thing when you have set up the table and put the computer back onto the desk: You need to leave enough cable length to drive the table into the upper most position ! Don’t fasten the cables somewhere, leave sufficient room for cable movement.

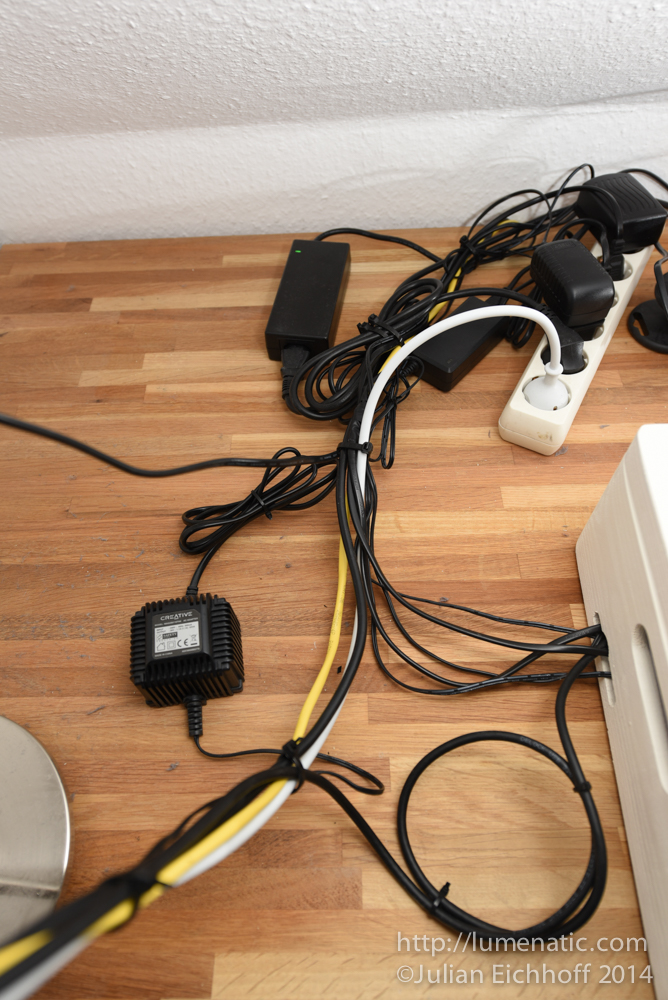
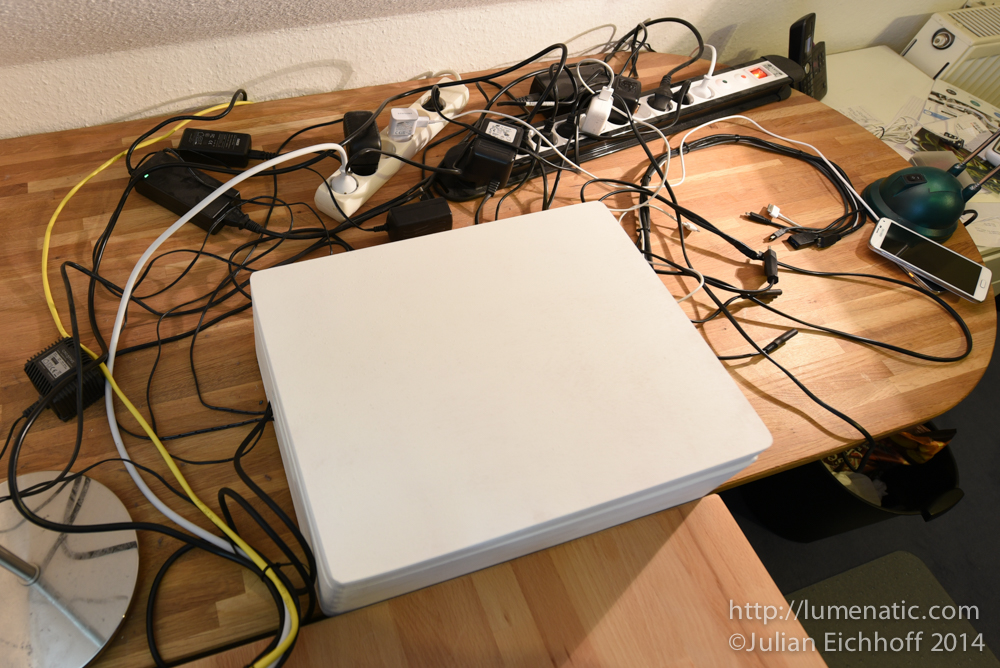
The recabling operation took around an hour. At first I unplugged most of the cables to get them sorted. Then, piece by piece, I reconnected them and bundled the cables as I went. As mentiones above, cable binders are your friend. In case you wonder what the white box with all the cables going in and out is: It is a battery charger / USB hub connection center I built a while ago. Read about that here. The result of my recabling operation might not be perfect, but at least the situation went from cooked spaghetti to uncooked spaghetti. I am not too comfortable with all the loops I made since every loop is a spool causing induction, but since all cables are different surplus cable length is not avoidable.