

 There are many different philosophies and solutions when it comes to storing one’s camera gear. Since the hunter-gatherer blood runs strongly in my veins I amassed quite a collection of gear over the years. After some interim solutions with shelfes and boxes I finally decided on a dedicated IKEA Billy shelf with glass doors for storing and organizing my photo gear, see this post from 2012.
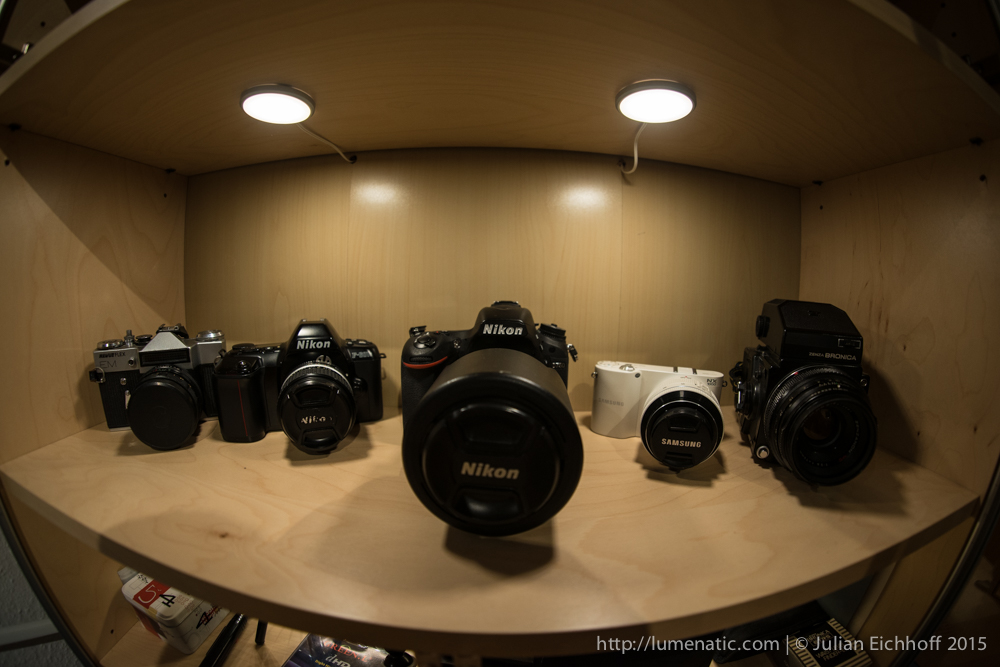
Since then equipment and accessories cluttered the shelfes and what was once organized turned into a chaotic heap. Between Christmas and New Year’s Eve I sifted through my gear to get rid of equipment I rarely used.
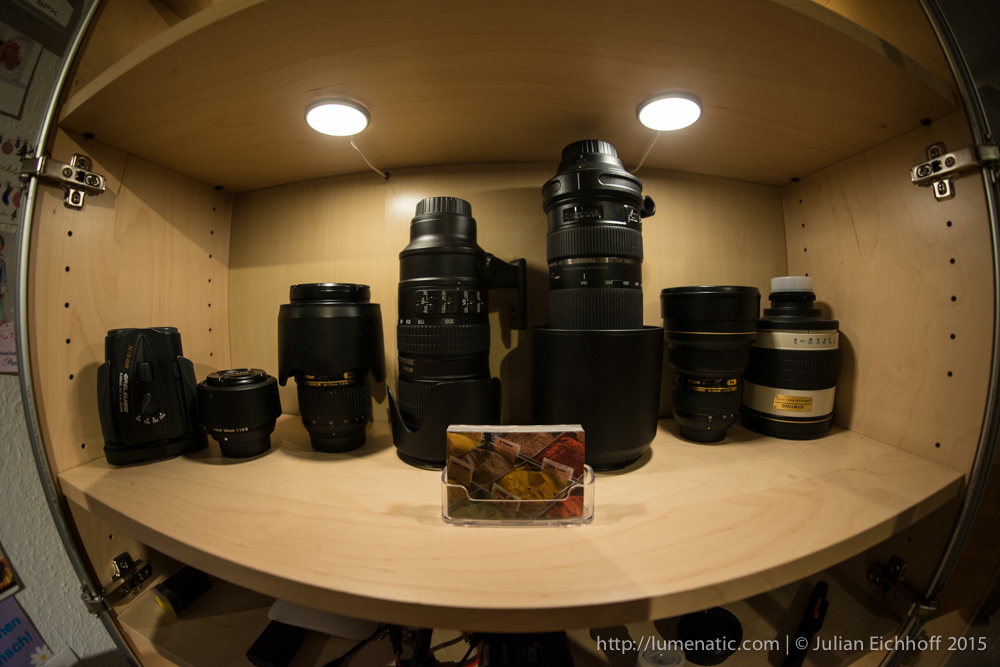
Along with this screening process I installed some LED lighting on the shelf. I bought two sets of IKEA LEDARE LED lights. One set consisted of four LED spots while the second set contained four LED strips. I chose the IKEA lights because they were the cheapest and have a warm color temperature of 2700K. There are also variants of the LEDARE lighting set which contain coloured LEDs and a control panel to change the color. I decided to place the spots on the shelfeswith lenses and cameras, because those are the core components of photography. The LED strips add a little more ambience to the shelf, so I installed them on the “flash shelf” and the “auxiliary photo stuff shelf”.

At first I punched a hole into the back lining of the Billy shelf. I used a drill bit and manually rotated it to create the hole. The reason I did this manually is that I wanted more control over the process. Since the back lining is very thin an electric drill would have punched through in a second and also damaged the wall behind it.
 The spot can either be installed with adhesive tape or screws. I chose to employ the adhesive tape. Then I threaded the wiring through the hole in the back and plugged it in. A package contained four spots, I installed two spots on each shelf.


The LED strips consist of X white LEDs, encased in clear glass casing. Connectors which come with the set can be used to either have four separate strips which can be placed individually or they can be connected to a longer strip.
 I opted to make two longer strips out of the four elements. A hole was punched into the back of the shelf lining as described above. Again the strips were installed using adhesive tape. I bundled the cables at the top of the shelf, organizing them with cable binders. To have easy access to the switched I taped them to the side of the shelf. All that was left was to lay a cable channel for the power chord and there we are !
-

- Both the four spots and the four LED strips are activated by a switch, which I taped to the side of my shelf
-
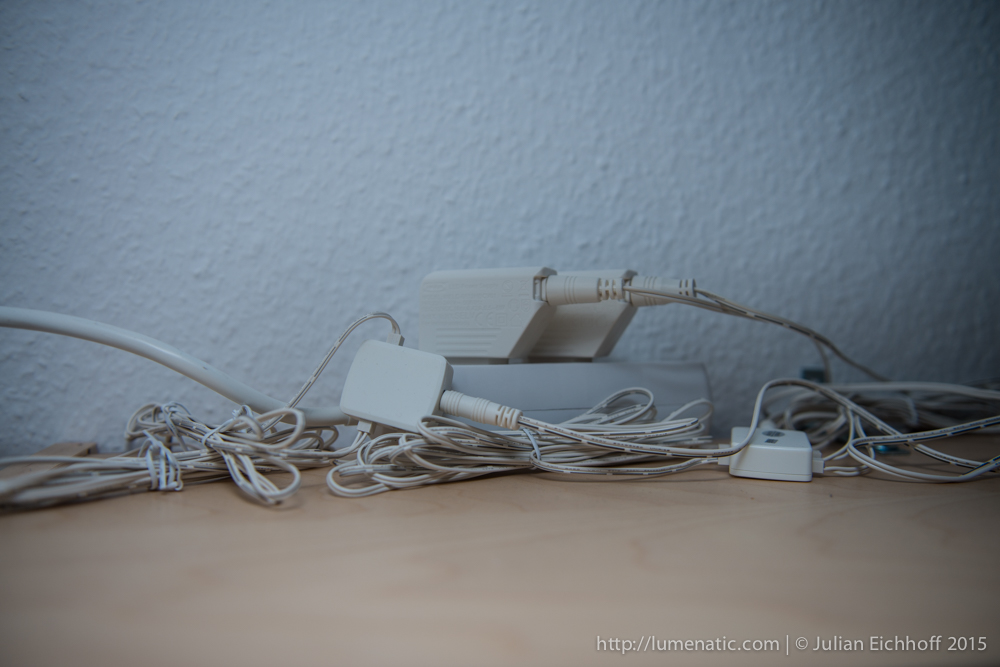
- I tried to manage the cables with cable binders. Reduces the chaos a little.
 Bottom line. Installing LED lighting to a shelf is not rocket science. All it takes is some tidy cable management and simple installation procedures. Once installed, an illuminated shelf can enhance the lighting mood in your room.
