Recently I got a product photography assignment. A company for medical equipment (tools for endoscopic surgery) wanted me to shoot their products for the new print catalogue. The challenge in this job: All products should be shown on a white background (as white is the “colour” of medicine). But some products were white themselves (brushes, wipes, plastic handles). How should I photograph something white against a white background ?
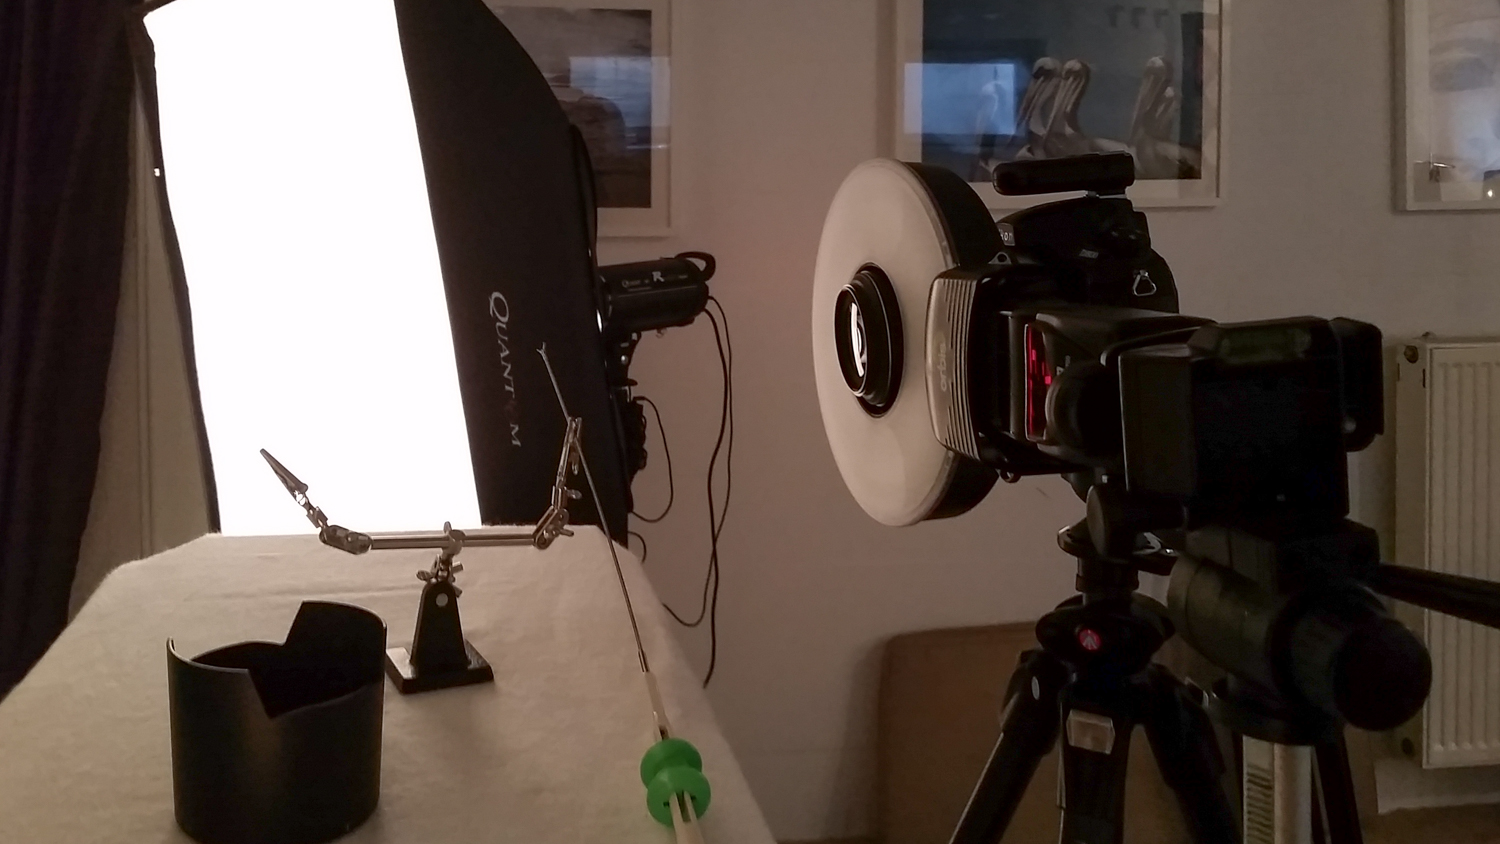
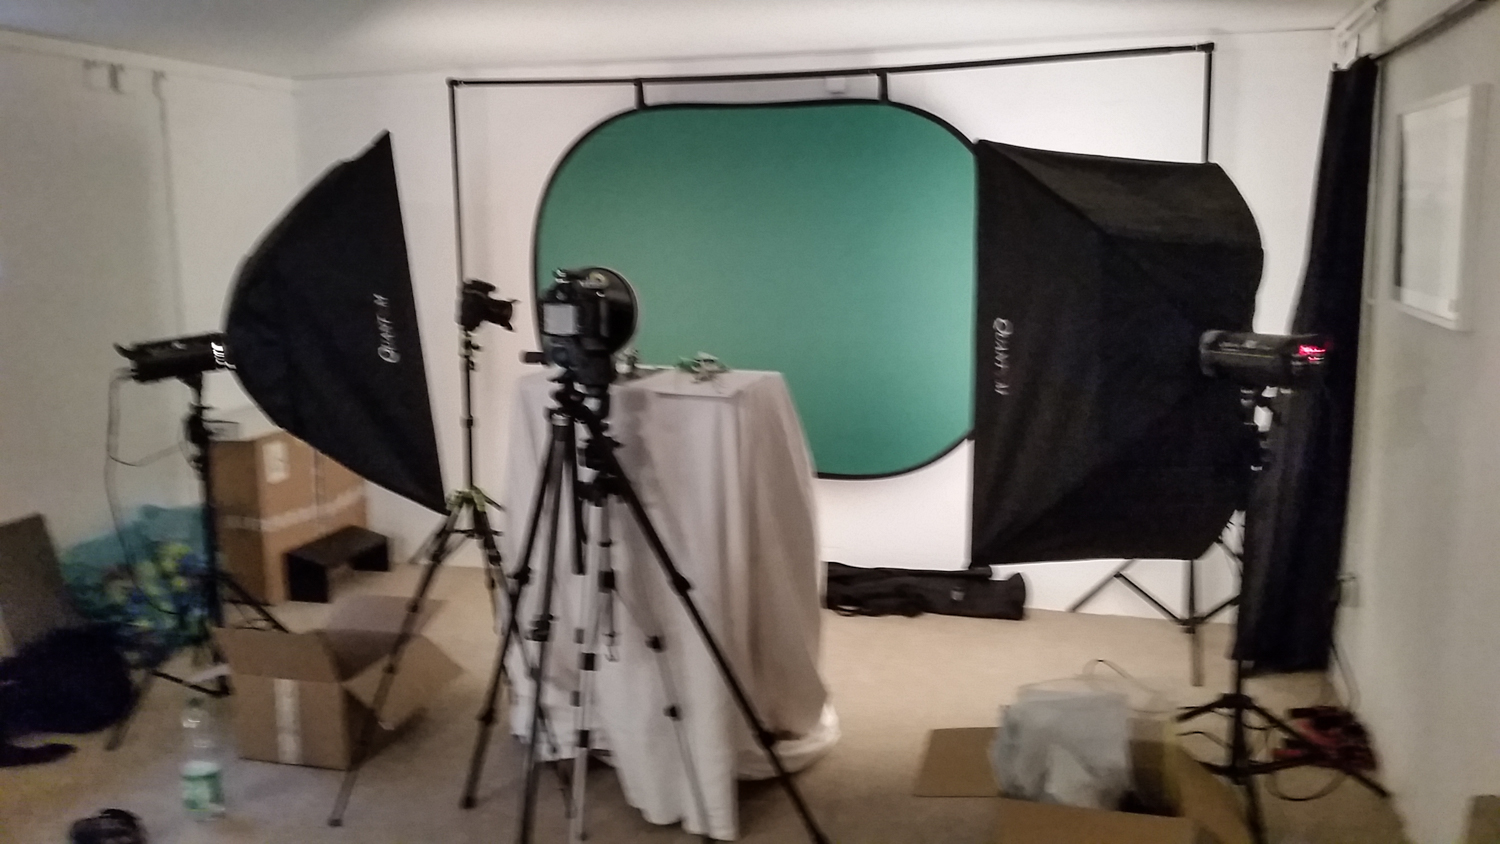 The solution was to use a greenscreen and later separate the object from its background in Photoshop. Sorry for the blurry making-of images, I made them with my phone (I had the 105 mm macro lens on my DSLR, which is why I did not make those images with the D800).When shooting with a greenscreen several things have to be taken into account. Let’s look at the lighting setup. Two large softboxes illuminate the greenscreen. The flashes have to be placed symmetrically to achieve an even lighting. Actually smaller flashes and softboxes would have sufficed, but the large ones are what I have in studio. The product itself is popped onto a pedestal or table and is illuminated by a third flash. Product and greenscreen have to be spaced by at least 1-2 m apart, so that no light from the greenscreen can cause nasty reflections on the product (you will see a green shimmer on the product borders if this happens). The distance also results in a totally unsharp background, which helps in separating the product from the green background.
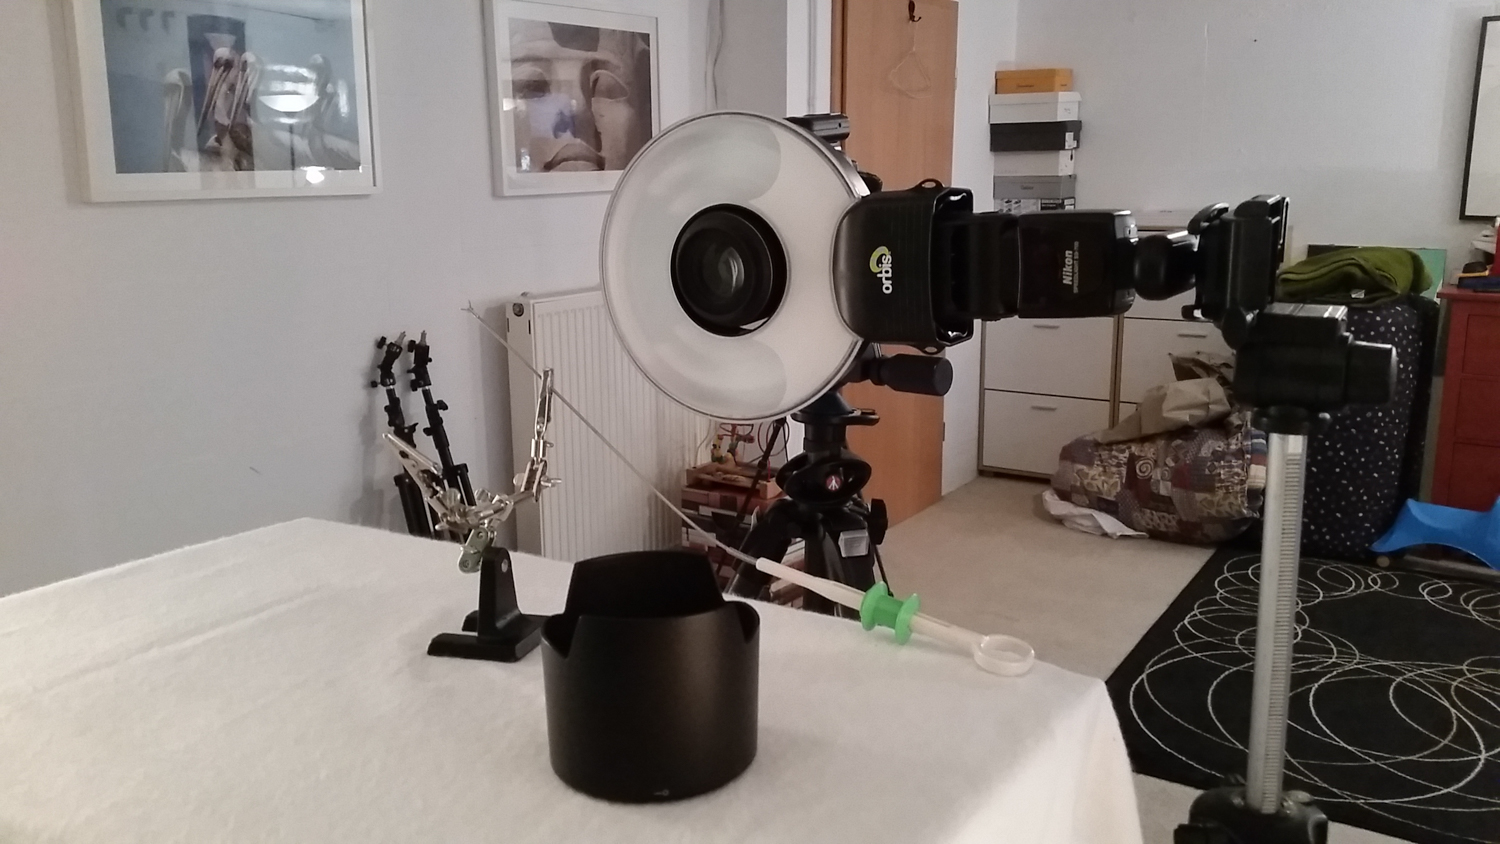
I chose a SB-700 with a Orbis ringflash to illuminate the product itself. A ringflash produces even and symmetrical light, as the camera is pointed through the middle of the ring. The second camera in the setup is just for the making-of and not necessary for the product shooting itself.
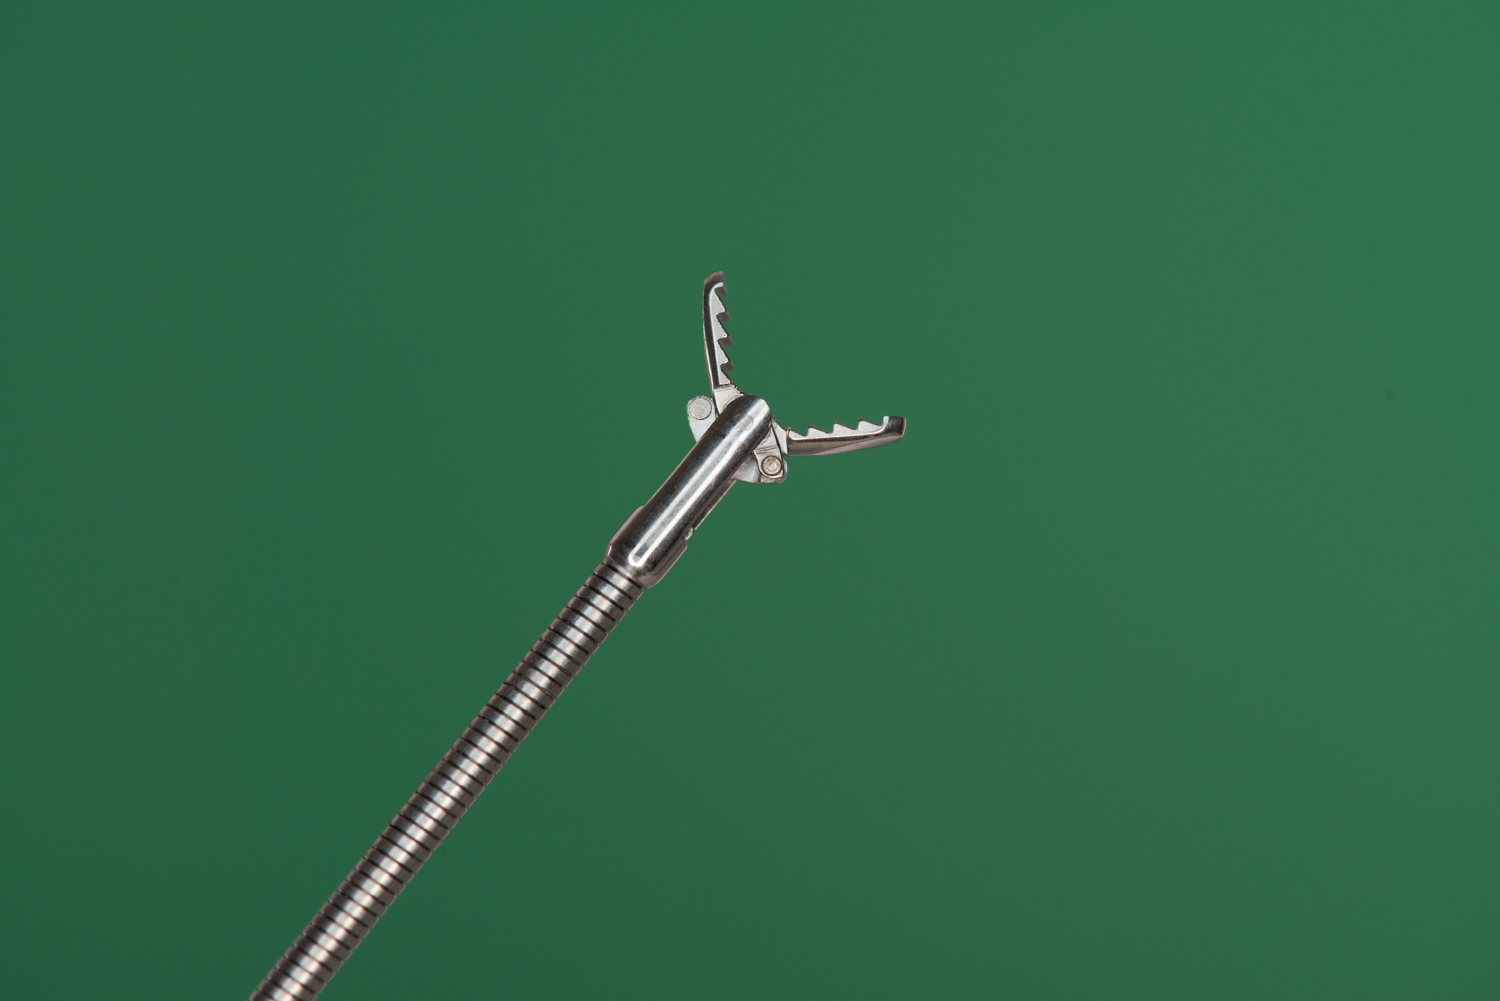
I started with the endoscopic tools. With the use of a soldering help I fixated the products and “composed” my shot.I chose to write this in brackets because the endoscopic tools were supposed to enter the frame from the bottom left and extend to roughly the middle of the image, so this is not sophisticated or artistic composition.
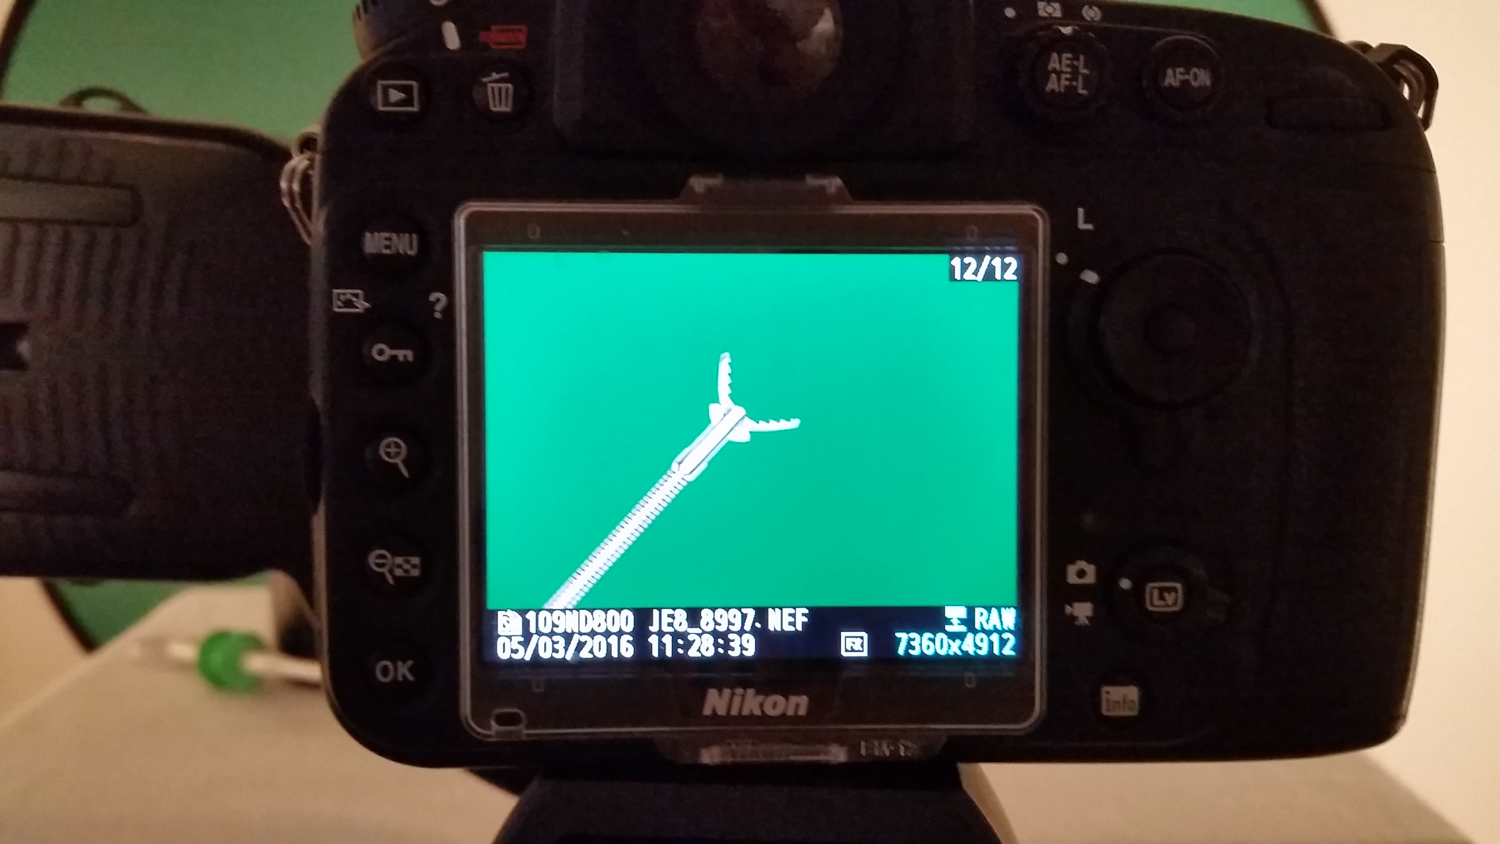
The images came out like this:
After post processing we ended up with something like this:

There are numerous ways in Photoshop to separate an object from its background, but here is what I did:
- At first create a new layer, drag and drop the background layer onto the “new layer” icon
- Then go to “Selection” => “Colour Range” and select the background colour with colour picker tool
- Photoshop selects everything in that particular colour, and as the background and the product are so neatly separated the selection comes out quite nicely
- Invert the selection, not the object is selected
- Go To “Selection” => “Adjust Selection” => “Contract” and contract by two pixels. This further minimizes any green pixels which might be around the edge of the object.
- Invert the selection again, so that everything BUT the object is selected
- Deselect everything
- Hit “Delete”
- The object is now isolated.
- Create a new layer, place it between the original layer at the bottom and the isolated layer at the top
- Fill the empty layer in the middle completely using the filling tool and pure white (RGB 255 255 255)
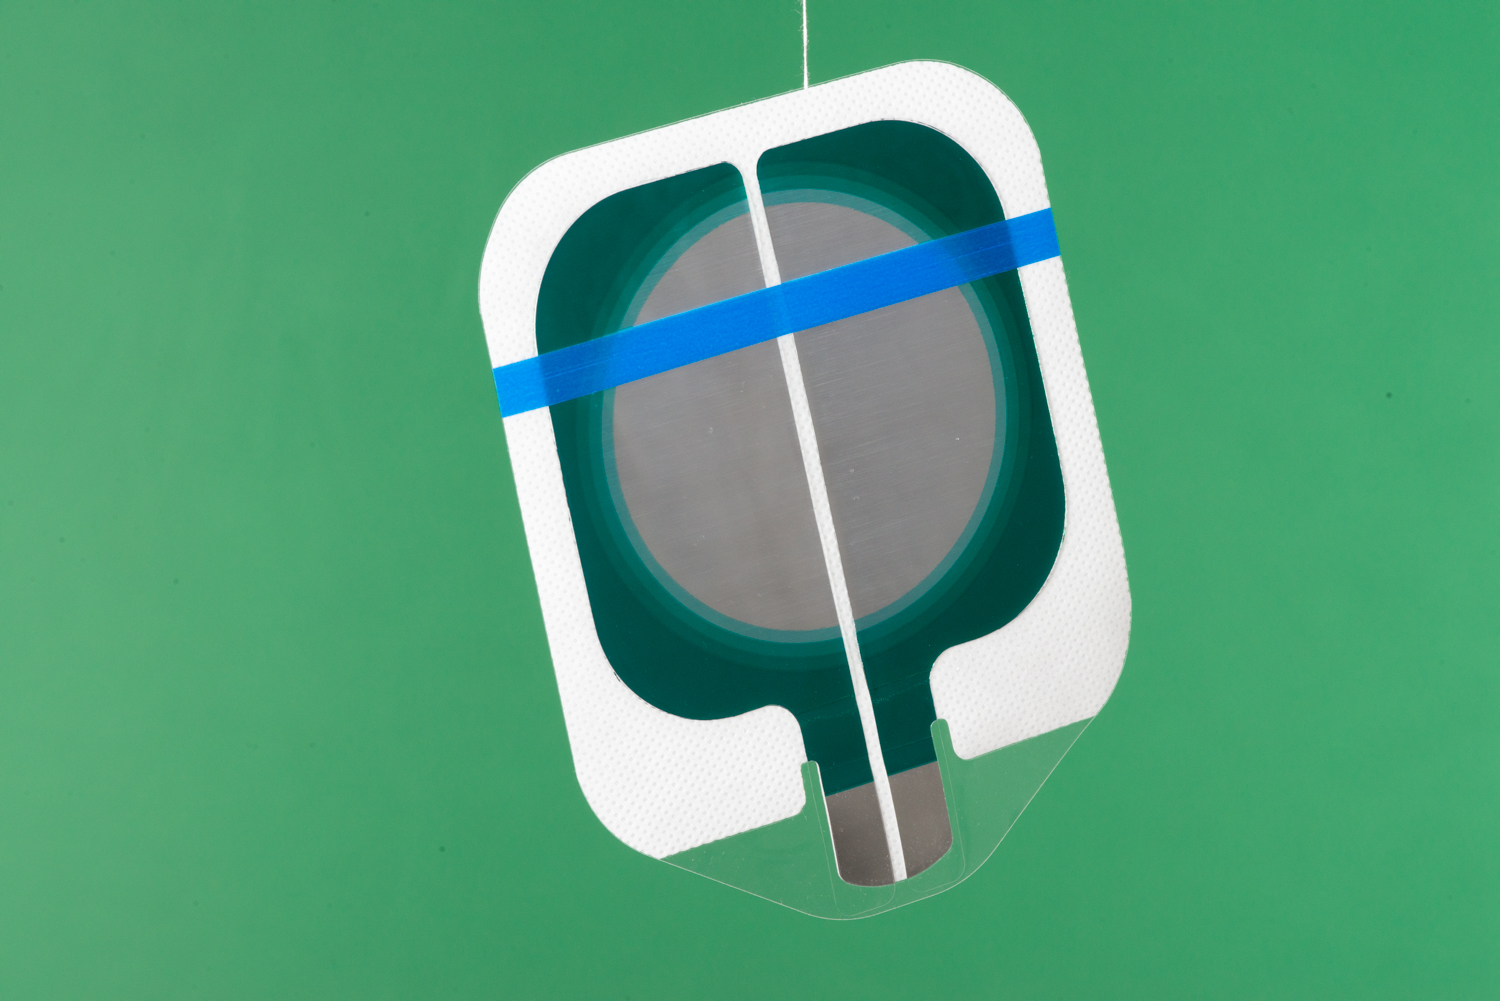
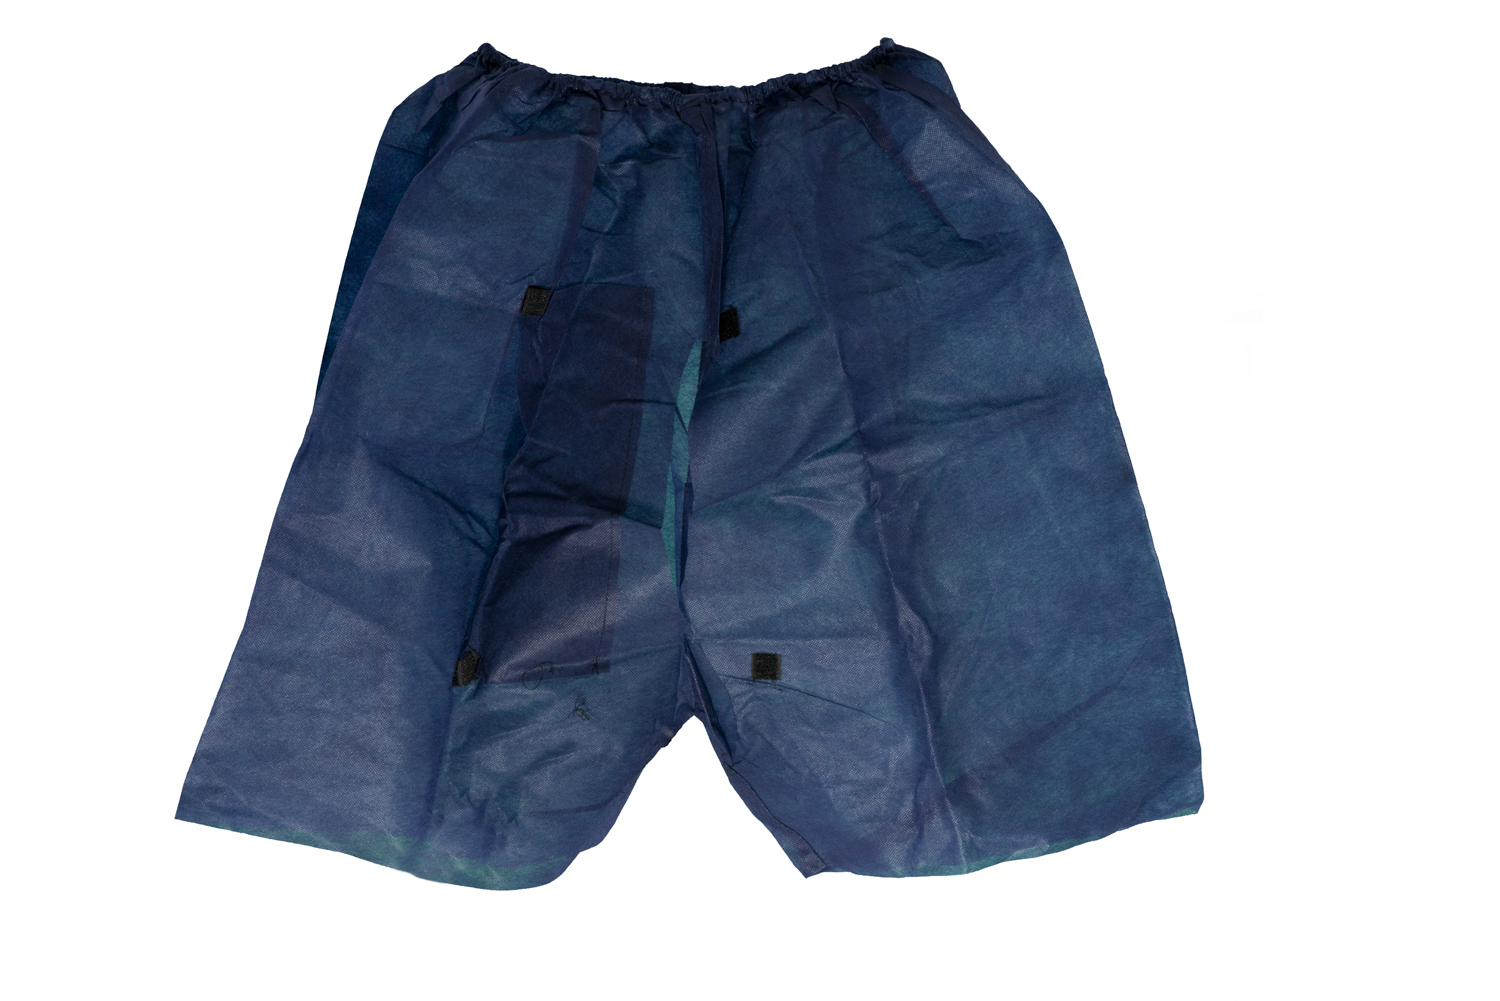
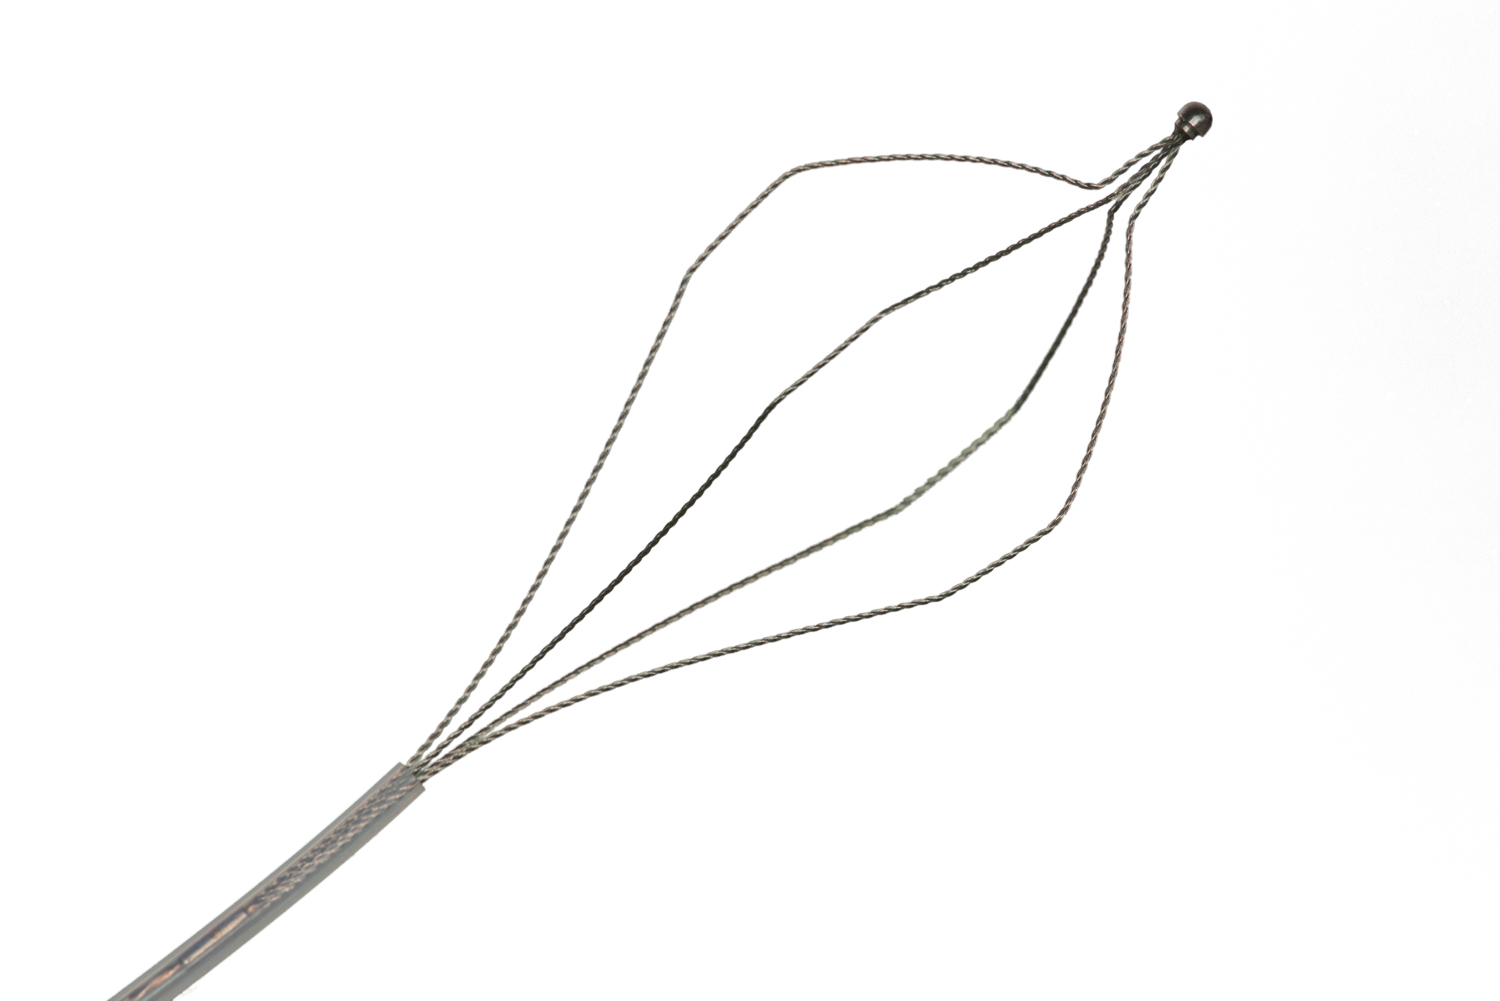
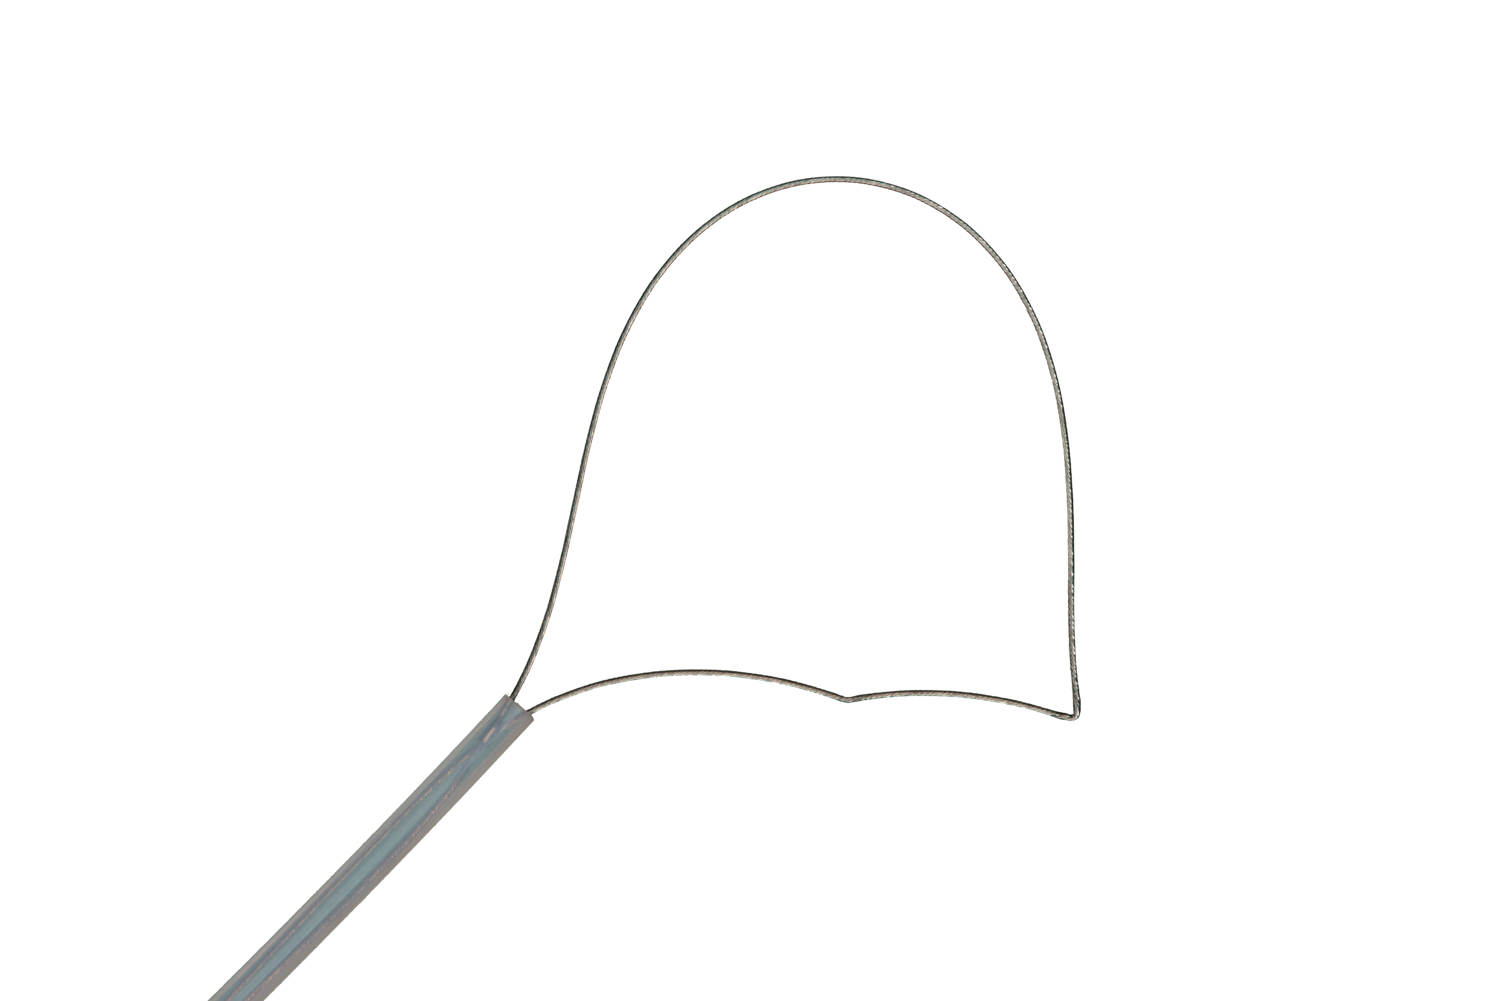
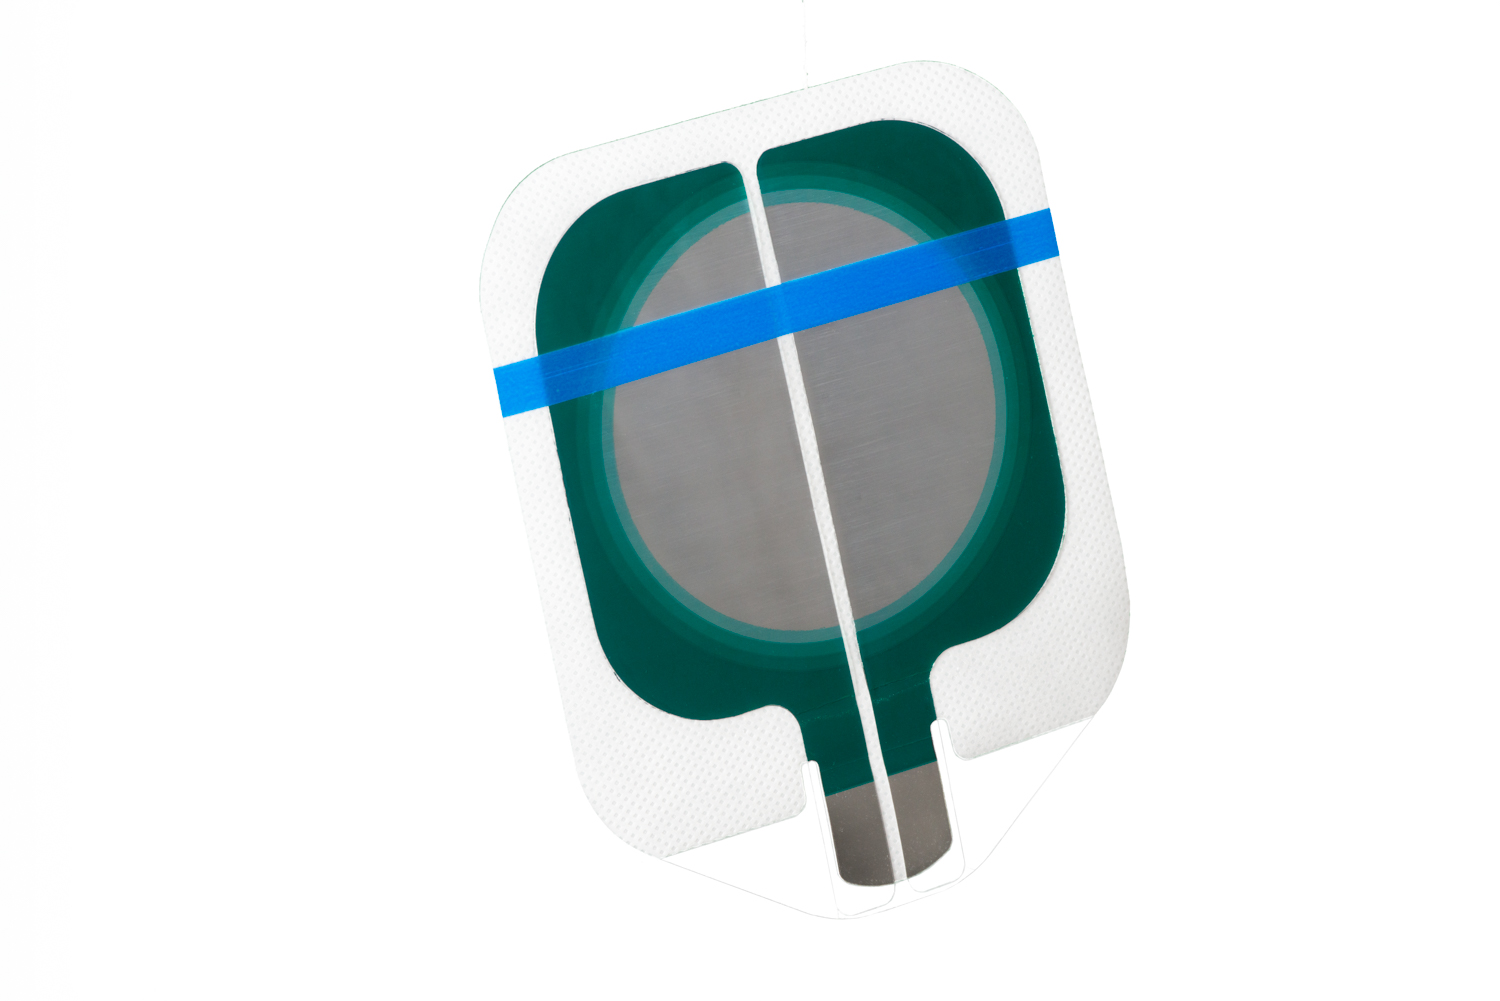
A selection of final images:
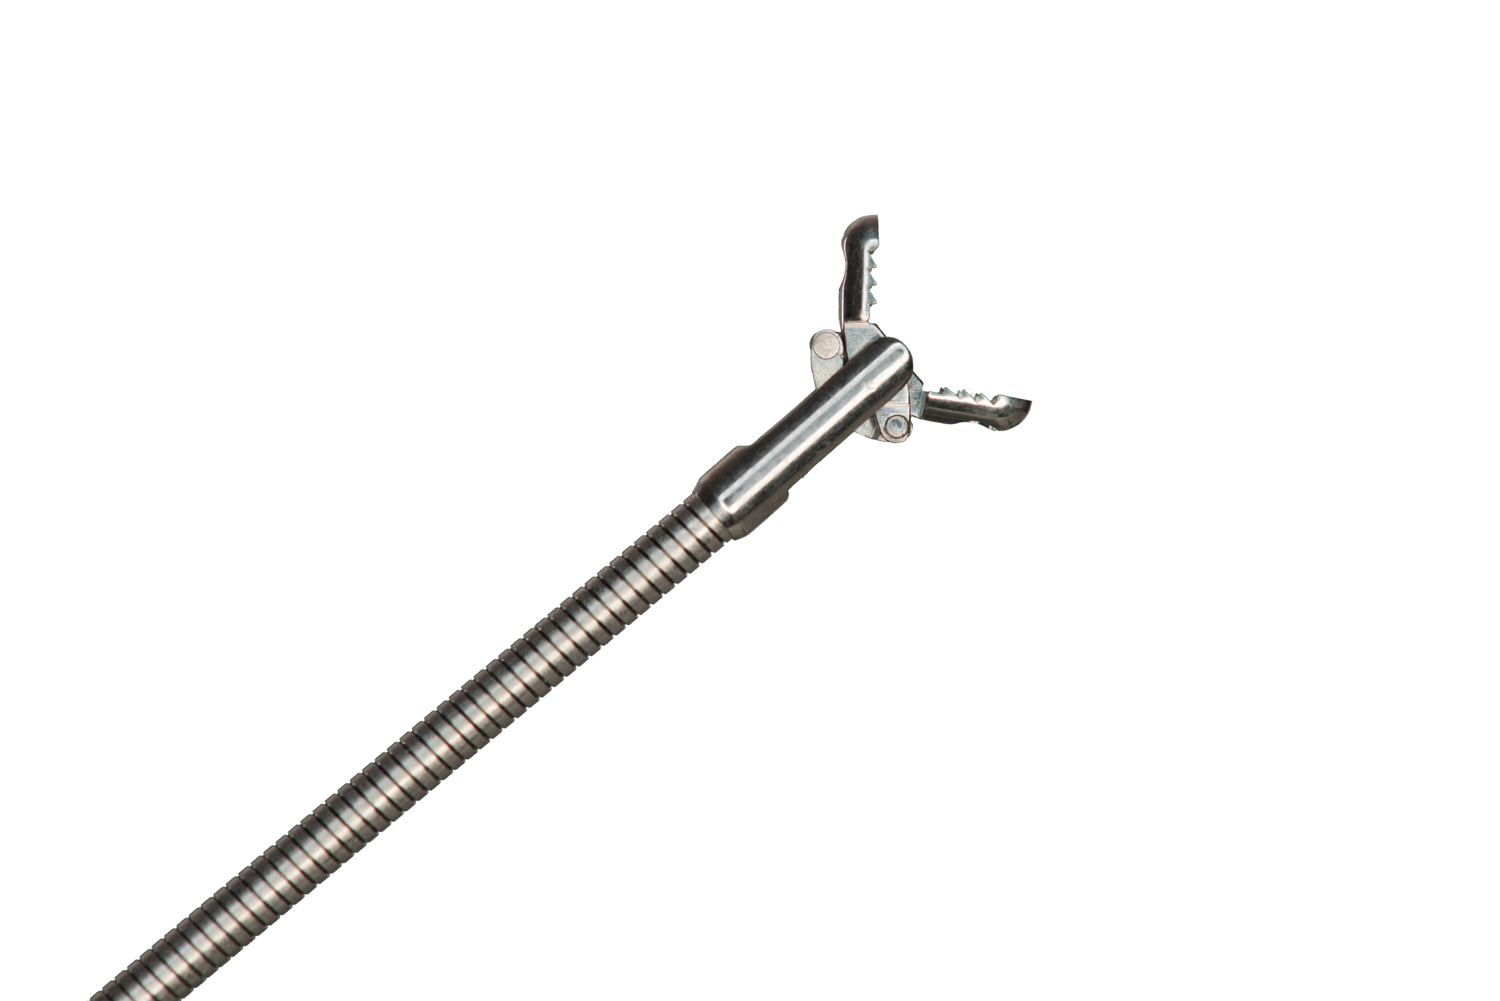

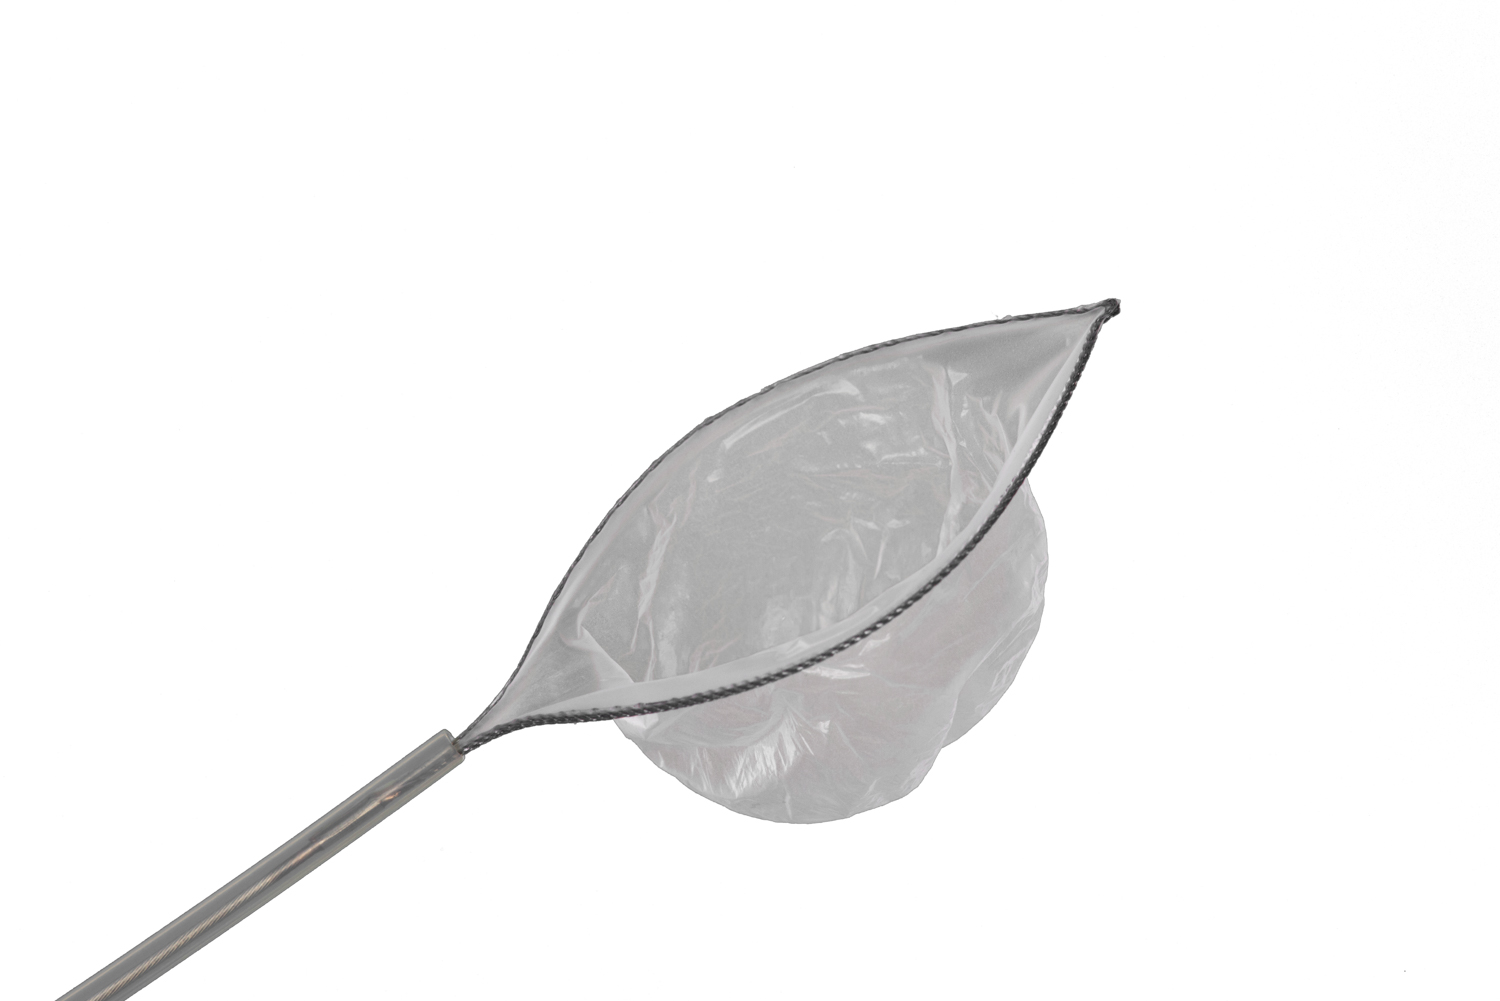
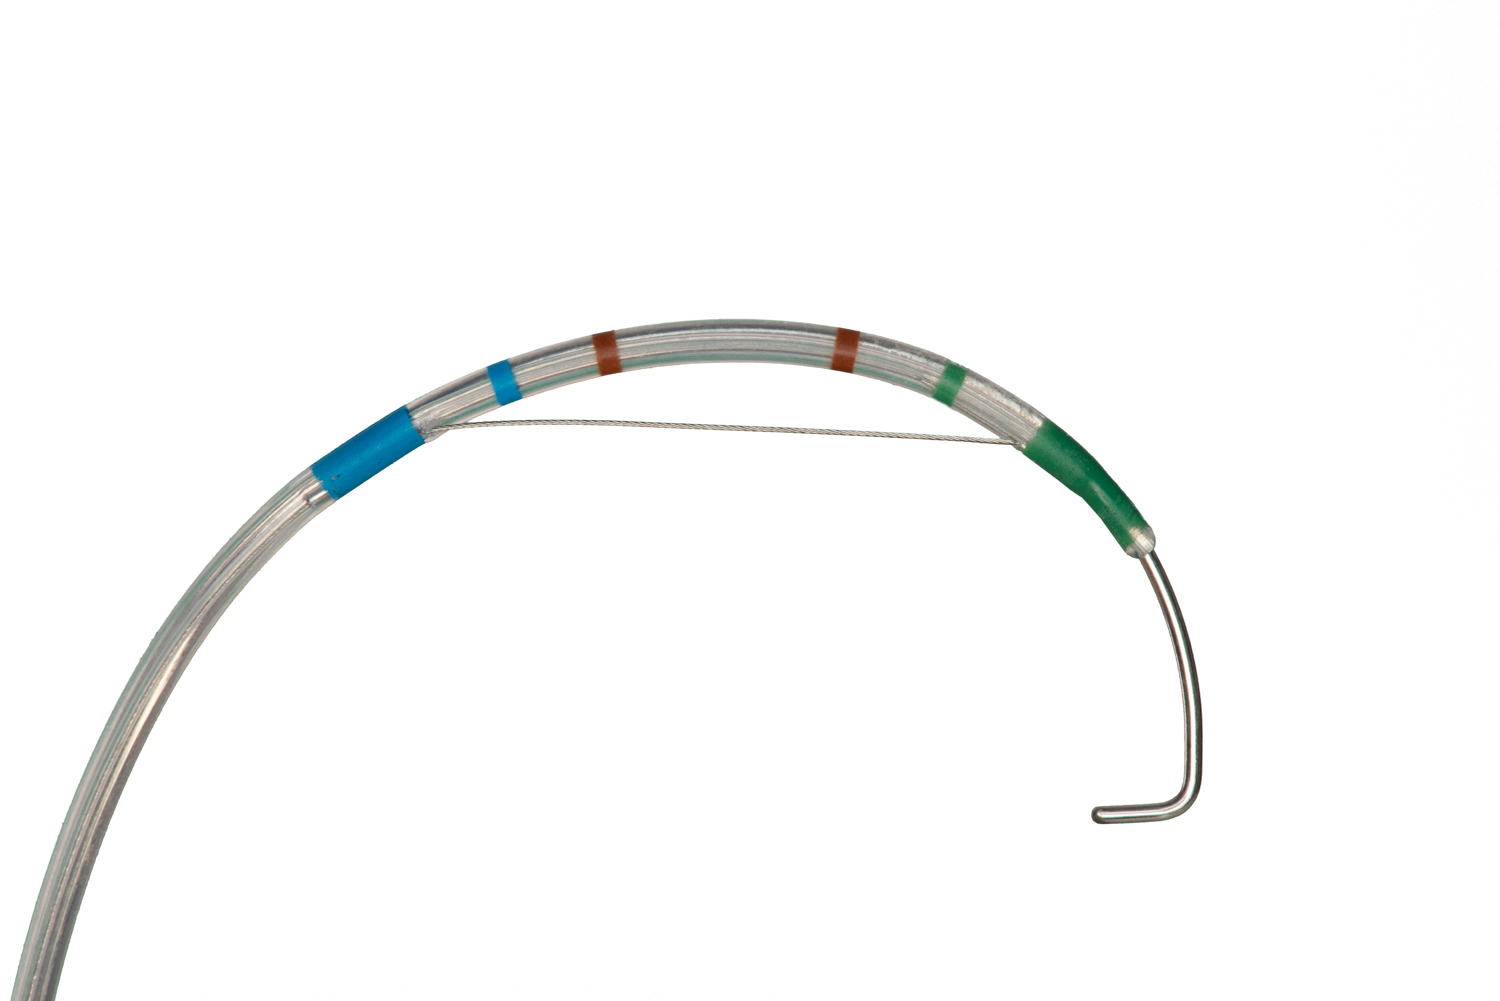
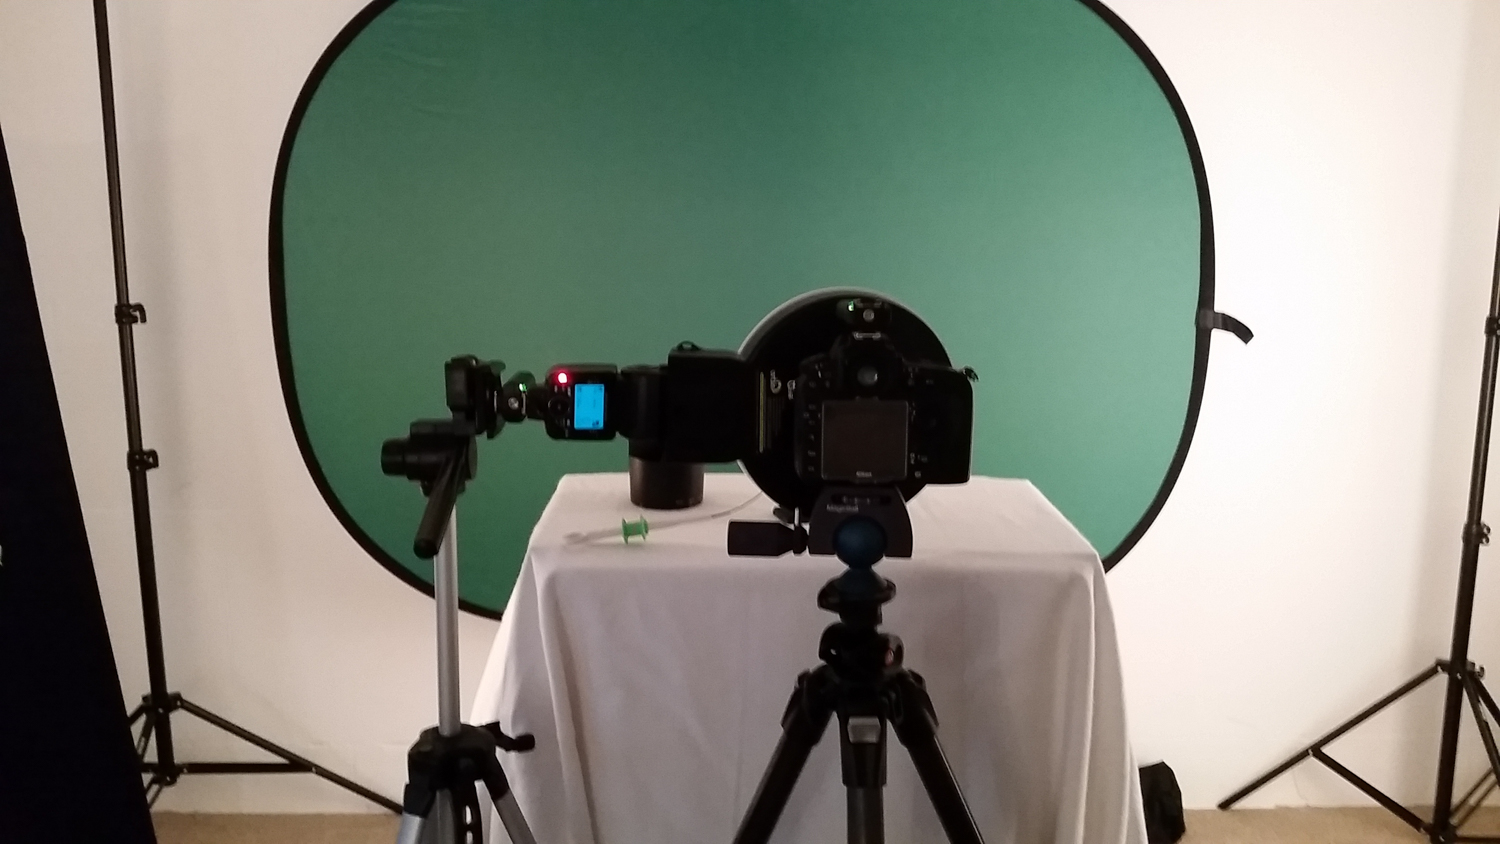
Different products required different setups. I started with the main setup, consisting of a greenscreen in the background. That setup is good for shots where only a part of the product is being photographed, e.g. the surgical instrument tips.
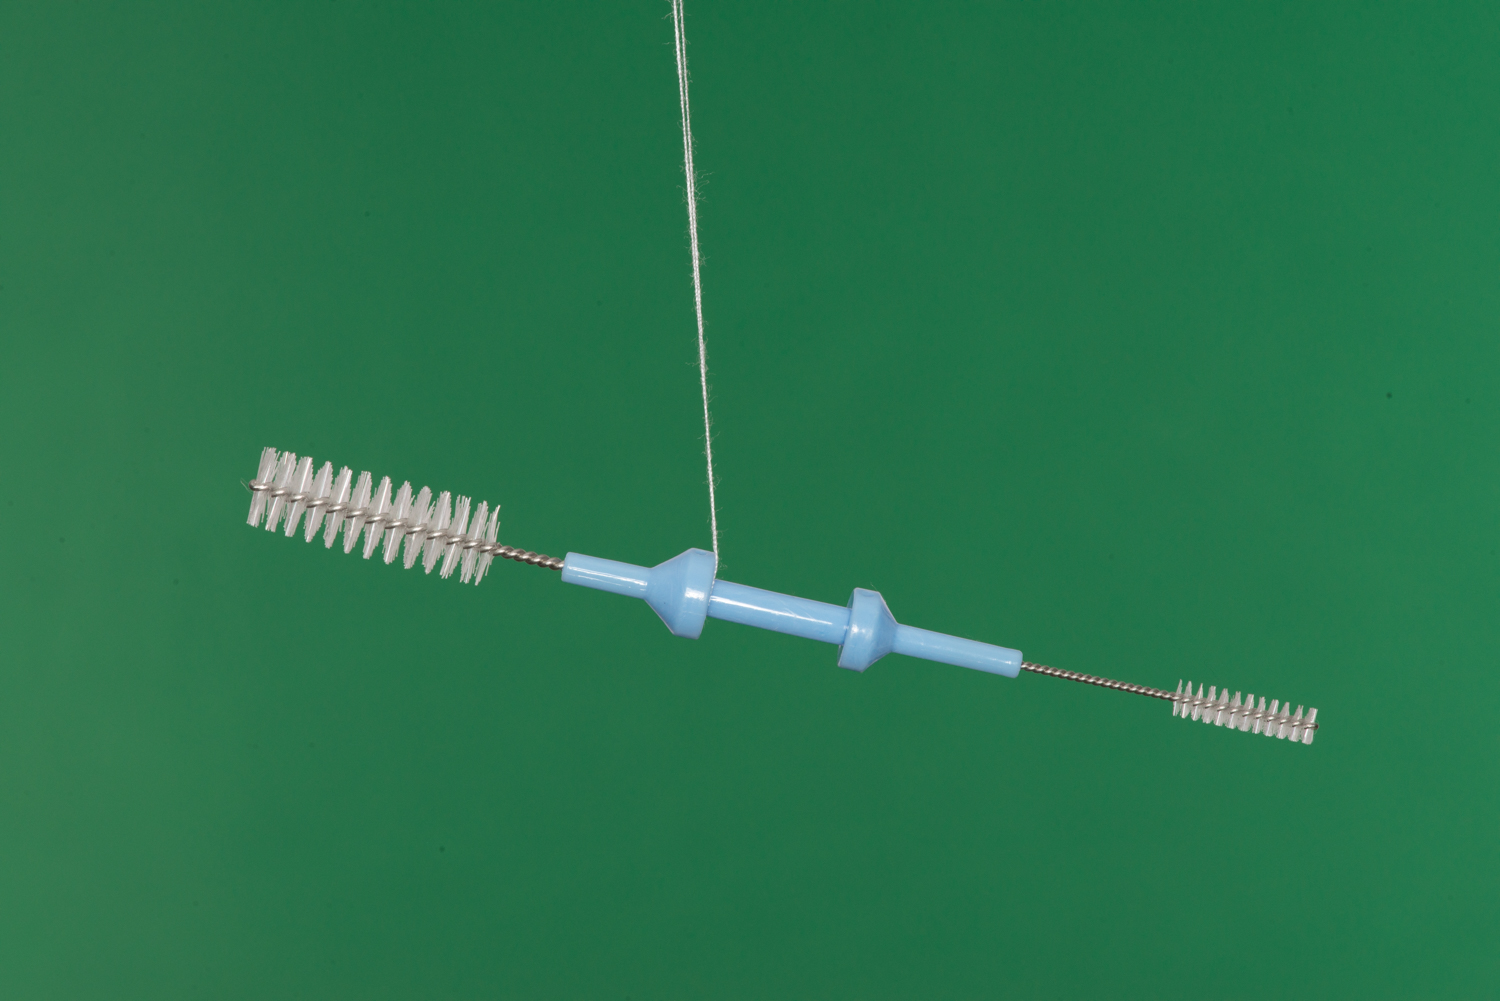
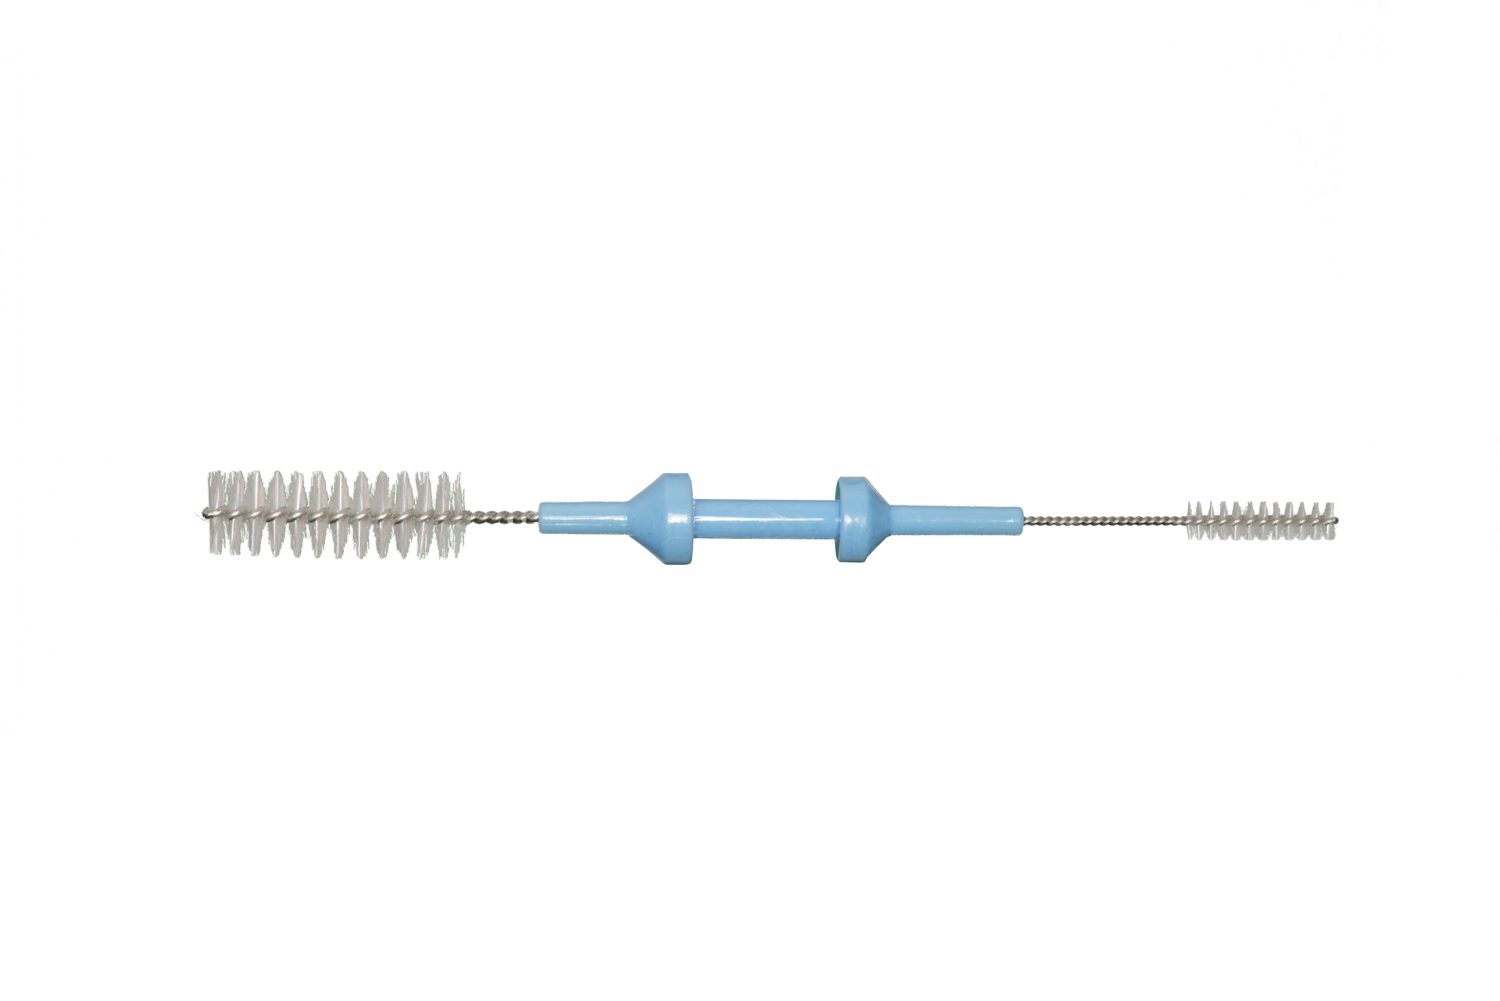
Products which are to be shown in whole (e.g. a brush or a cable) have to be photographed differently. I first tried placing them on a green piece of cardboard, but that posed several problems. At first the structure of the cardboard will be visible on the photograph as the object is close to the background. This makes the separation in photoshop more difficult. Secondly the object will cast a shadow on the cardboard. This further increases the difficulty in Photoshop. The third issue is the most striking to me. Light will reflect from the cardboard and shine on the product. This means that you will get a green shimmer on the surface of the product. Bottom line: Placing an object on green cardboard is not a good way to easily separate the two later in PS.
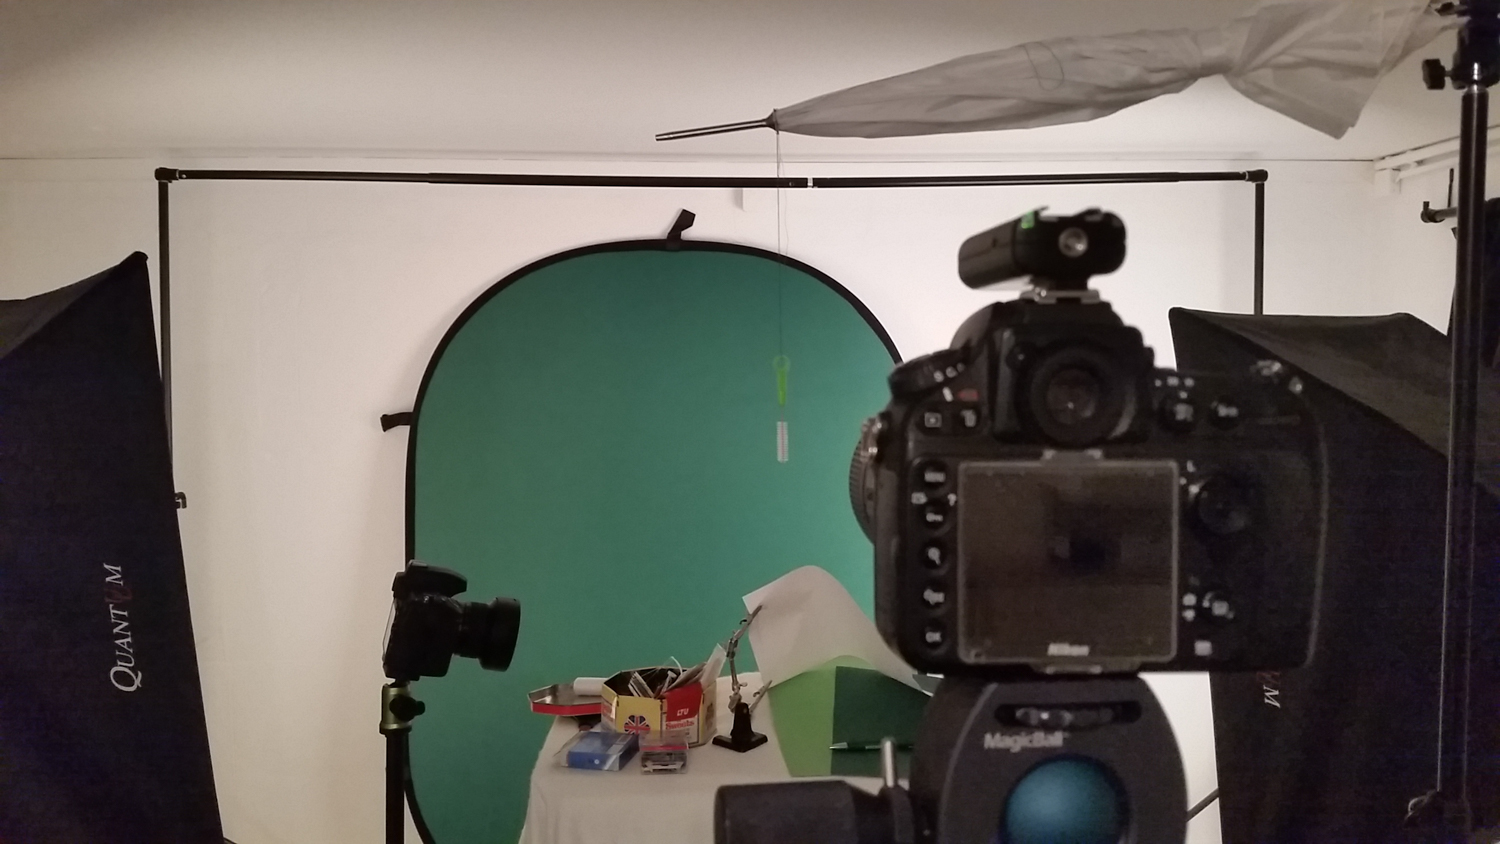 The solution was easy – I suspended the object with a piece of sewing thread from an overhead gallow, which I constructed out of a lighting stand and a folded umbrella. Now the background can be separated from the product easily, and some minor cloning will take care of the sewing thread.