

Photographing bikes in action can work in two ways. Either the camera is static (at the side of the road) or the camera is moving (on a drone, car or another bike). I’ve conducted plenty of static bike shoots (aka bike portrait). I have shot bikes in action while standing at the side of the track. I have made a bike to bike shoot with a remotely controlled camera. That proved to be a totally blind thing as you can’t see what the camera sees.
So it was time to dive deeper and conduct an action shooting with me as the pillion rider.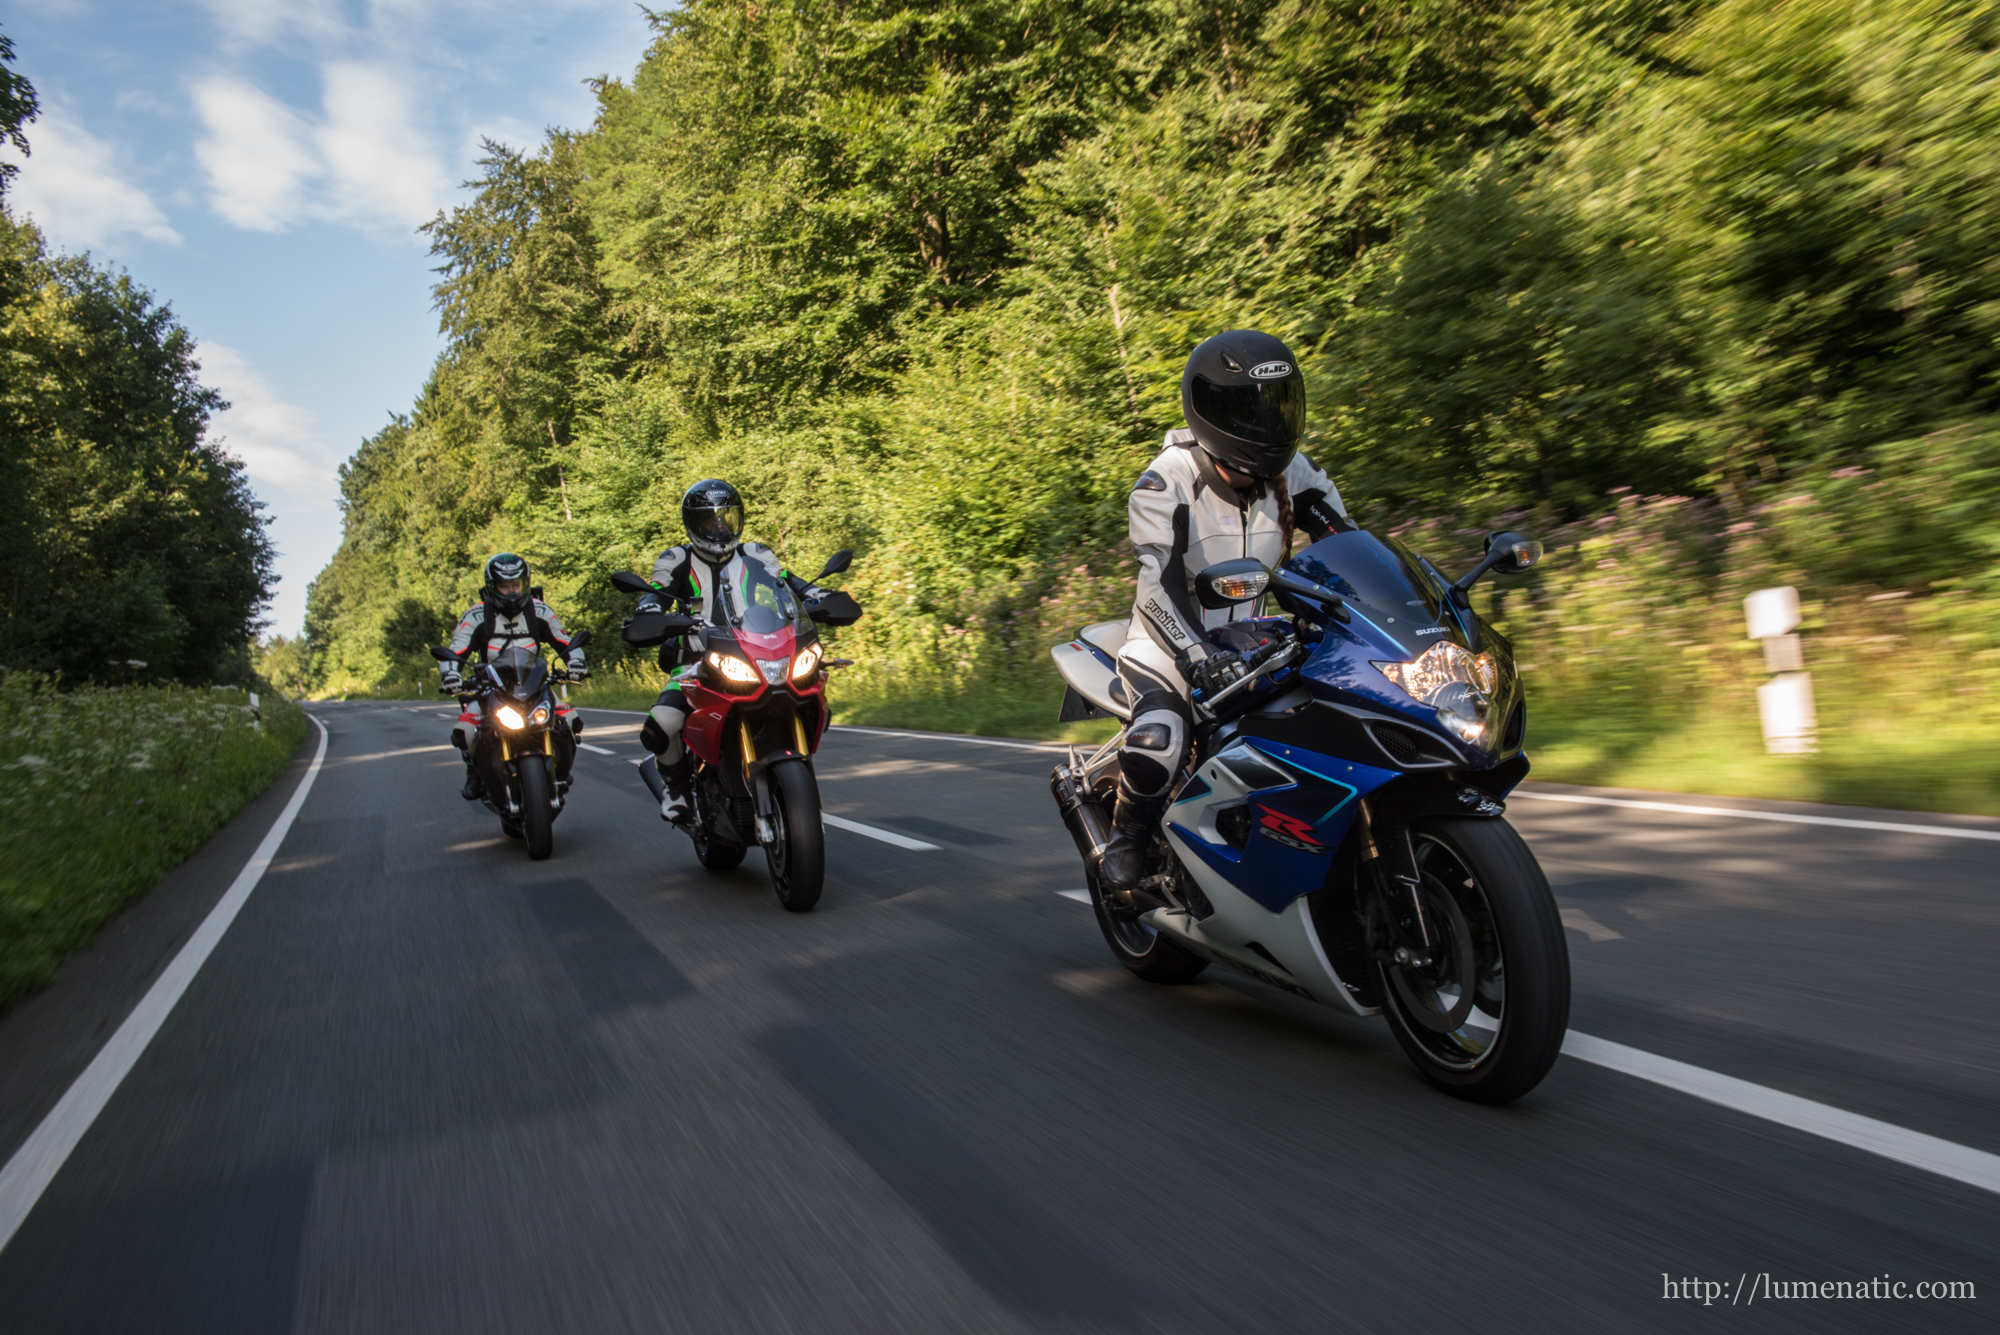
I assembled four riders for the shoot:
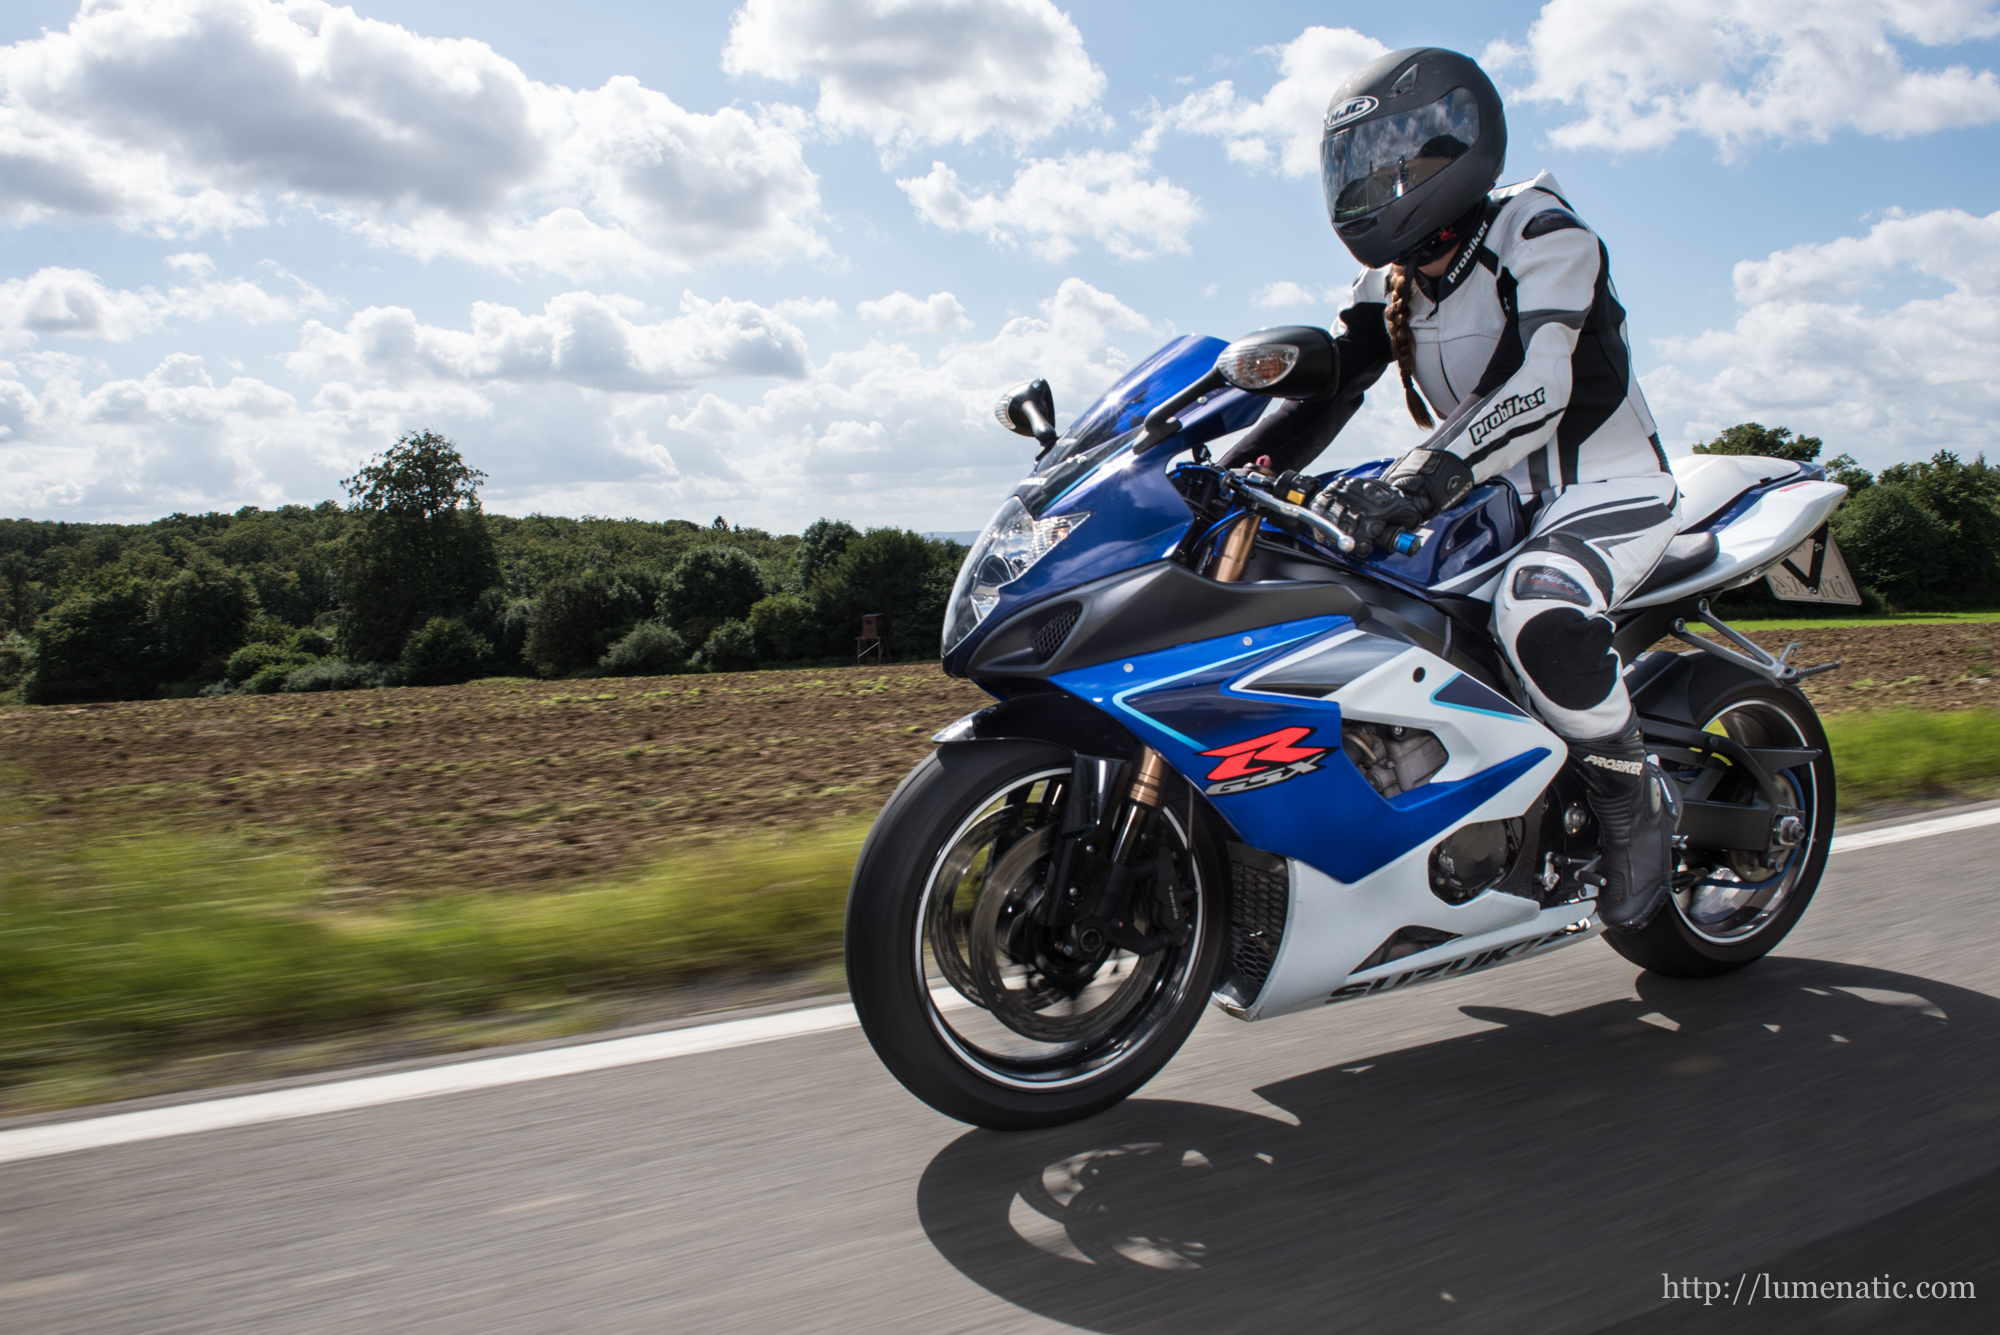
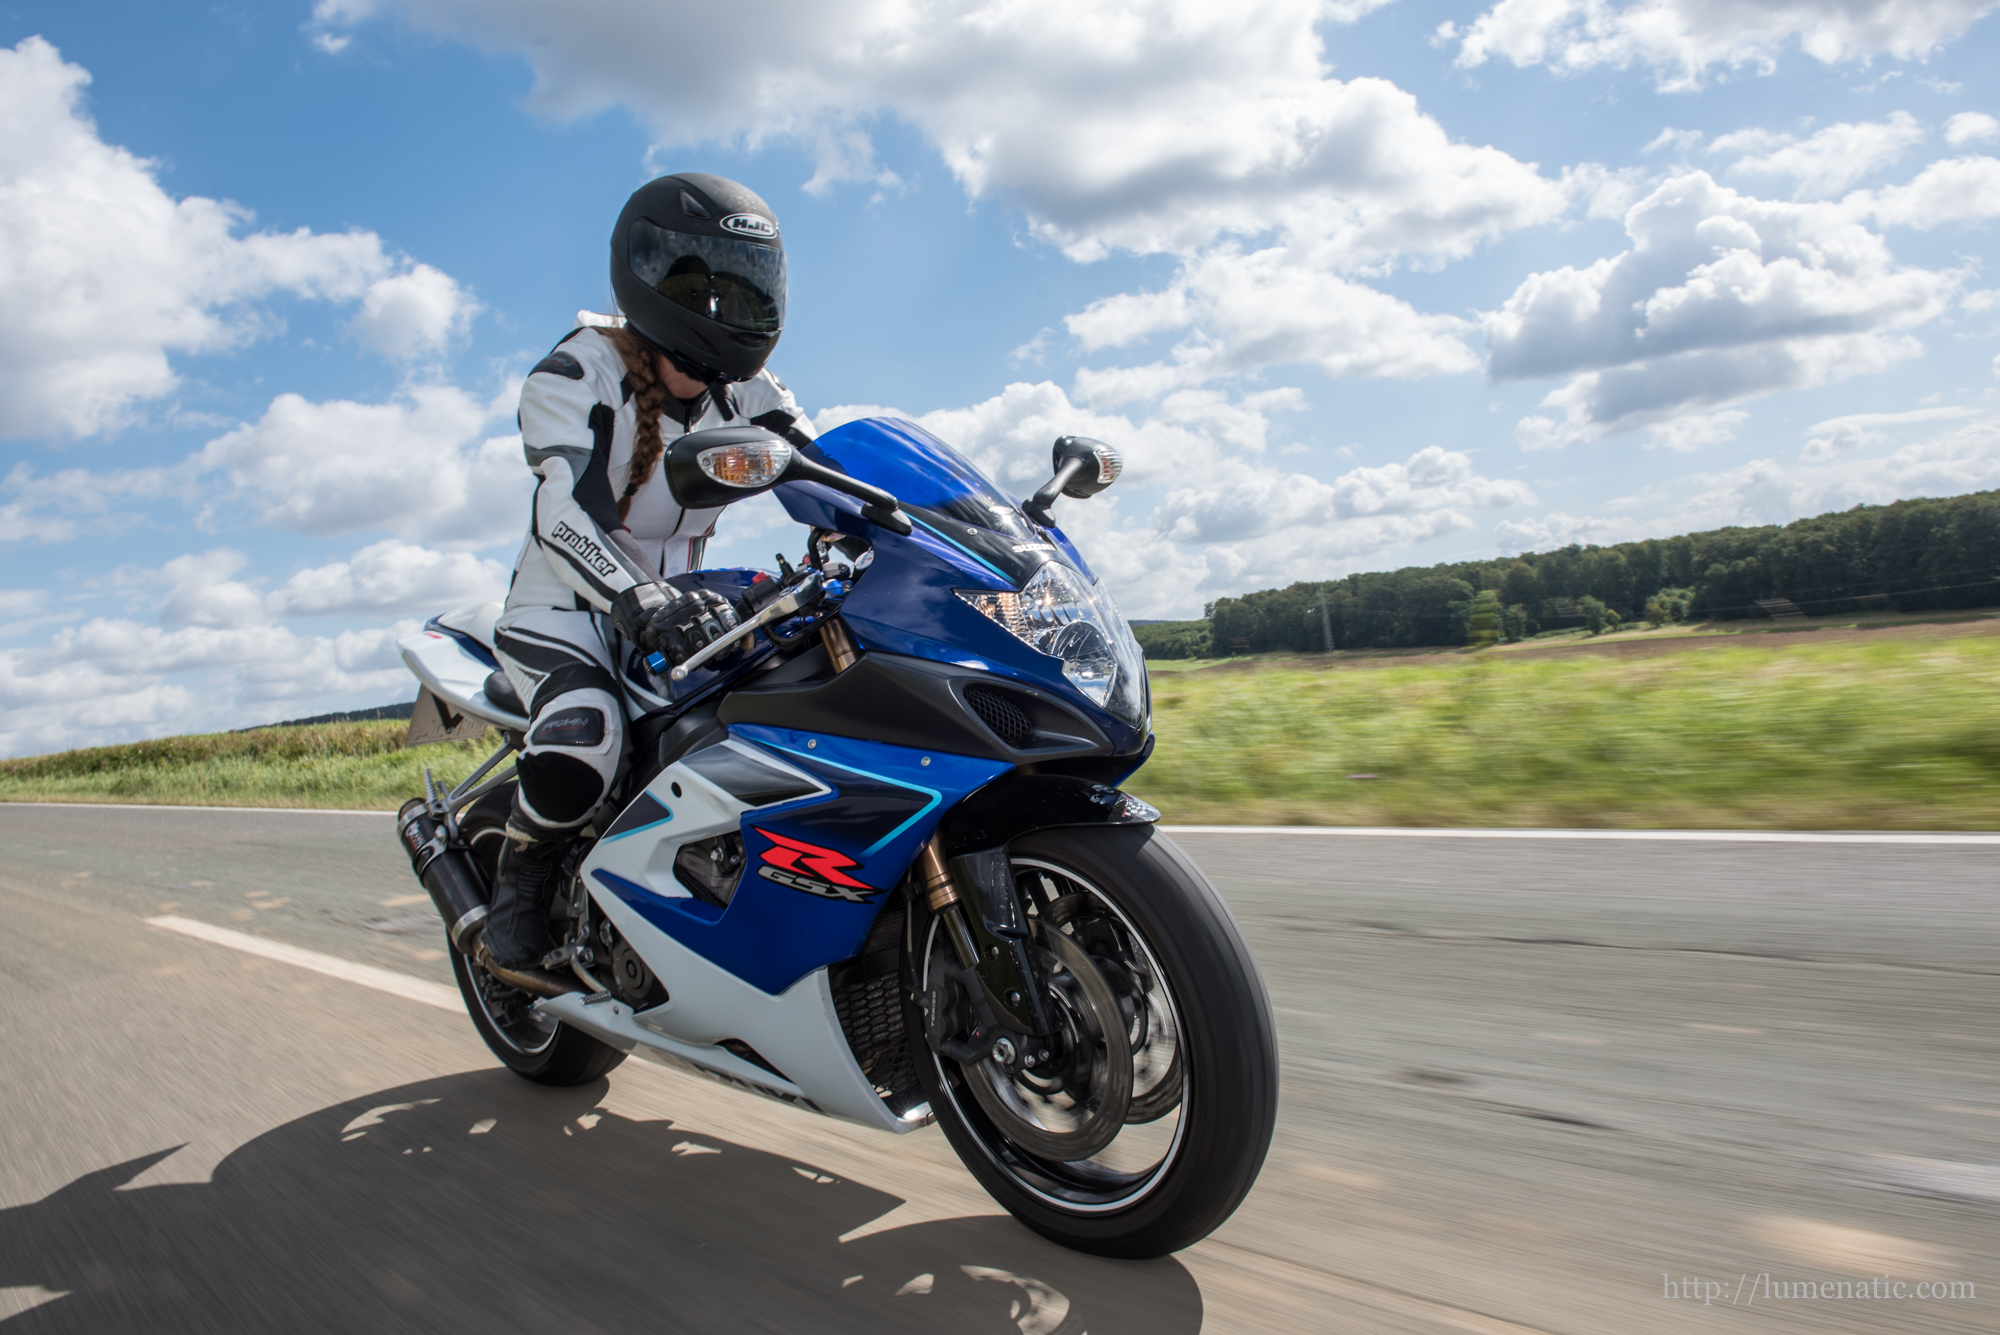
- a Suzuki GSX-R 1000 (been there, done that),
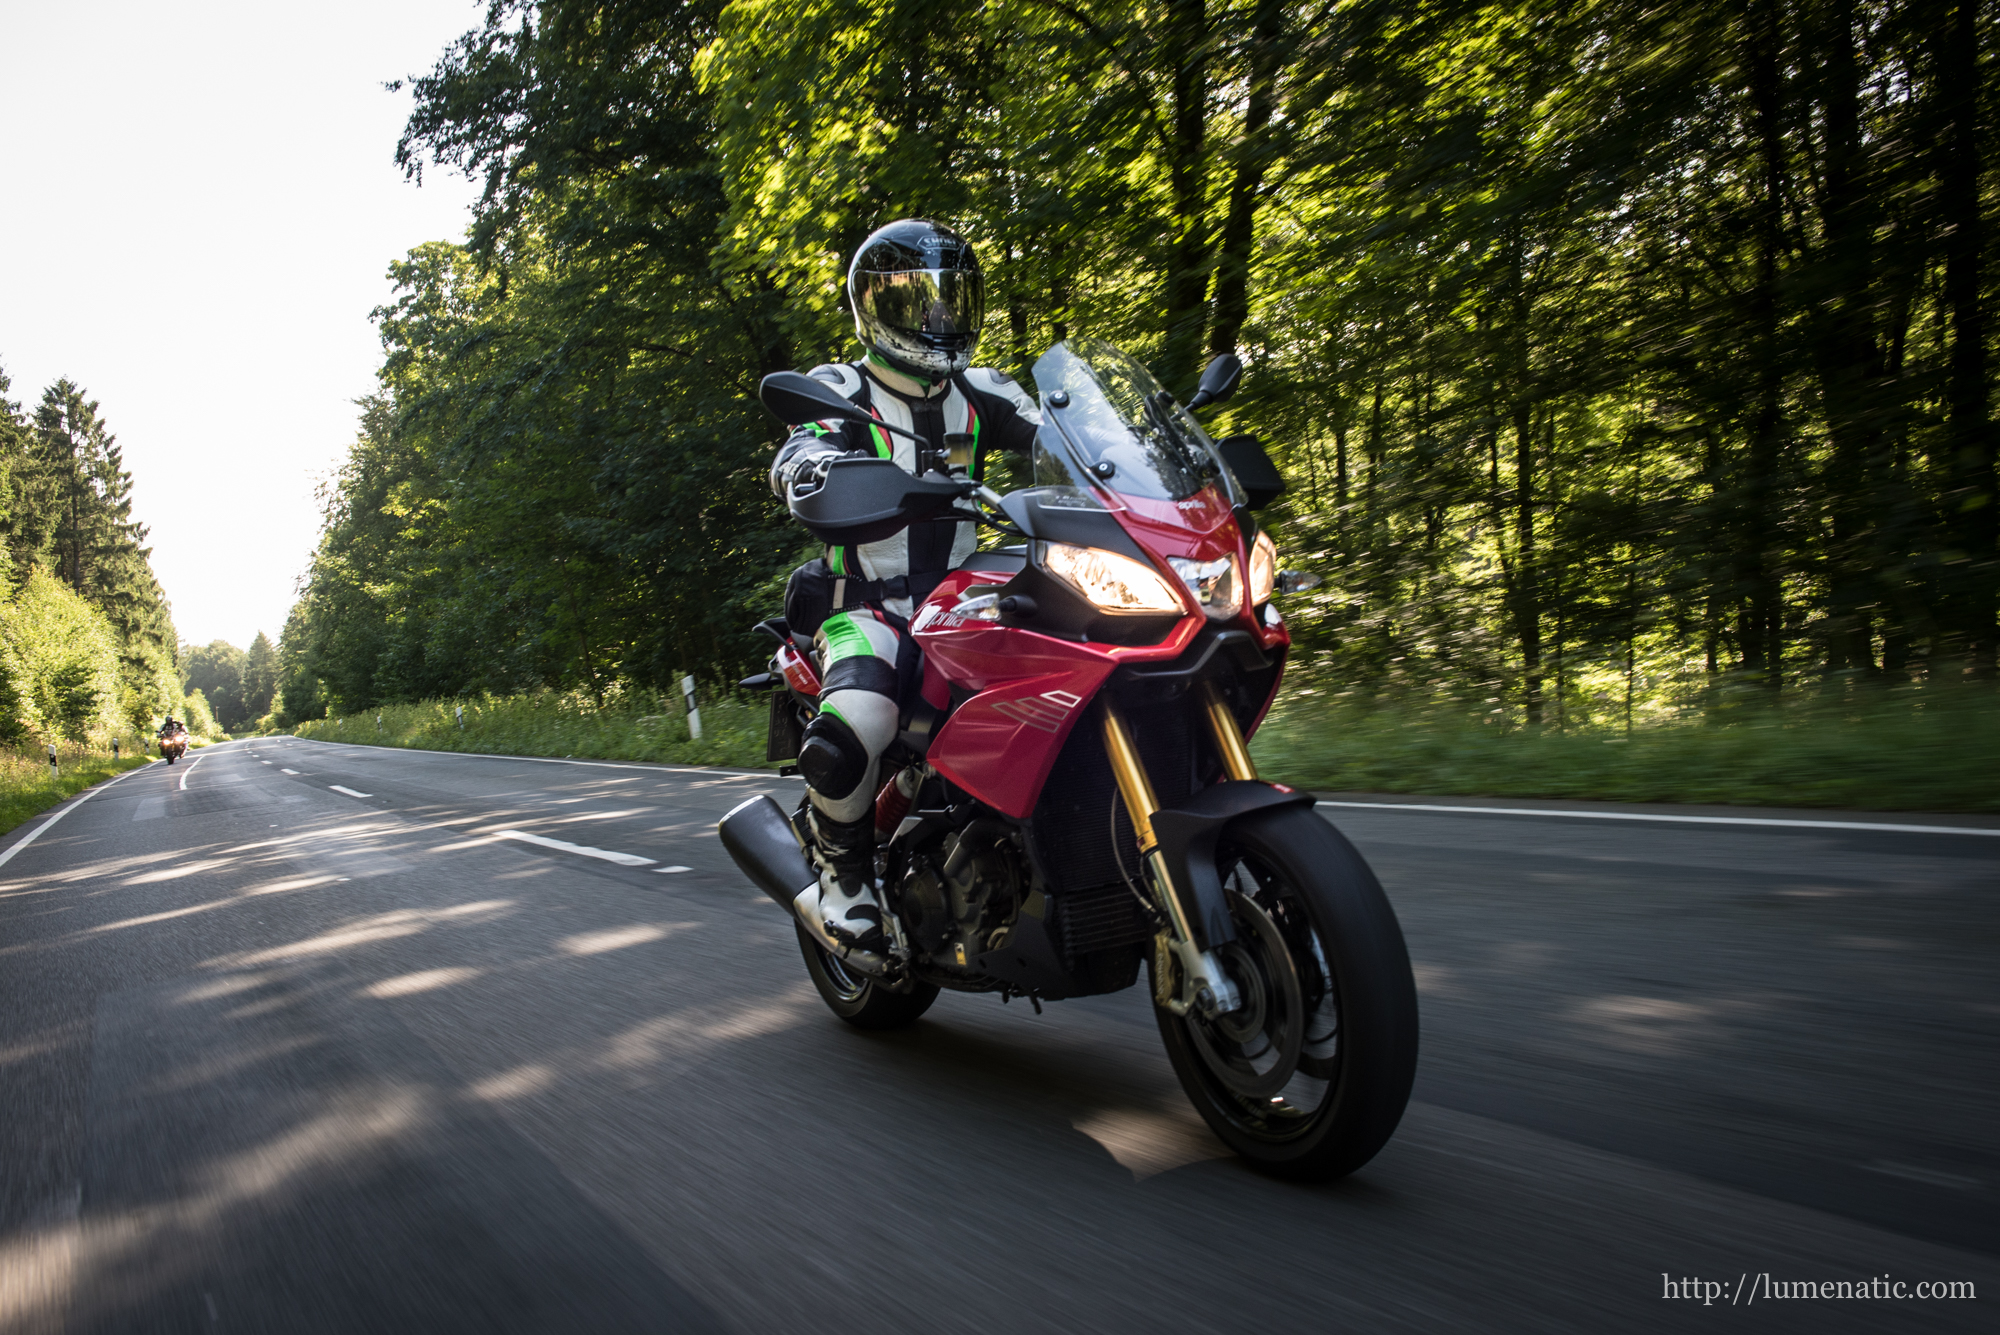
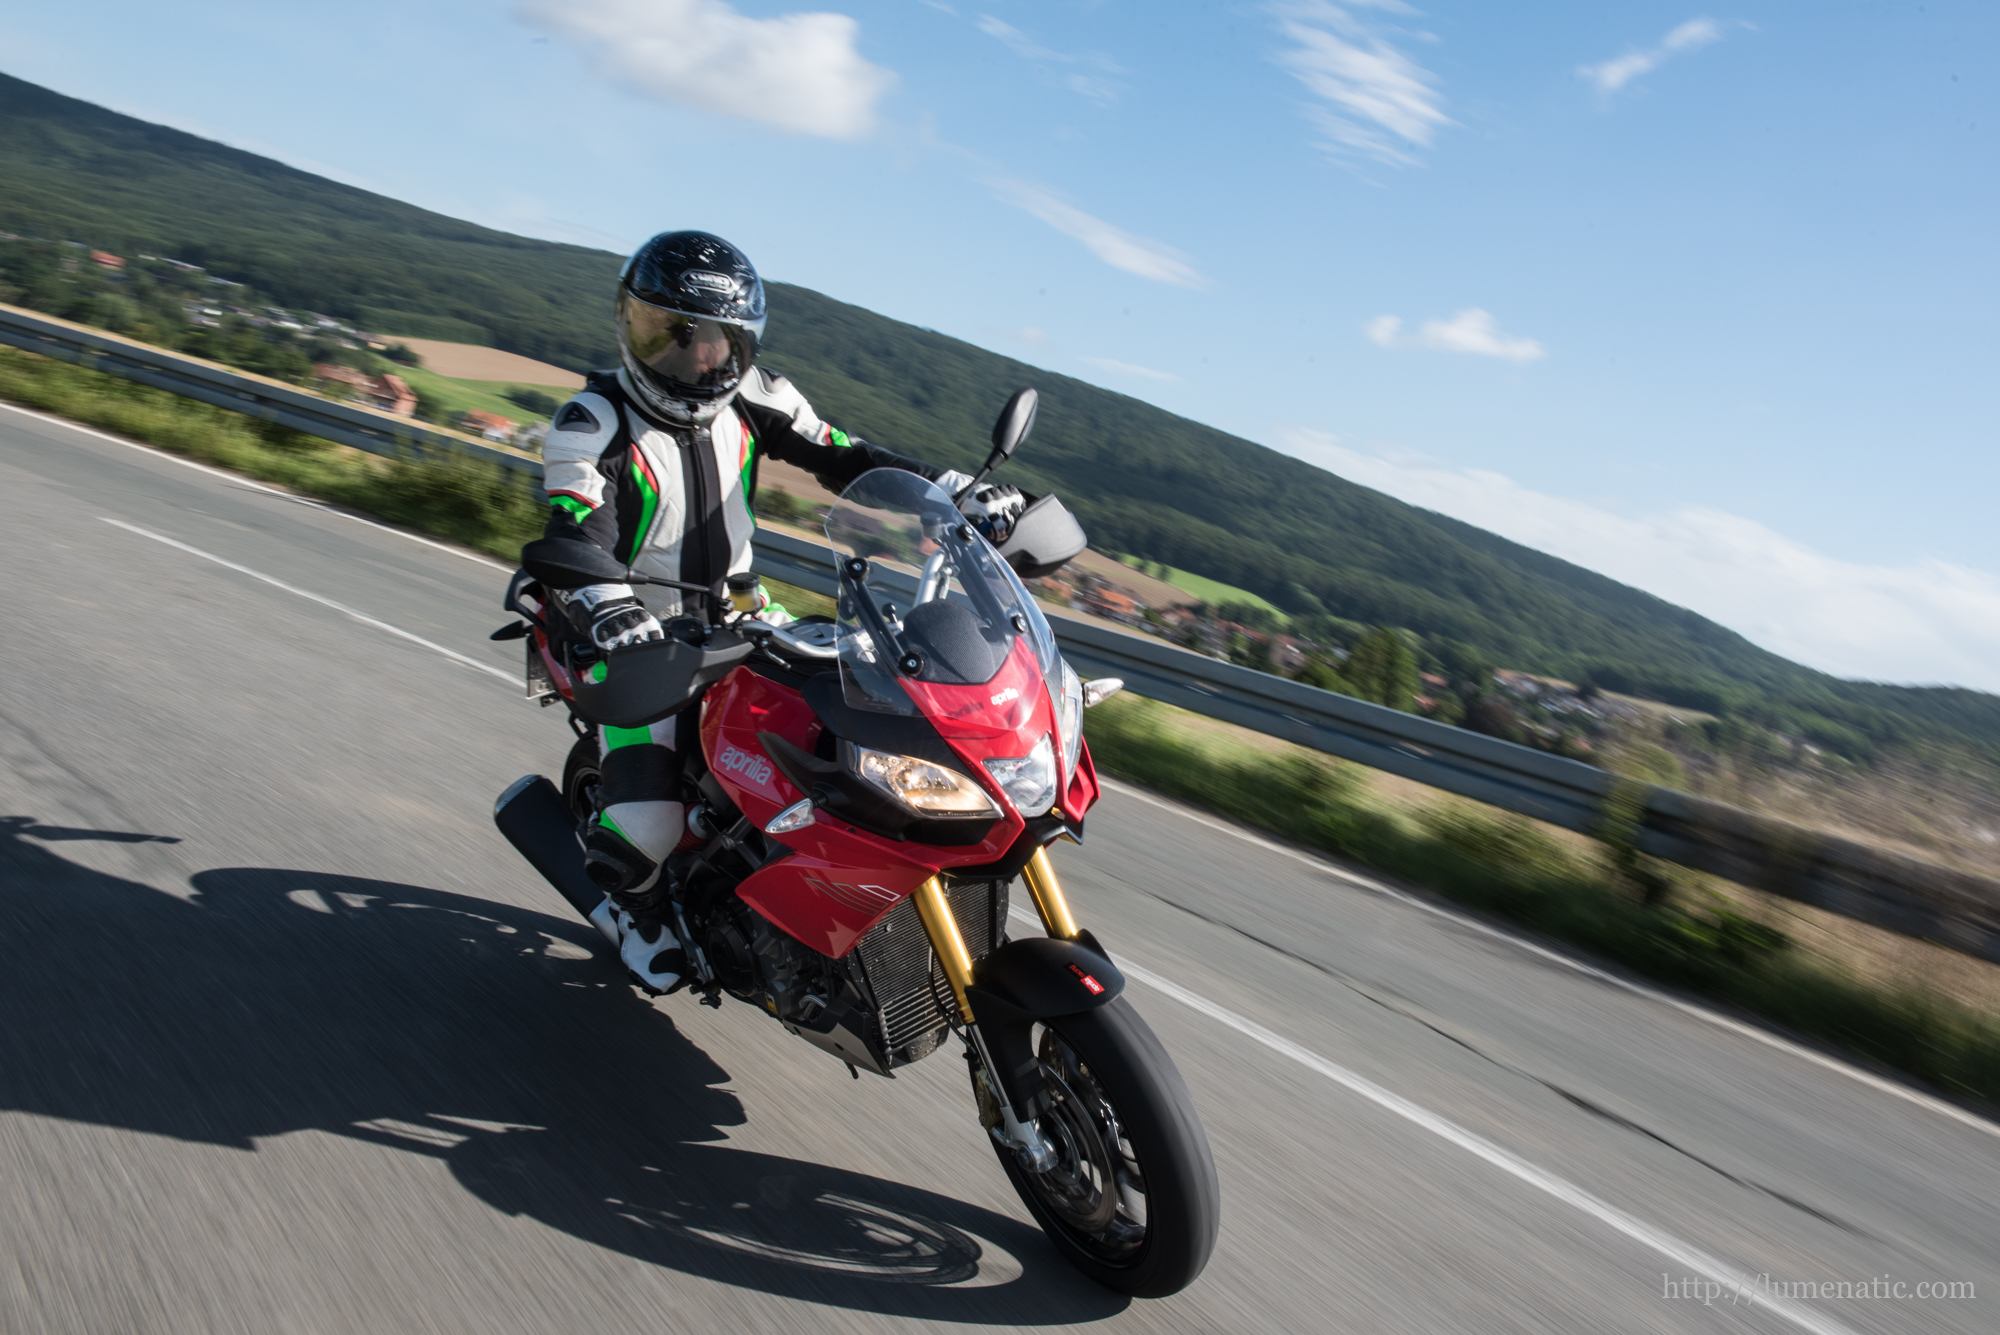
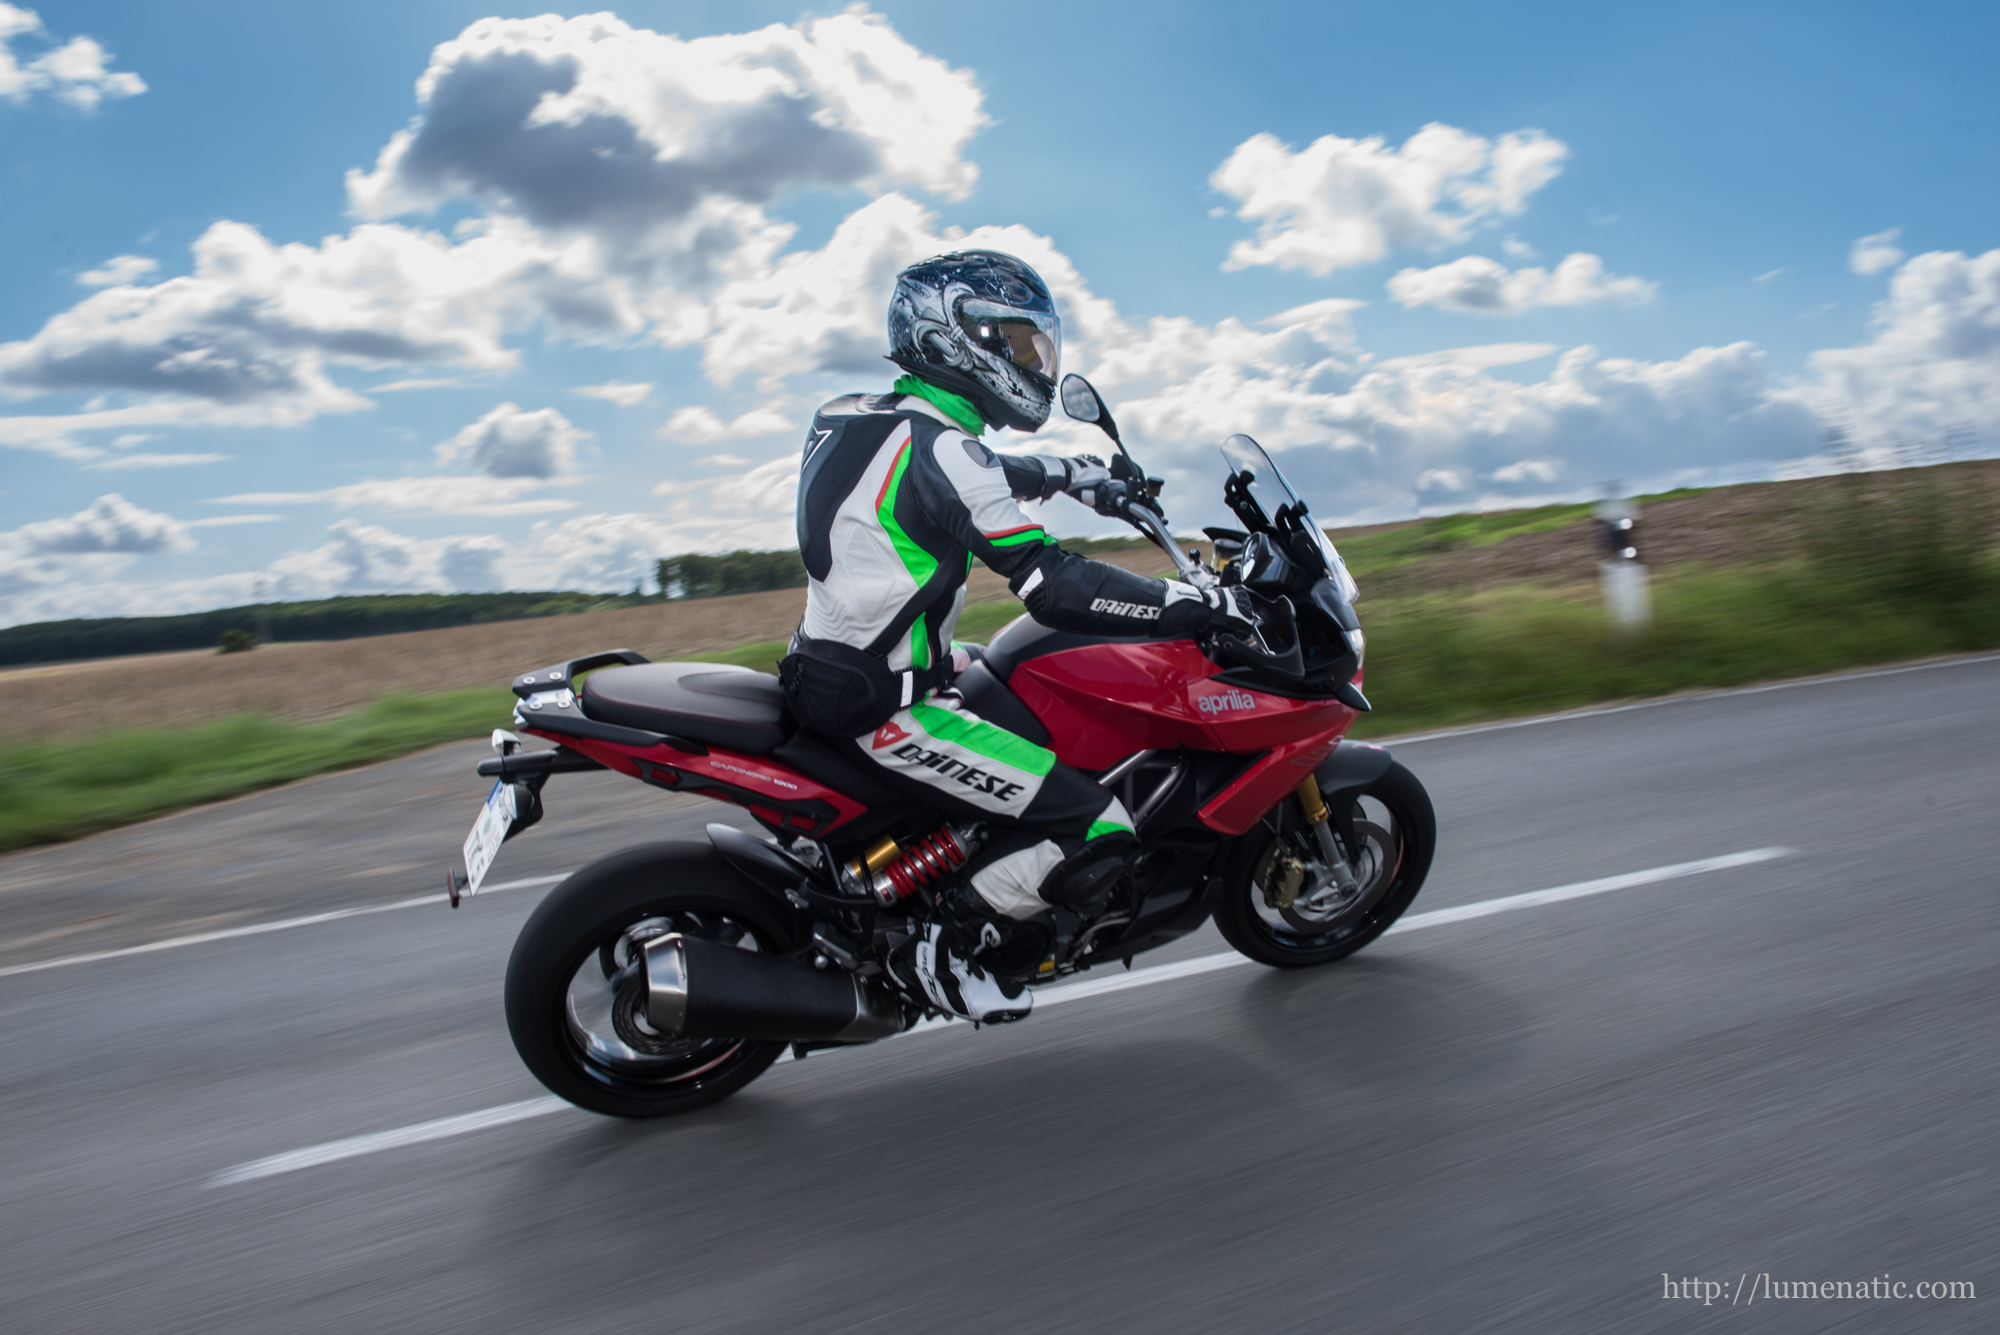
- an Aprilia Caponord 1200 (see it here and here),
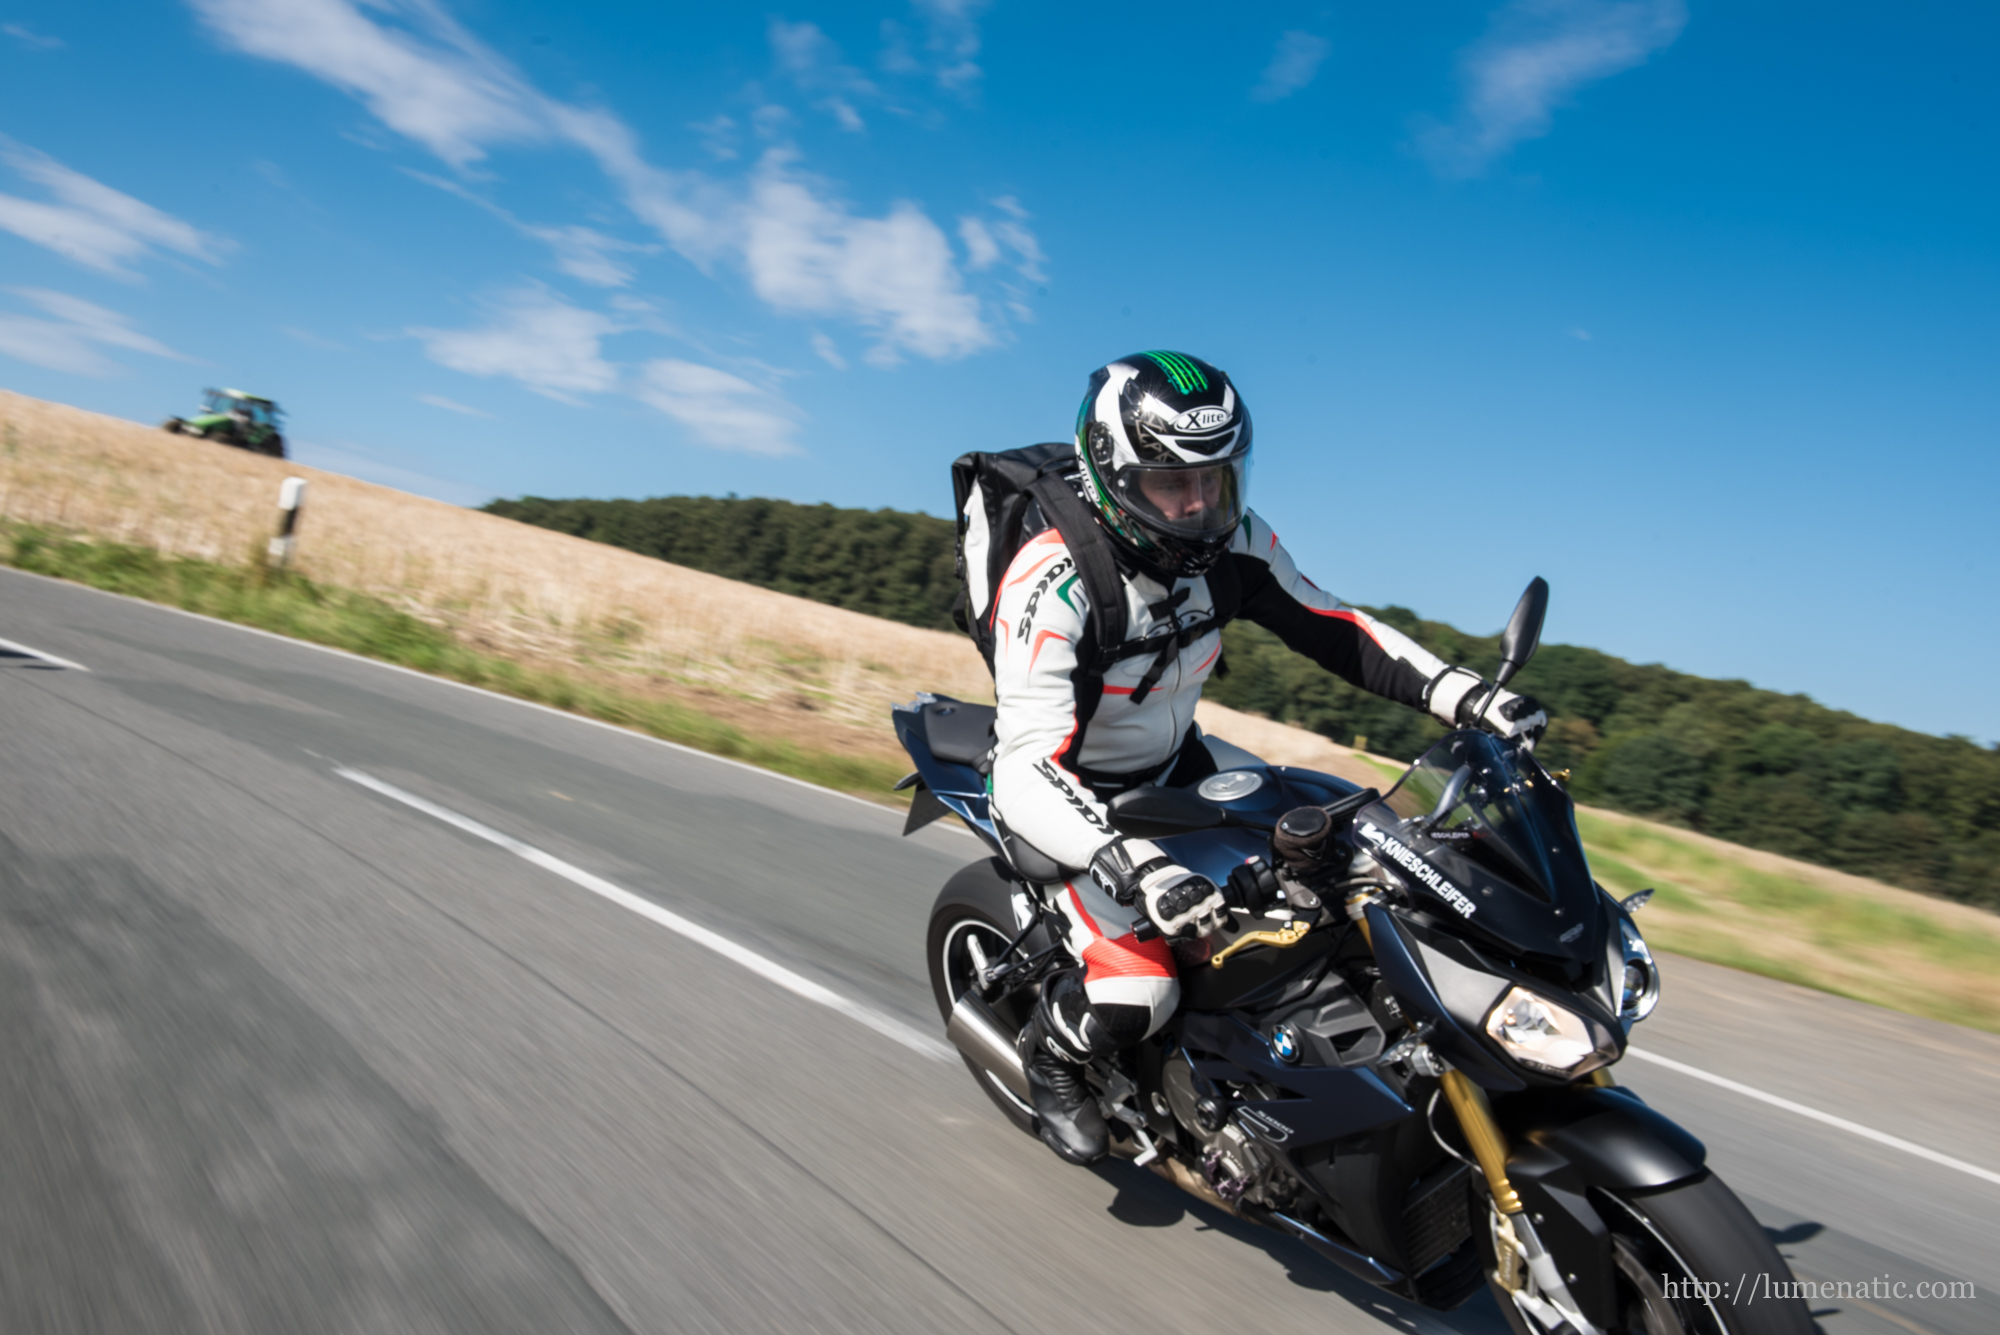
- a BMW S1000R (the naked variant of the S1000RR superbike) and
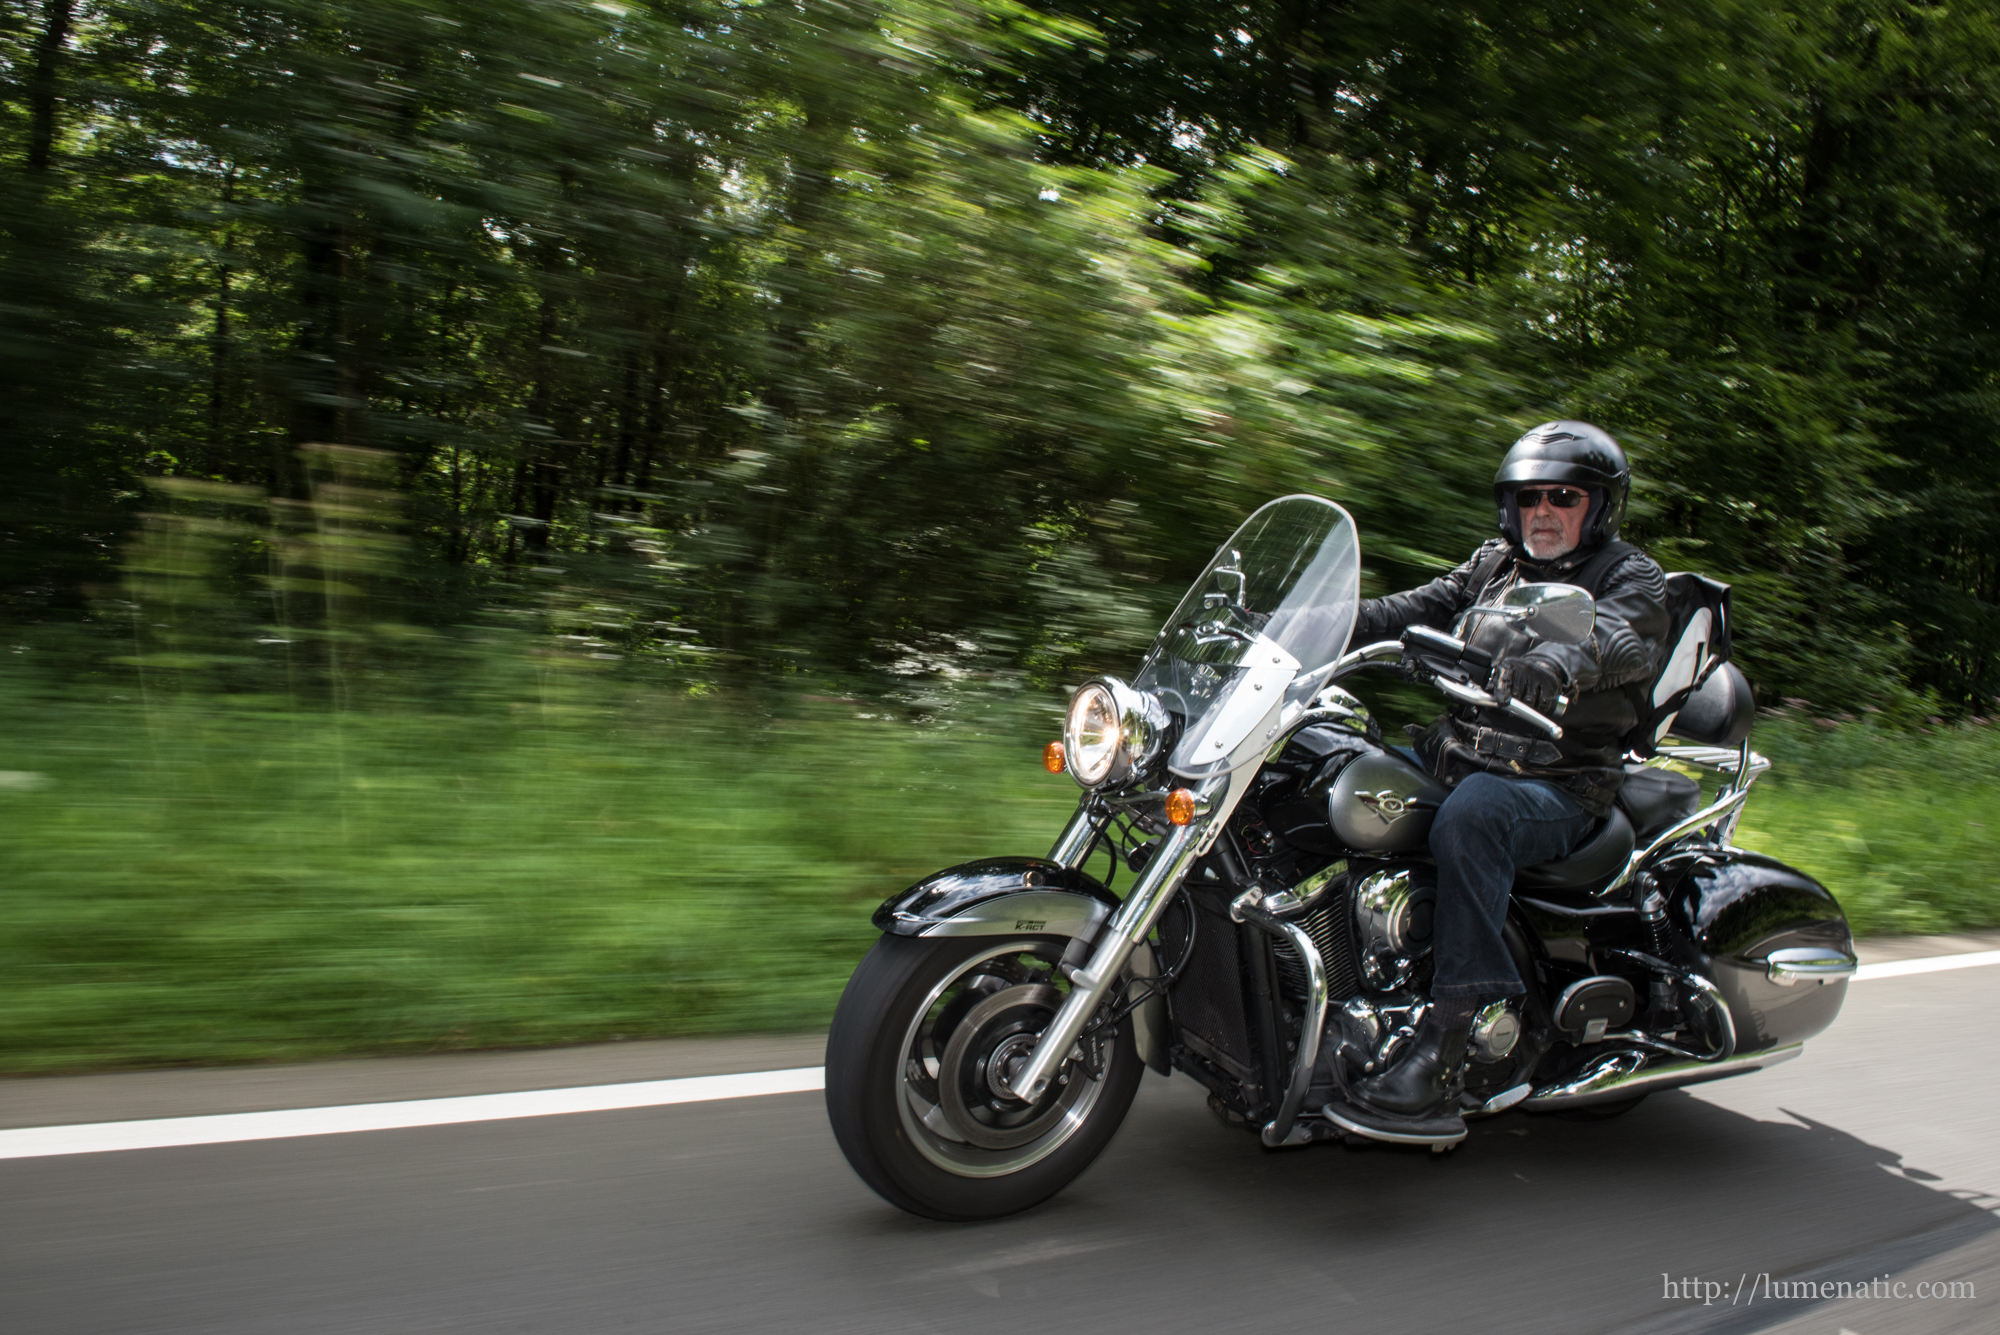
- a Kawasaki VN 1700 Grand Tourer.
Ergonomics
The shoot involved me riding as the pillion rider, shooting backwards. That meant I had to shift my weight to my left buttock on teh pillion rider seat, twist my torso to the left and shoot images in that position for a long time.
Riding on the back of the BMW S1000R was a bad joke. The pillion rider seat is roughly the size of two average smartphones, the footrests are quite high (knees under chin I say). The Kawasaki VN 1700 was a hard contrast to the BMW. Broad, softly upholstered seat and backrest (!) and footrests larger than my footprint.
Nevertheless sitting in a contorted posture is not fun over longer periods of time. Take breaks and exercise a little.

Gear.
Once again the tilting LCD display of my Nikon D750 proved to be the most handy improvement to a DSLR since the introduction of interchangeable lenses. I flipped the screen into the horizontal position and peered down onto it to compose my shot. Without a tilting screen the framing would have been guesswork. I used my trusty 24-70mm f2.8 lens for that job. It is the right tool. 28 mm for close shots, 70 mm when the other rider is a few m behind. Have spare batteries and memory cards in your pocket. The best way would be to secure the camera with a handsling. A neck- or shoulderstrap might impede your freedom of movement.

Camera settings.
Needless to say, the camera was set to burst mode. And I used it with full hands. During the three hours we shot I produced 2.167 raw files. Of those around 1.700 went directly into the bin, since they were not sharp. Which brings me to the next issue, shutter speed. If you have read my article on the effect of shutter speed, you will have learned that even at slow shutter speeds one shot will become sharp in burst mode. I used shutter speeds between 1/100s and 1/50s to achieve motion blur. Note that which each click towards a slower shutter speed, the “hit rate” of sharp images will drop dramatically.

Orchestration.
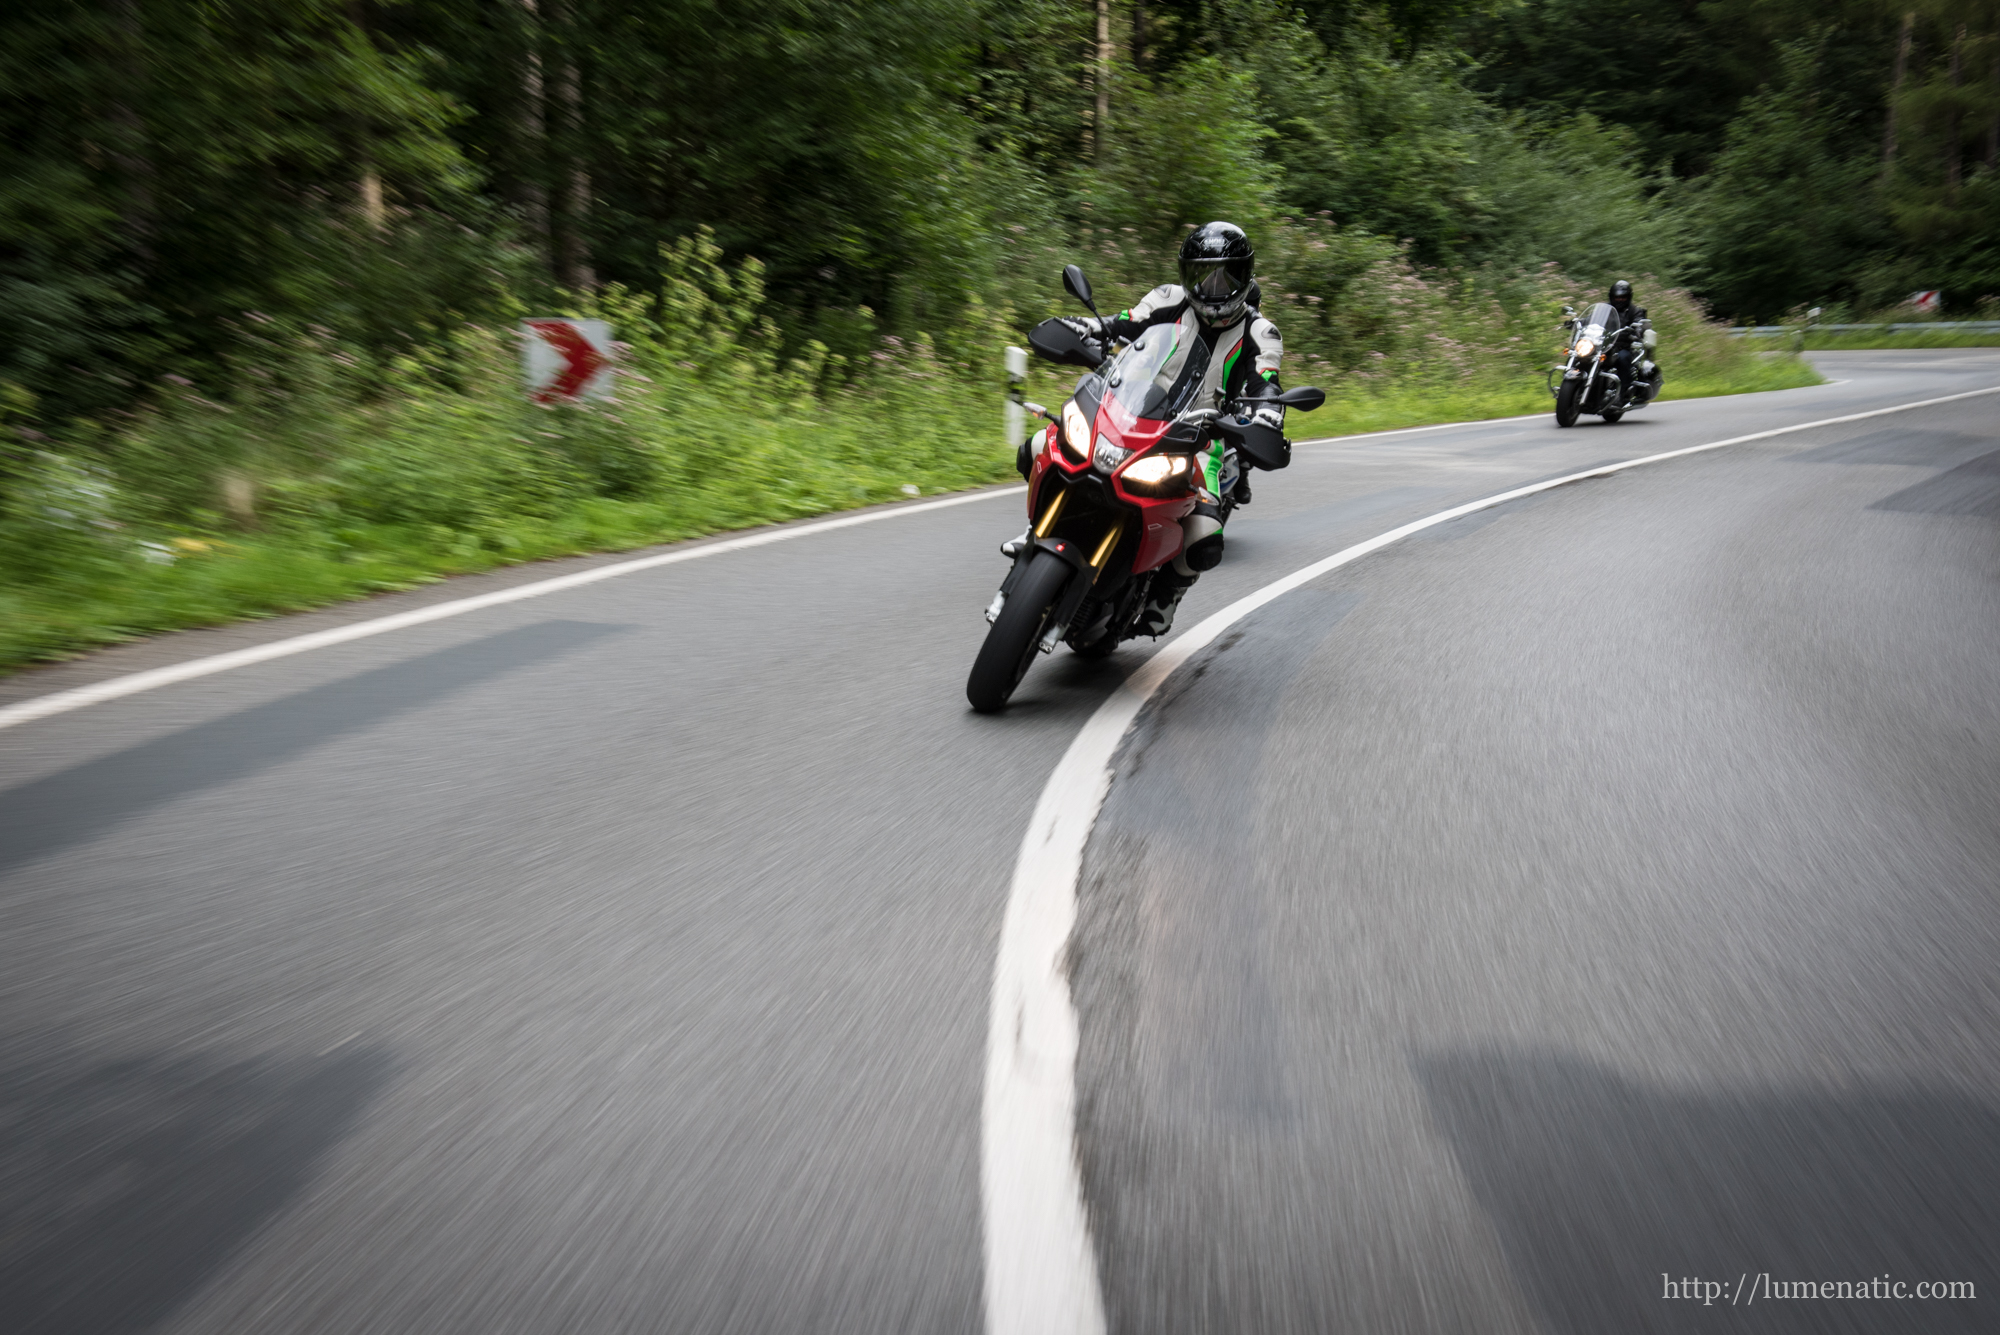
Communication with the riders is essential. I instructed them to ride not on a straight line behind each other, but dispersed along the width of the road. The image below is a nice example. If they drive nicely distributed like that, you will have a good view on all of them. Instruct the “camera driver” to drive on the right side of the road. Also he should not accelerate or brake considerably, because sitting in a twisted position on pillion rider seat won’t give you the best stability. Don’t fall off the bike.
Agree on a few handsigns. I basically used four: Motioning towards me to come closer, pushing away for increasing the distance, thumbs up for ok and swirling the index finger in the air to indicate the riders should change positions in their formation, so that somebody else rides in front.
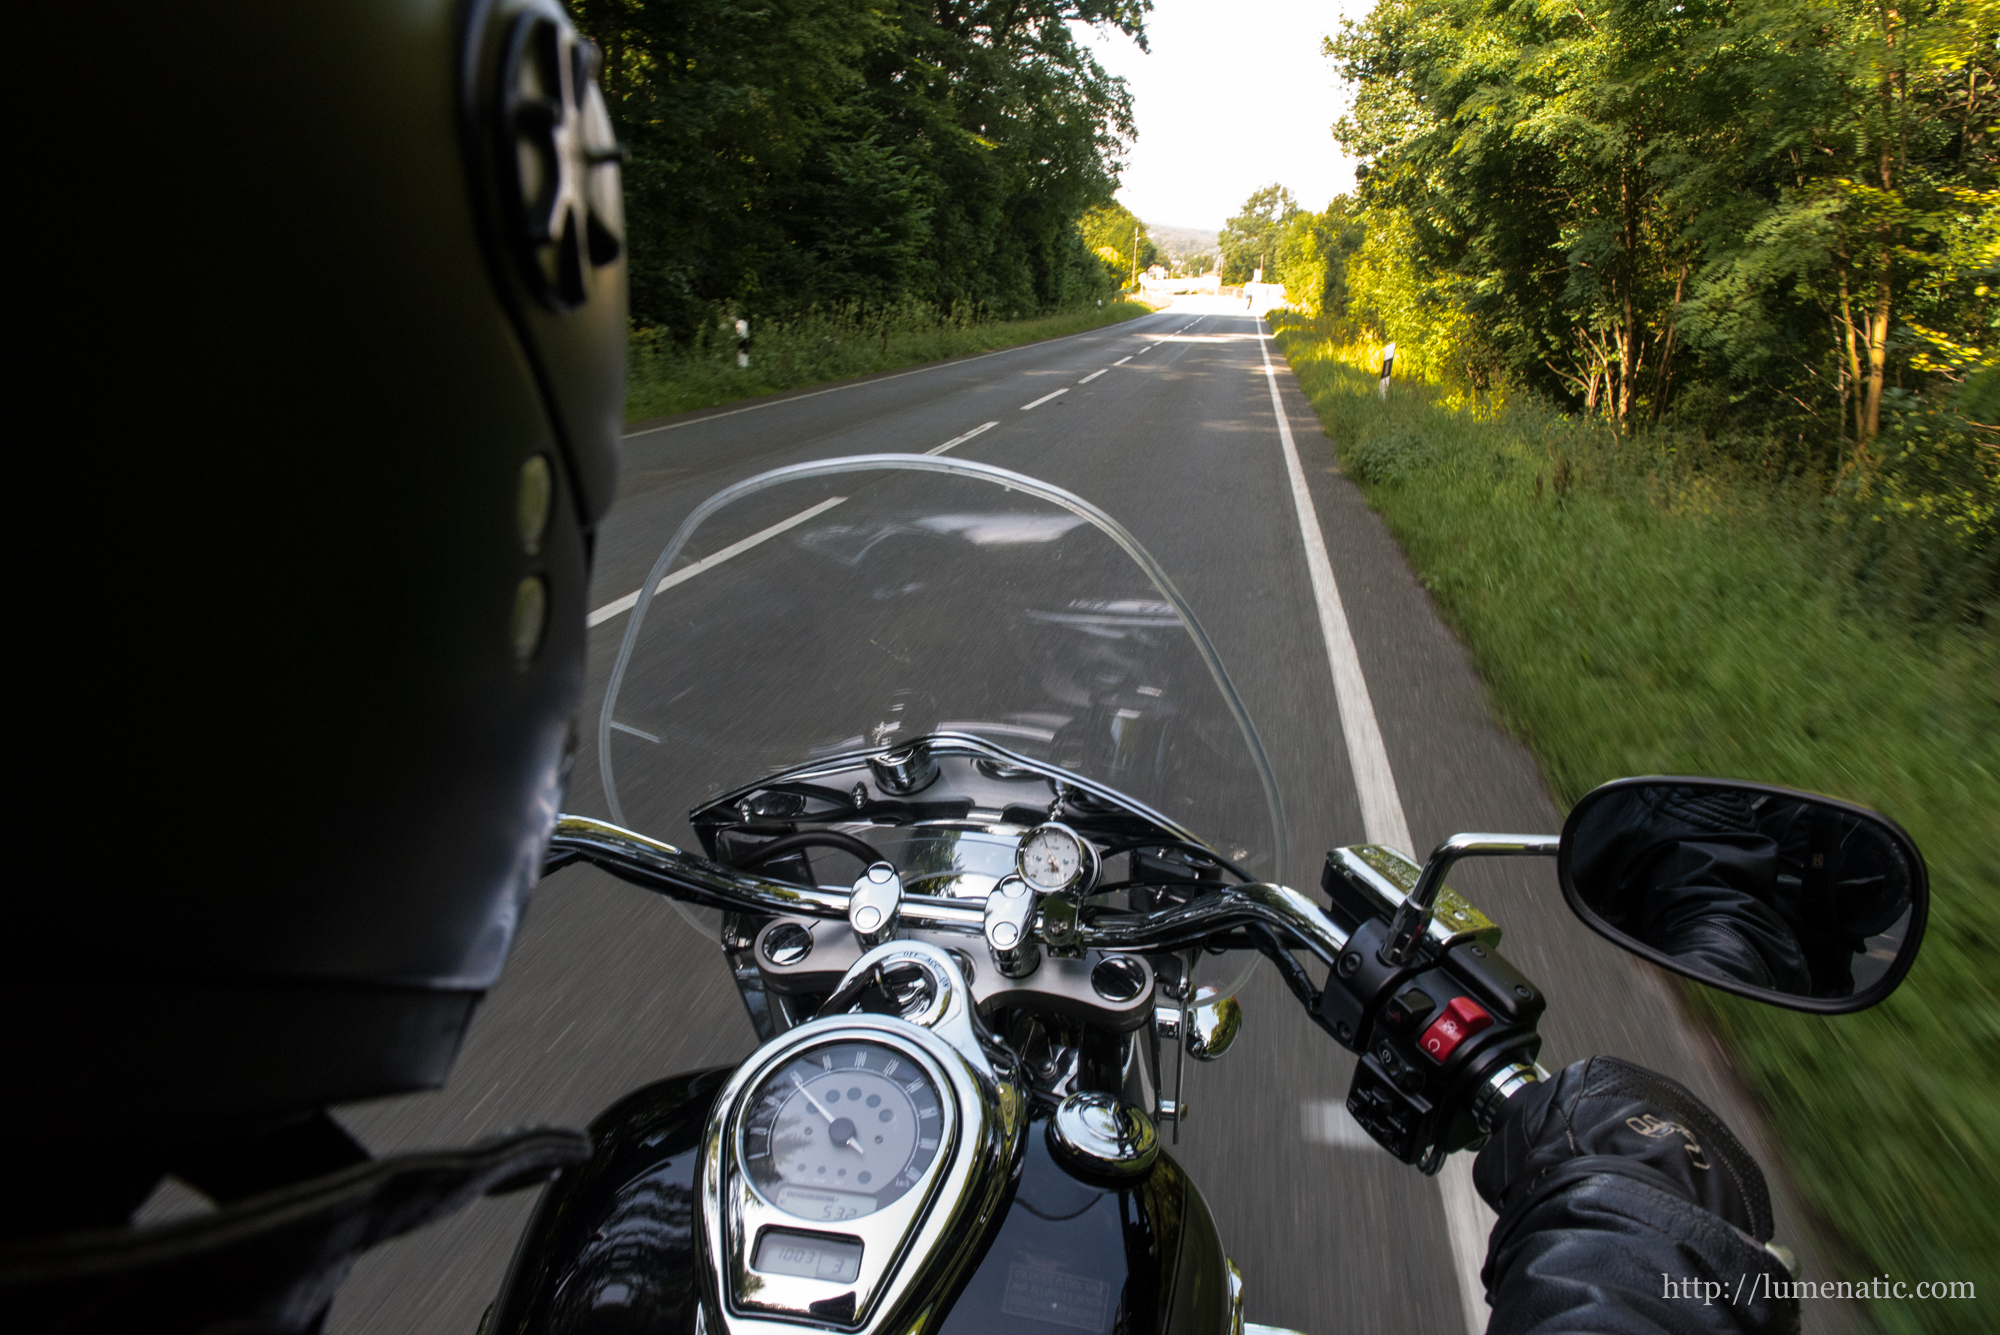
A word on speed: A bike to bike shooting is not a regular bike trip with some images. We drove approximately 50-70 km/h during the time, so it is not a tour for getting down the knee on the road. Actually it was the first time, that cars queued behind bikes, usually it’s the other way around.
Flash.
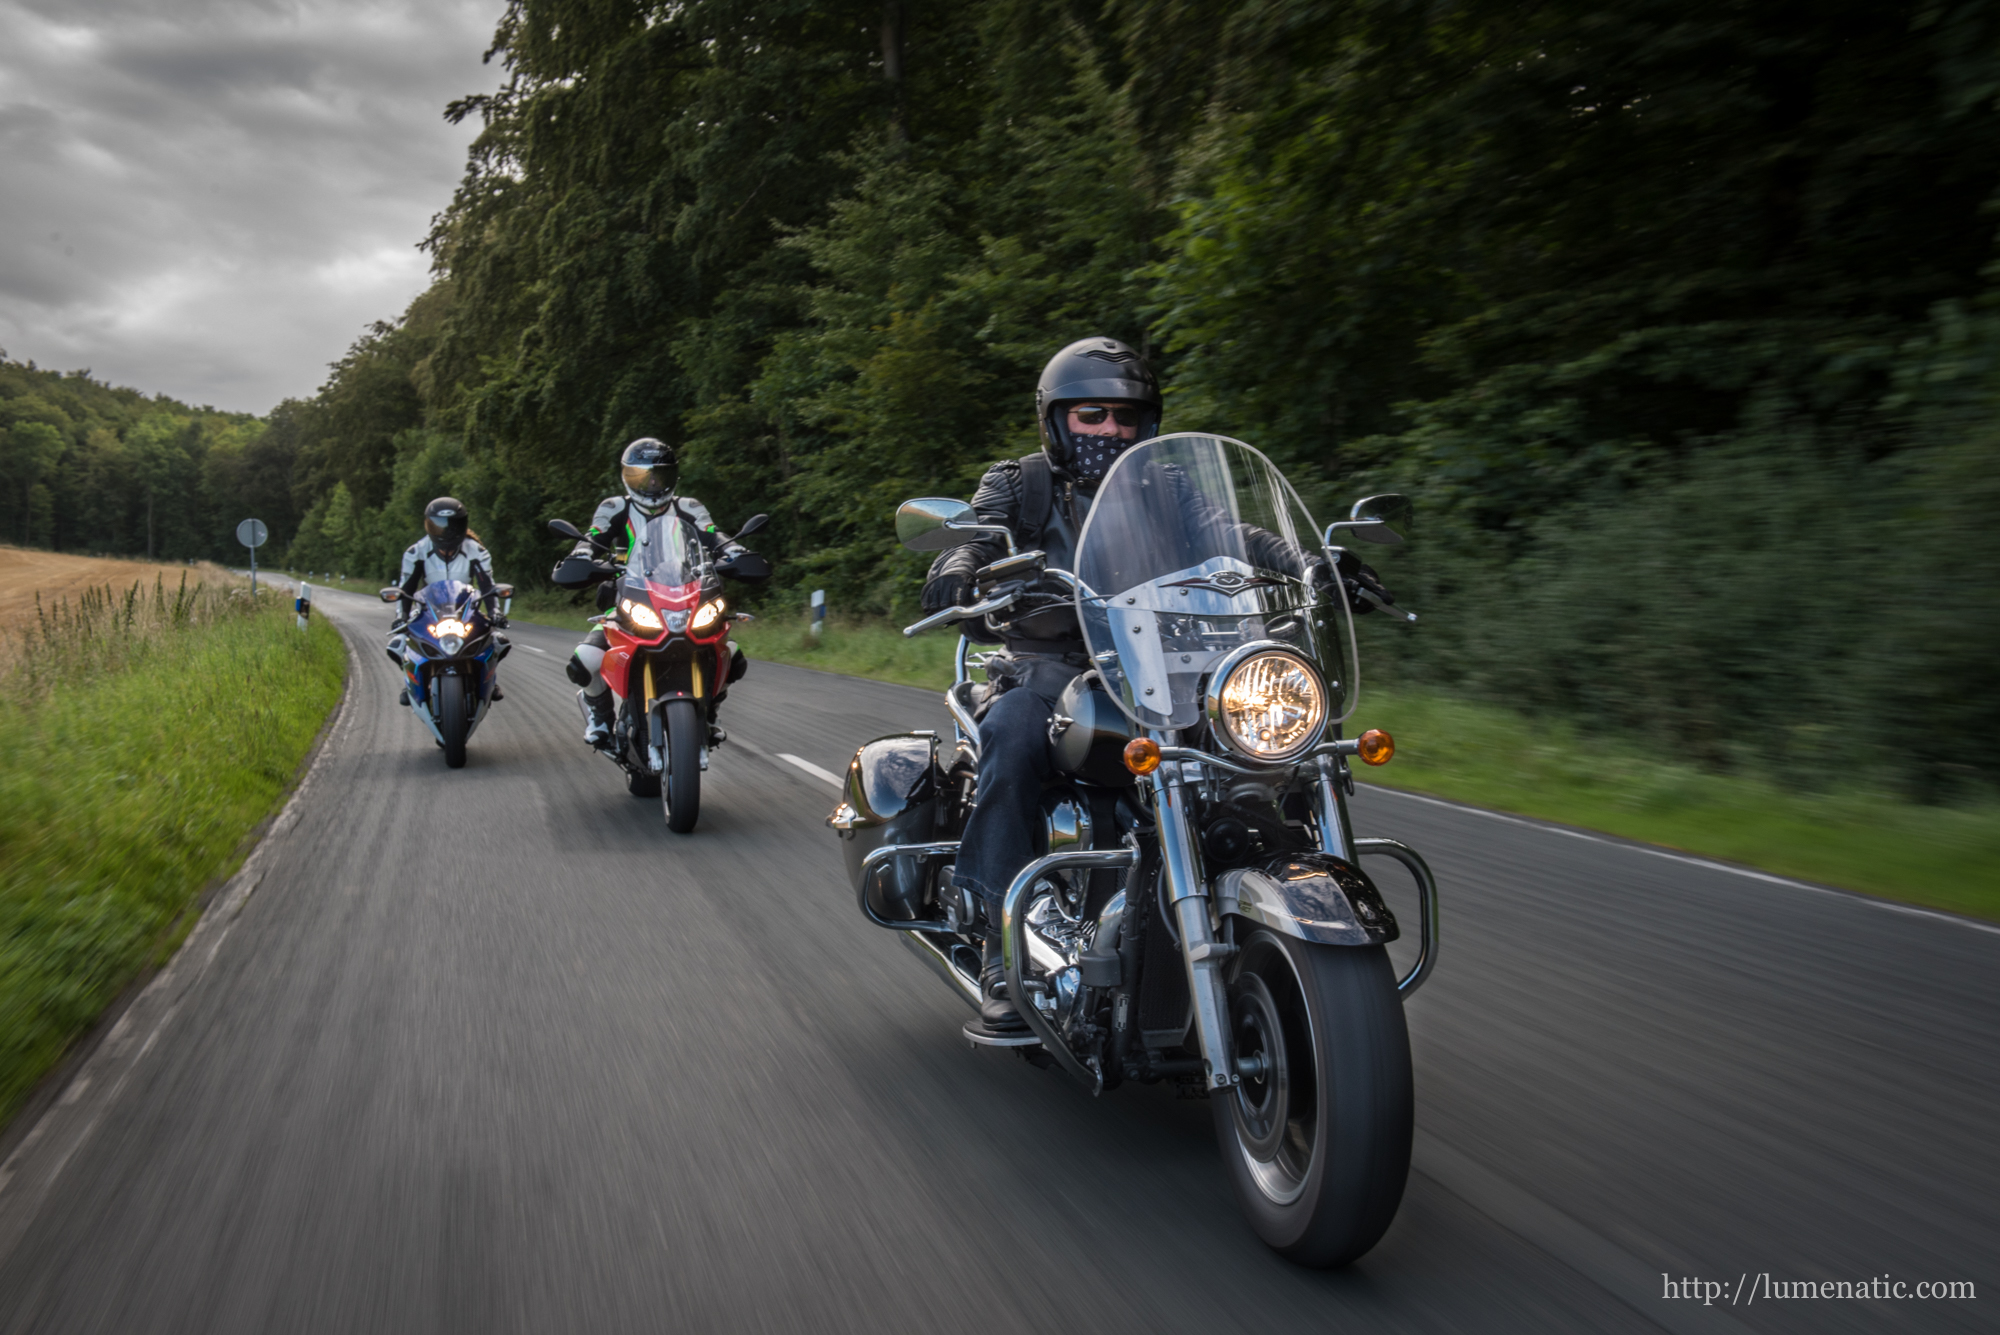
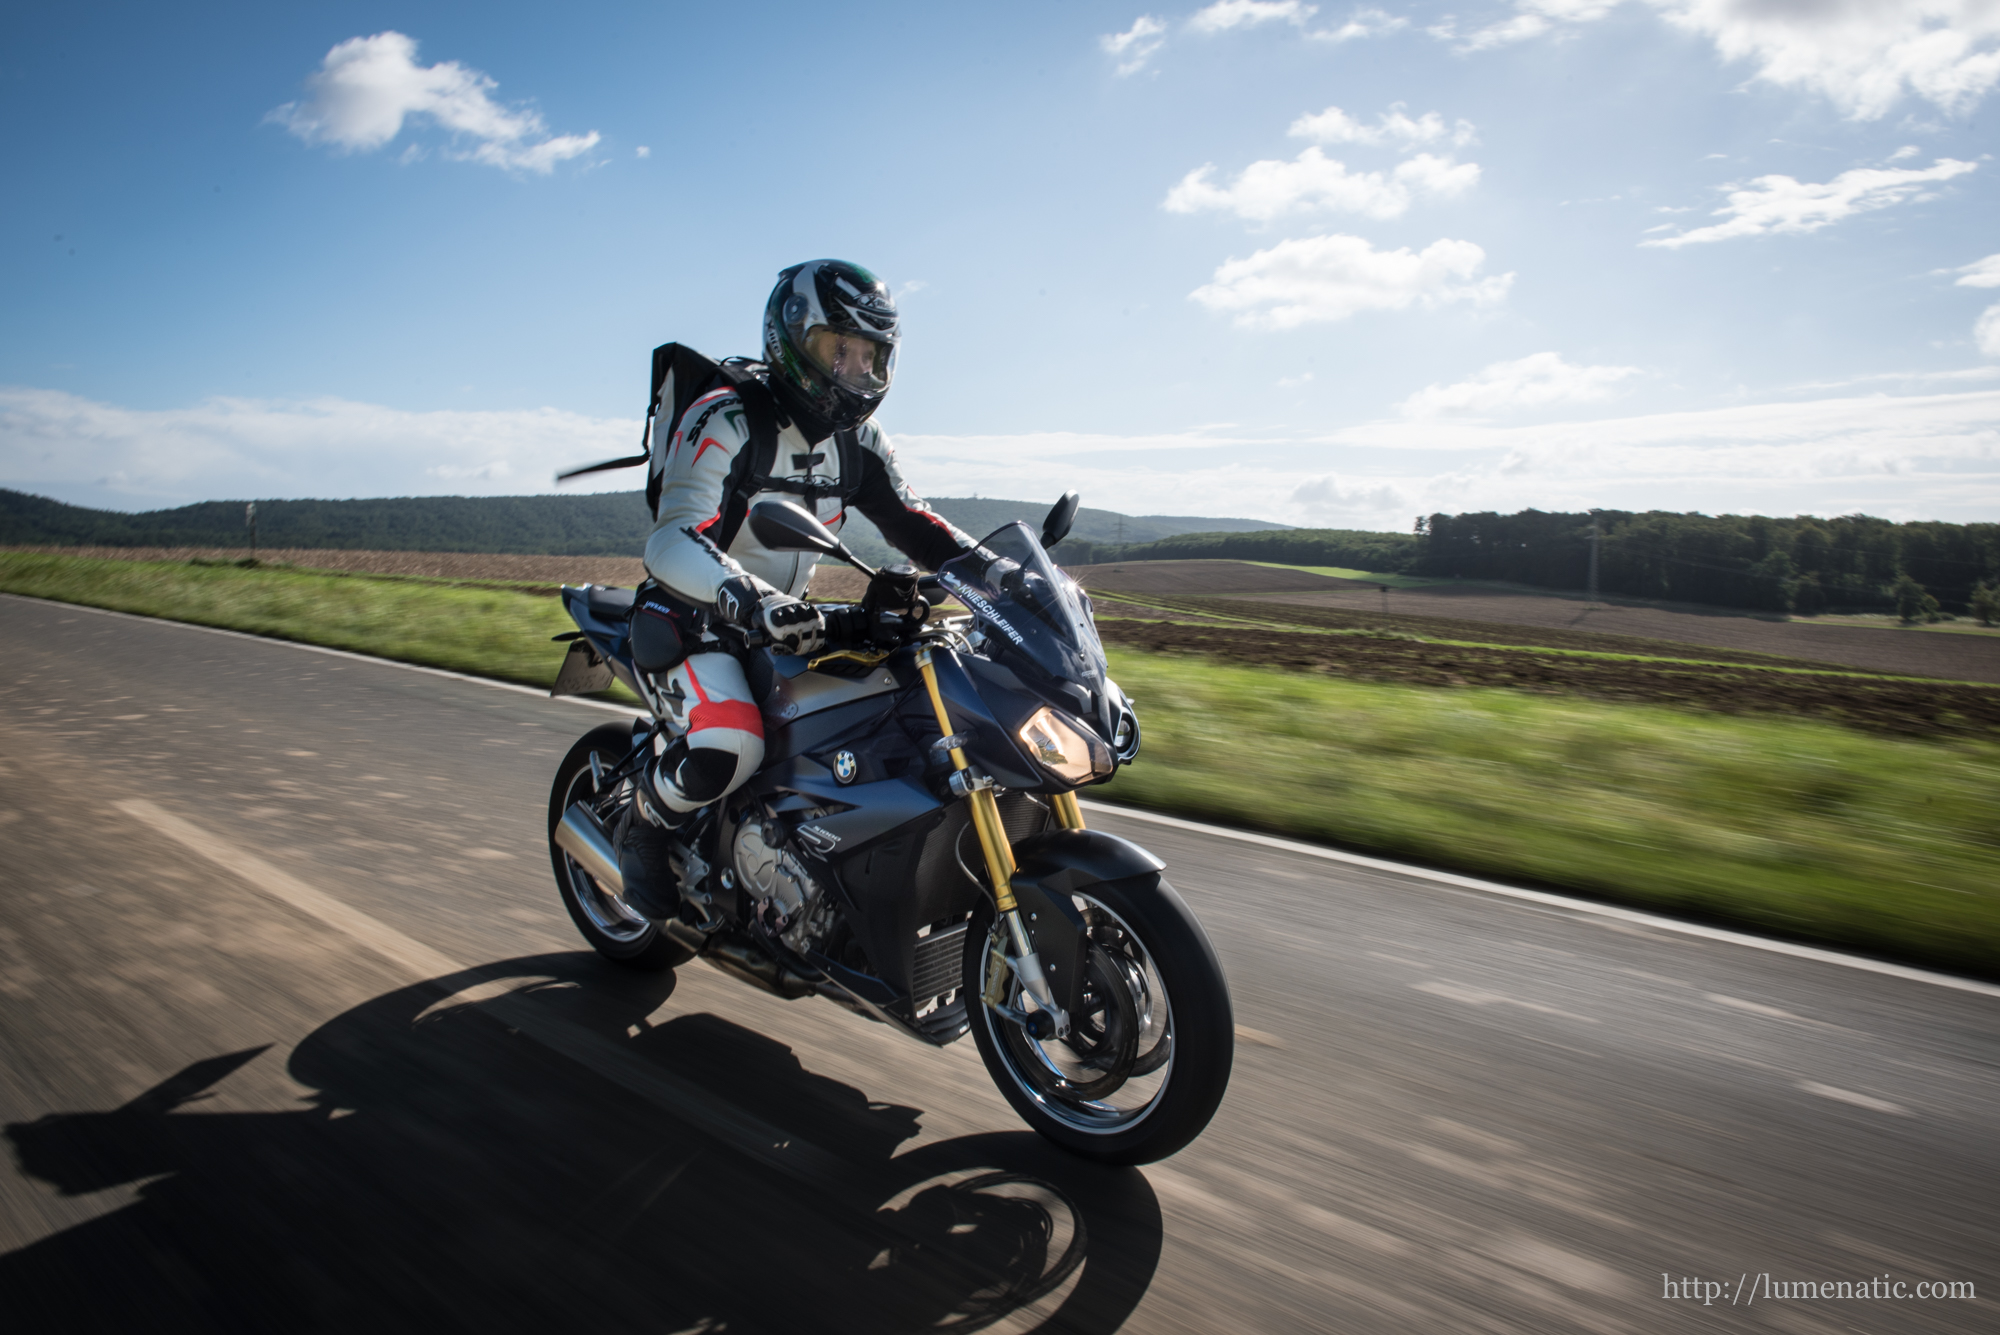
Towards the end of the tour I mounted a flash with a Lumiquest Softbox on the camera. The three images below are taken with flash. This will enable good images against sunlight. Note the shadow in the images, indicating the position of the sun. If I had shot that without flash, bike and rider would just have been dark. Read my post on flash and sunlight here.
Organizing the image flood.
As stated earlier, the shoot produced 2.167 images. That sounds horrible to edit, but was not as hard as you might think. In a first step I sorted the images by “keeper” and “reject”. Works well in Lightroom, just have one finger on the reject key and one on the accept key. When caps lock is enabled, Lightroom will jump to the next image once a button is pressed. That way one can quickly go through the images. I am quite trained in judging whether the image is ok or not, so I needed only around half an hour for going through all that.
After the first sweep I was legft with 400 images. These were further sorted and only the best were edited.

What next ?
Photographing from the pillion rider seat was exciting and produced fantastic results. But of course I have ideas which go further. The method I employed in this shoot will only allow slow speeds while driving. A sharp lean angle in curves is not possible that way. So the next step would be car to car photography, which includes the photographer being strapped into a harness, shooting our of the back… plans are starting to emerge!

Extraordinary experience, with great results…!!!